Casing Ourselves Theme!
Welcome to our Saturday Blog Hop at Create With Stamping Friends. Oh we have a fun activity for our team this week. We are all picking a card that we created a year or so ago and using it for inspiration and casing it! This is the one that I picked from January 2025 using the retired Ocean Friends Bundle:
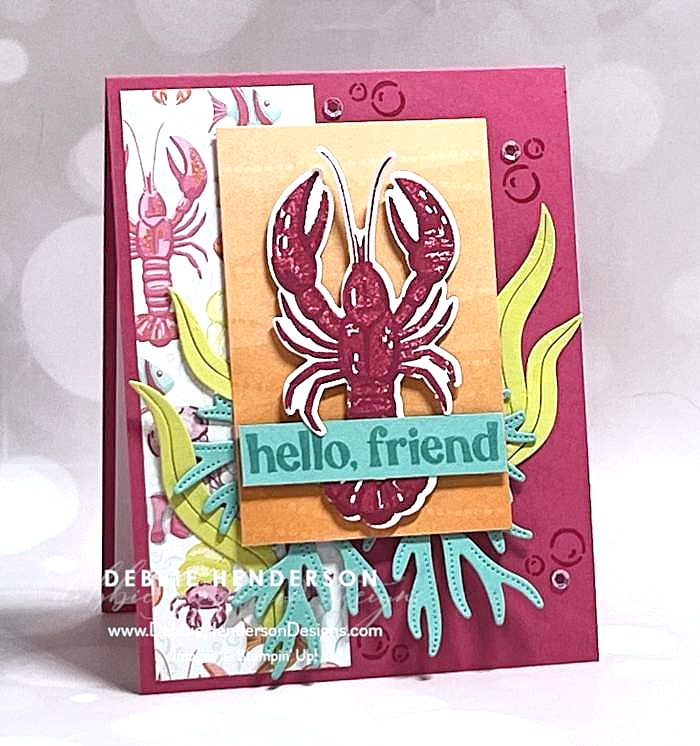
If you want to read more about my older card, you can find the post HERE. And I used the inspiration to create a new card that you can see below:
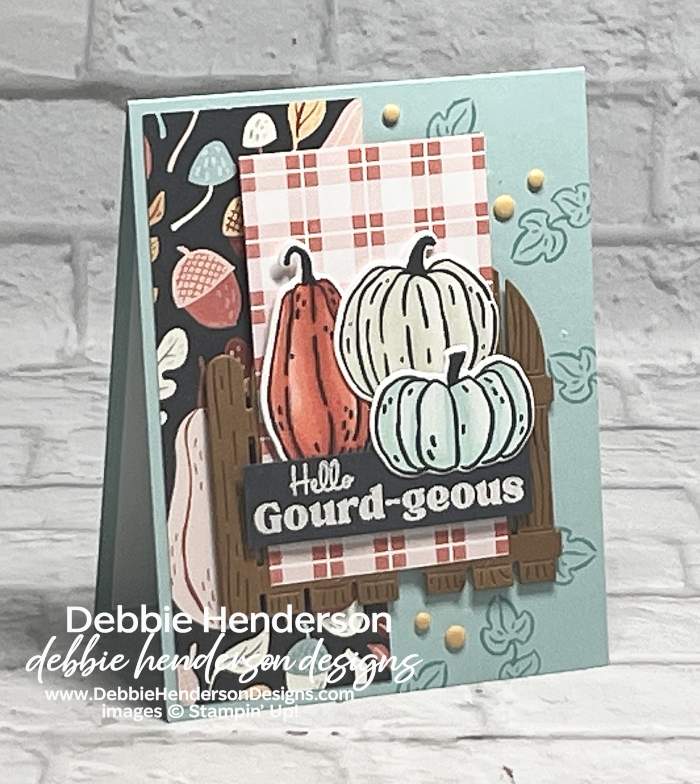
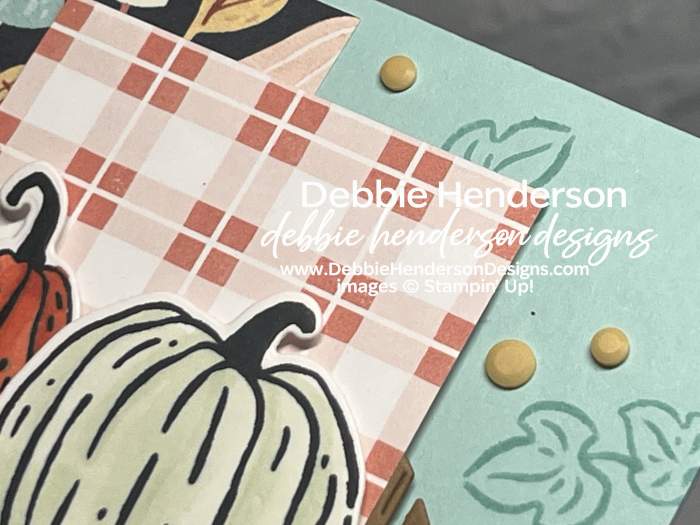
I used a brand new set called Painted Pumpkins along with the dies, Painted Patch Designer Paper and Painted Patch Adhesive-Backed Dots:
Stampin’ Up! Products Used:
- Stamps: Painted Pumpkins
- Inks: Secret Sea, VersaMark
- Stampin’ Blends: Pool Party, Soft Sea Foam, Calypso Coral
- Cardstock: Secret Sea, Pool Party, Pecan Pie, Basic White
- Designer Paper: Painted Patch
- Tools & Accessories: Painted Pumpkins Dies, Painted Patch Adhesive-Backed Dots, Basics Embossing Powders, Heat Tool, Stampin’ Dimensionals
Card Recipe:
- Card Base: Pool Party Cardstock 11 x 4-1/4. Score and fold at 5-1/2. Stamp the leafy vine imag
- Layer 2: Painted Patch Designer Paper 5-1/4 x 2. Glue 1/8″ from the left edge of the card base. Stamp the leafy vine image on the card base with Pool Party Ink repeatedly.
- Layer 3: Pecan Pie Cardstock cut with the gate fence. Cut the fence in half vertically. Glue one piece on each side of the card base 1″ from the bottom and 1/2″ from each side with Stampin’ Dimensionals.
- Layer 4: Painted Patch Designer Paper 3-3/4 x 2-1/4. Glue over the fence.
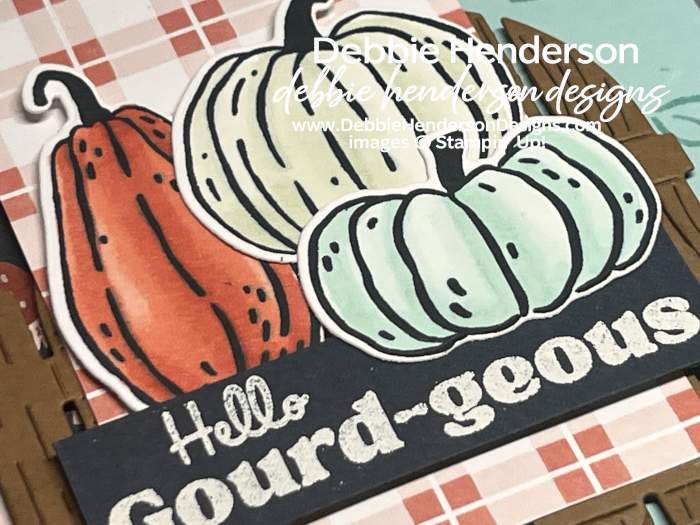
- Sentiment: Secret Sea Cardstock 2-3/4 x 3/4. Stamp the sentiment with VersaMark Ink. Sprinkle with white embossing powder. Melt the powder with the Heat Tool. Glue 1/8″ from the bottom of the designer paper with Stampin’ Dimensionals.
- Pumpkins: Stamp the three pumpkins with Secret Sea Ink on Basic White Cardstock. Color the pumpkins with Stampin’ Blends. Cut with the die. Glue tucked under and over the sentiment layer with Stampin’ Dimensionals.
- Bling: Add Painted Patch Adhesive-Backed Dots to the pool party background.
Now you can follow the rest of the Saturday Blog Hop by clicking on the links below to visit my talented teammates! Click BACK to visit the Create With Stamping Friends Blog and NEXT to visit Lori de Groot:

Check out our newest tutorial Collection at Create With Stamping Friends:




Leave a Reply