• Skip to secondary menu
  • Skip to main content
  • Skip to primary sidebar
  • Clearance Rack
  • Product Suites
  • Bundled Savings

Debbie Henderson, Stampin' Up! Demonstrator

Daily papercrafting inspiration, free project sheets, Merry Christmas Card Club, and card kits.

  • Home
  • Events
  • Specials
  • Shop
    • Shop Stampin’ Up! Online
  • Join My Team
    • Sign Up Online!
  • Contact
  • Retired Stampin’ Up! Products For Sale

Create With Stamping Friends Saturday Blog Hop

September 5, 2026 Leave a Comment

Favorite NEW Designer Paper!
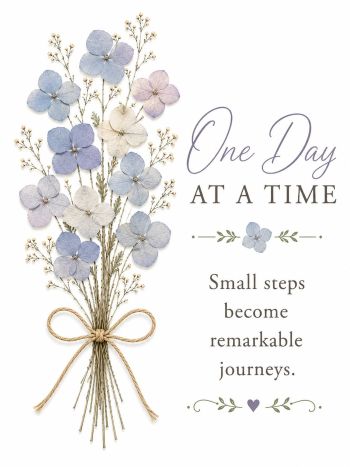
Welcome to our Saturday Blog Hop at Create With Stamping Friends.  This week, we are all using our favorite NEW Designer Paper. I love fall. I love fall colors, the decor and the temps, It’s my favorite time of year. I chose to feature the Painted Patch Designer Paper and I chose a beautiful print too:
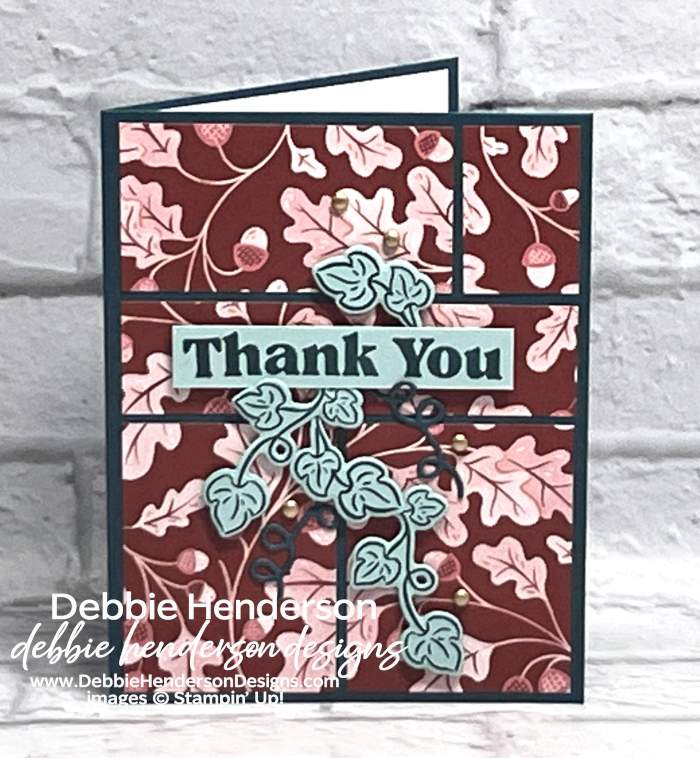
I kept my card simple so that I wouldn’t cover up too much of the print since that’s our feature this week!
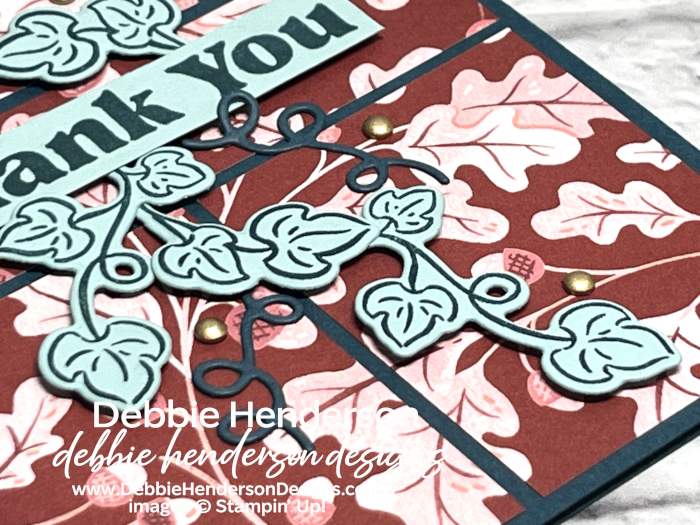
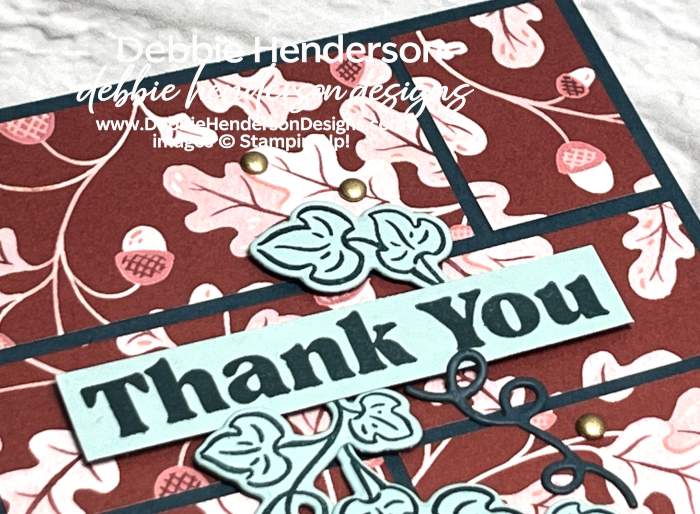
Stampin’ Up! Products Used:

  • Stamps: Painted Pumpkins
  • Inks: Pretty Peacock
  • Cardstock: Pretty Peacock, Balmy Blue
  • Designer Paper: Painted Patch
  • Tools & Accessories: Painted Pumpkins Dies, Gold Adhesive Backed Dots, Stampin’ Dimensionals, Mini Stampin’ Dimensionals

Card Recipe:

  • Card Base: Pretty Peacock Cardstock 8-1/2 x 5-1/2. Score and fold at 4-1/4.
  • Layer 2: Painted Patch Designer Paper. Cut the following pieces and start gluing from the top left to right:
    • Top Row: 2-7/8 x 1-1/2 & 1 x 1-1/2
    • Middle Row: 1 x 4
    • Bottom Row: 1-7/8 x 2-1/2 & 2 x 2-1/2
  • Sentiment: Balmy Blue Cardstock 3 x 1/2. Stamp the sentiment with Pretty Peacock Ink. Glue to the middle row designer paper with Stampin’ Dimensionals.
  • Ivy: Stamp 2 of the longer ivy image and 1 of the shorter ivy image on Balmy Blue Cardstock with Pretty Peacock Ink. Cut with the dies. Glue below the sentiment with Mini Stampin’ Dimensionals.
  • Squiggle: Cut 2 of the squiggle with the die and Pretty Peacock Cardstock. Glue as shown.
  • Bling: Add Gold Adhesive Backed Dots to the designer paper background.

Now you can follow the rest of the Saturday Blog Hop by clicking on the links below to visit my talented teammates! Click BACK to visit the Create With Stamping Friends Blog and NEXT to visit Lori de Groot:
Check out our newest tutorial Collection at Create With Stamping Friends:
Print Friendly, PDF & Email

Filed Under: CCM Blog Hop

Contact Me!

Reader Interactions

Leave a Reply Cancel reply

Your email address will not be published. Required fields are marked *

Primary Sidebar

Debbie Henderson

Debbie Henderson

Stampin' Up! Demonstrator
Contact Me!

Shop My Online Store
  • Facebook
  • Instagram
  • Pinterest
  • YouTube

My 15 Year Anniversary Stampin’ Up! 2024

My 15 Year Anniversary Stampin’ Up! 2024

Stampin’ Up! Newest Mini Catalog

Stampin' Up! Catalog

Click here to subscribe to Paper Pumpkin

Click here to subscribe to Paper Pumpkin

Online Exclusives

Online Exclusives

Create With Stamping Friends Latest Tutorial Collection!

Create With Stamping Friends Latest Tutorial Collection!

Check out all of our Create With Stamping Friends Tutorial Collections.

Search My Blog

I am a Designer for Create with Stamping Friends Saturday Blog Hops

I am a Designer for Create with Stamping Friends Saturday Blog Hops

I am a Designer for the Create With Stamping Friends Thursday Challenge Team

2022 Incentive Trip to Norway Achiever!

2021 Incentive Trip Achiever!

2020 Incentive Trip Achiever!

2019 Incentive Trip Achiever!

2018 Incentive Trip Achiever!

2017 Incentive Trip Achiever!

2014 Incentive Trip Achiever!

Archives

Categories

Disclaimer

The content of this site is the sole responsibility and opinions of Debbie Henderson as an Independent Stampin' Up! Demonstrator and the use of its content, classes, services, and/or products offered is not endorsed by Stampin' Up! Stamped images are copyright Stampin' Up!

Images Copyright Stampin' Up! No affiliation with Stampin' Up! is involved or implied. Genesis for Wordpress Hosted by WebsByAmy.