Spring is Here!

Welcome to our Saturday Blog Hop at Create With Connie & Mary! I wish I could say spring is here in northern Maine. It’s been snowing off and on this week and we have more coming tomorrow. I’m so ready for spring and so our spring theme this week will have to do while I wait for nicer weather!
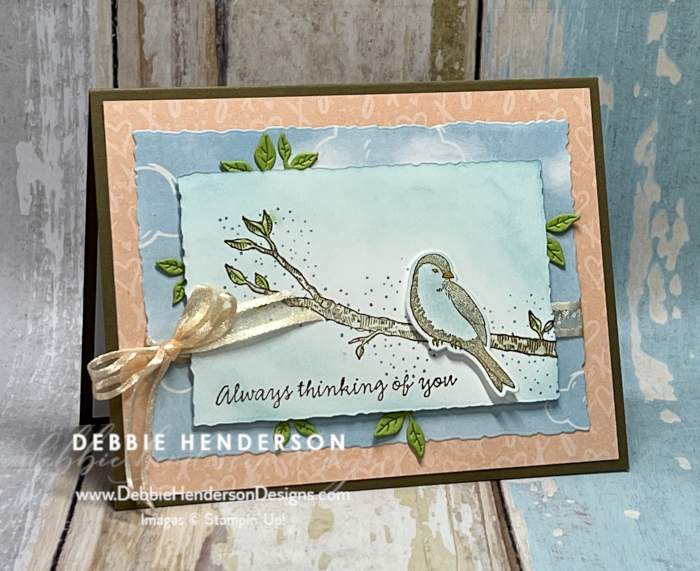
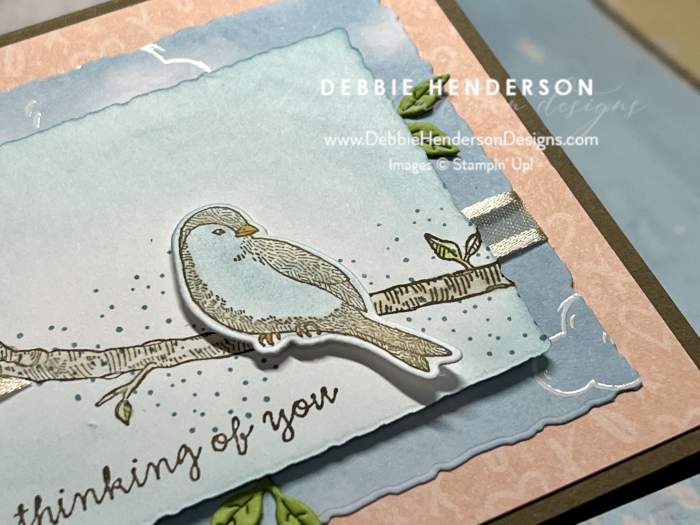
My card makes me happy because it’s all about this cute little bird from the Nested Friends Bundle. I feed birds all winter on our deck and there seems to be a few more lately. I can’t wait to be able to hear more chirping with the spring months.

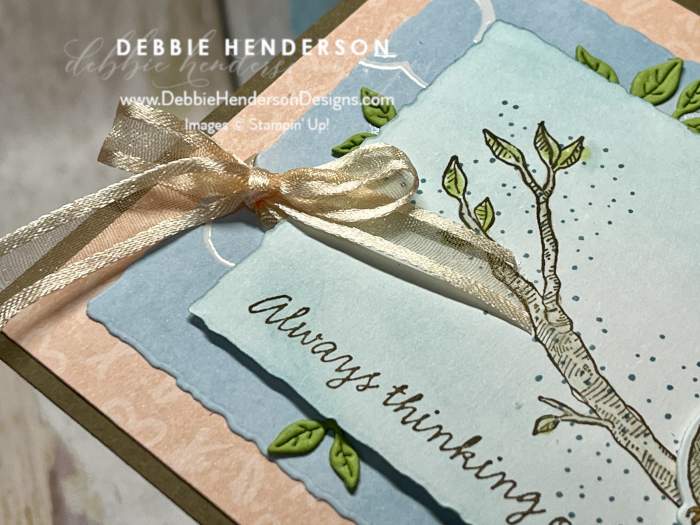
I added two layers of designer paper to my card to add some pretty patterned colors. Notice the torn look on the edges of my top two layers? Those were created when I used the Deckled Rectangle Dies to cut my two layers with:


Stampin’ Up! Products Used:
- Stamps: Nested Friends
- Inks: Soft Suede, Granny Apple Green, Balmy Blue, Pumpkin Pie Stampin’ Blends Markers, Granny Apple Green Stampin’ Blends Markers
- Cardstock: Soft Suede, Basic White, Granny Apple Green
- Designer Paper: Country Floral, Rain Or Shine
- Tools & Accessories: Stampin’ Dimensionals, Nested Friends Dies, Pale Papaya Open Weave Ribbon, Blender Pen, Blending Brush
Card Recipe:
- Card Base: Soft Suede Cardstock 8-1/2″ x 5-1/2″. Score and fold at 4-1/4″.
- Layer #2: Country Floral Designer Paper 5-1/4″ x 4″. Glue to card base.
- Layer #3: Rain Or Shine Designer Paper cut with the Deckled Rectangle Dies 4-3/4″ x 3-3/8″. Wrap the ribbon around the designer paper and tie into a bow at the left. Glue to card front.
- Layer #4: Basic White Cardstock cut with the Deckled Rectangle Dies 3-7/8″ x 2-5/8″. Follow these steps:
- Stamp the branch image with Soft Suede Ink. Use a Blender Pen to color with the inked lines.
- Use a Blending Brush with Balmy Blue Ink to add ink around the outside of the branch.
- Color the leaves with Granny Apple Green Stampin’ Blends Markers.
- Stamp the dotted image around the branch with Balmy Blue Ink
- Stamp the sentiment at the bottom left corner with Soft Suede Ink.
- Stamp the bird image on a scrap piece of Basic White Cardstock with Soft Sued Ink. Color with the inked lines. Use the Blending Brush to add Balmy Blue Ink to the bird’s belly. Color the beak and claws with the Pumpkin Pie Stampin’ Blends Marker. Cut with the die and glue to the branch with Stampin’ Dimensionals.
- Glue layer to card front with Stampin’ Dimensionals.
- Laves: Use the dies to cut multiple leaves with Granny Apple Green Cardstock. Glue tucked under the stamped layer.
Now you can follow the rest of the Saturday Blog Hop by clicking on the links below to visit my talented teammates! Click PREVIOUS to visit Libby and NEXT to visit Melissa:


Lovely! I really like the addition of the little leaves peaking out from under the center layer.