Catching Butterflies, Earn for FREE!

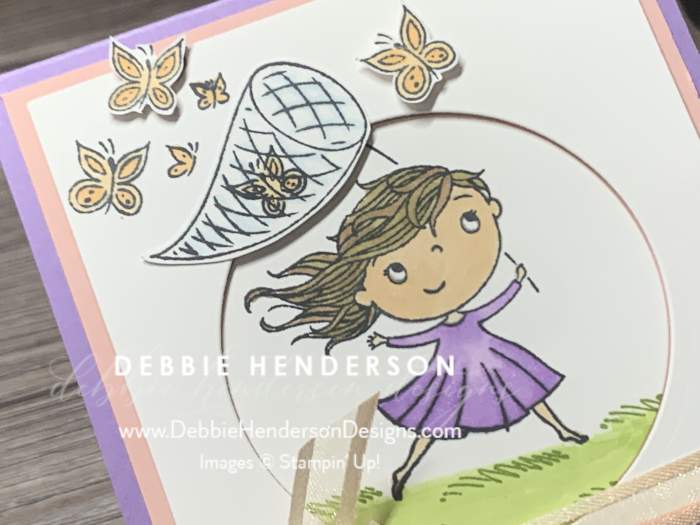
This week, my stamp set feature is the Catching Butterflies stamp set. You can earn for free from now until February 28th with a $50 order. Imagine placing an order and finding this new stamp set tucked in with your order. I have five projects lined up this week using this stamp set and I promise you will love them all! Here’s my card:

I love the expression on the butterfly catcher’s face. Priceless. And those butterflies, need I say cute?
Card Recipe:
- Card Base: Highland Heather Cardstock 11″ x 4-1/4″. Score and fold at 5-1/2″.
- Layer #2: Blushing Bride Cardstock 5-1/4″ x 4″. Glue to card base.
- Layer #3: Basic White Cardstock 5″ x 3-3/4″. Follow these steps:
- Stamp the butterfly catcher at the top.
- Stamp butterflies above the netting.
- Cut out a circle from the Layering Circles Dies that measures 2-5/8″ about 1″ from the top.
- Stamp the net portion of the stamp on a scrap piece of Basic White Cardstock. Stamp the small butterfly inside the net. Hand-cut the net with Paper Snips.
- Stamp the butterflies on a scrap piece of Basic White Cardstock and cut out two of the butterflies.
- Color all of the images using Stampin’ Blends Markers. I used Highland Heather, Petal Pink, Balmy Blue, Soft Suede and Ivory.
- Stamp the grass image several times on the circle using Old Olive Ink. Color using the light Old Olive Stampin’ Blends.
- Glue white layer to card front using Stampin’ Dimensionals.
- Glue the white circle inside the hole flat.
- Glue the net over the first net flat.
- Glue the two butterflies using Mini Stampin’ Dimensionals.
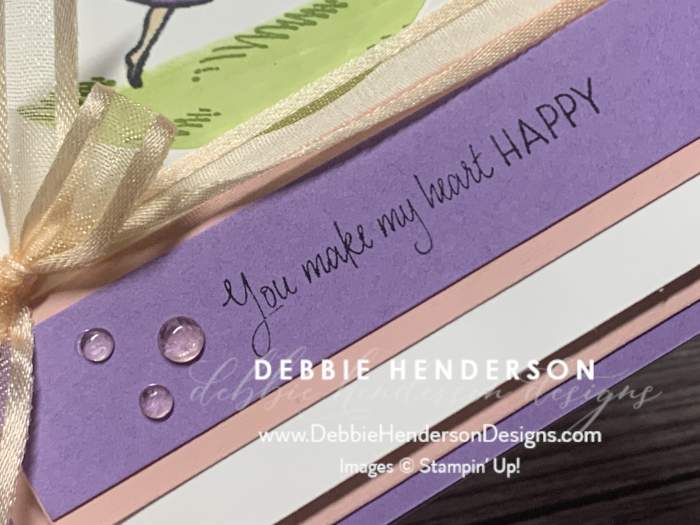
- Glue a strip of Blushing Bride Cardstock below the hole that measures 3-3/4″ x 1″.
- Stamp the sentiment of a piece of Highland Heather Cardstock that measures 3-3/4″ x 3/4″ with Highland Heather Ink. Glue to Blushing Bride strip.
- Wrap Pale Papaya Open Weave Ribbon around the card front and tie into a bow at the left.
- Add Polished Dots to the sentiment layer.


Leave a Reply