New Annual Catalog Products!

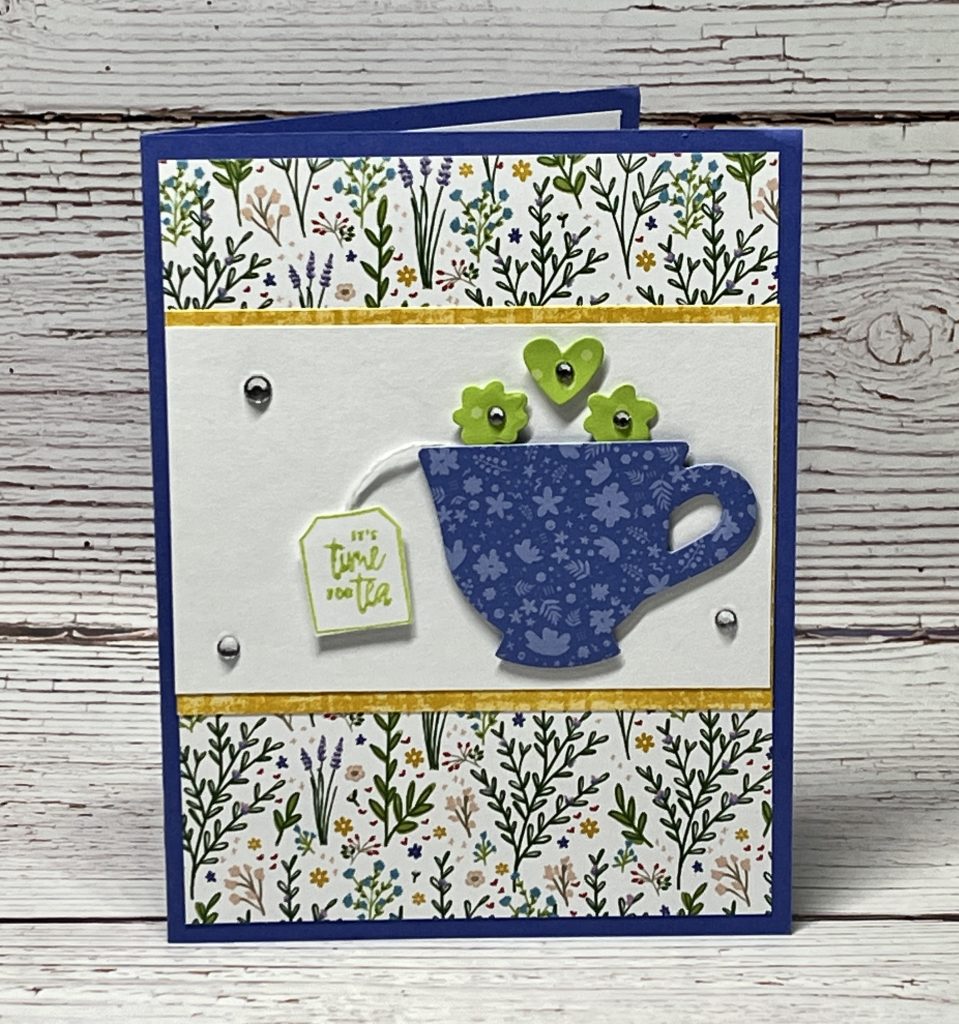
I hosted a team swap when our new Annual Catalog debuted a whole month early for demonstrators. This first card was my swap card. I used the new Cup Of Tea Bundle paired with the Tea Boutique Designer Paper which comes in the 6″ x 6″ size. Did you also notice the Fern 3D Embossing on the background layer?


Card Layers:
- Card Base: Sweet Sorbet Cardstock 11″ x 4-1/4″. Score and fold at 5-1/2″.
- Layer #2: Sahara Sand Cardstock 5-1/4″ x 4″. Emboss using the Fern 3D Embossing Folder. Glue to card base.
- Layer #3: Two patterns from the Tea Boutique Designer Paper 3″ x 2″. Glue each pattern layer to the card front, centered.
- Layer #4: Sahara Sand Cardstock 4″ x 1/2″. Trim both ends using the Banners Pick A Punch. Stamp the sentiment in the center using Sweet Sorbet Ink. Glue to the center of the designer papers using Stampin’ Dimensionals.
- Stamp images: Stamp and cut the following:
- Teacup: Stamp the tea cup image using Sweet Sorbet Ink. Cut with the die and glue above the sentiment using Stampin’ Dimensionals.
- Lemon Wedge: Stamp using Sweet Sorbet Ink on Basic White Cardstock. Cut with the die and glue to the right of the teacup using Stampin’ Dimensionals.
- Branches: Stamp two branches on Basic White Cardstock using Sahara Sand Ink. Cut with the die and glue one flat and the 2nd branch with Stampin’ Dimensionals.
- Flower: Stamp one flower on Basic White Cardstock using Crushed Curry Ink. Cut with the die and glue tucked within the branches with Mini Stampin’ Dimensionals.
- Bling: Add Rhinestone Basic Jewels to the lemon wedge and the flower.
Below is a photo of all of the cards I received from the girls on my team:


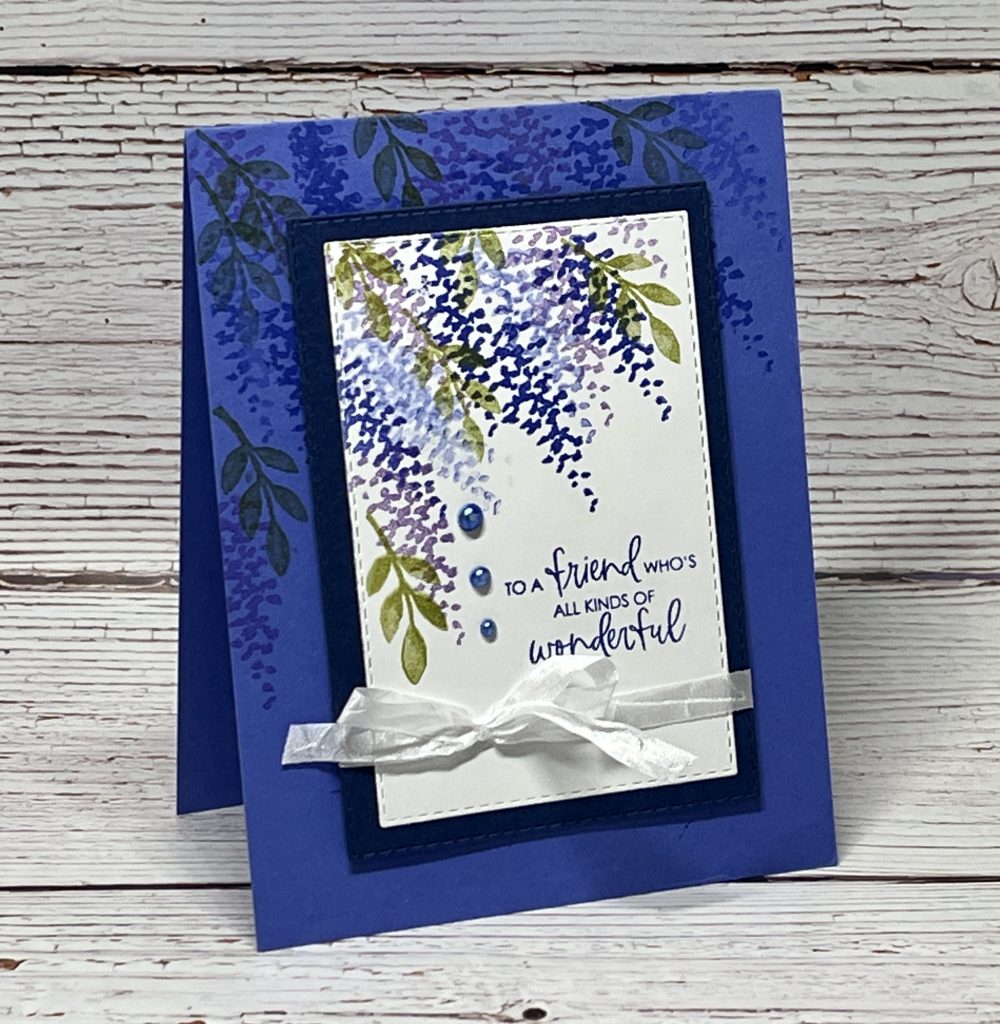
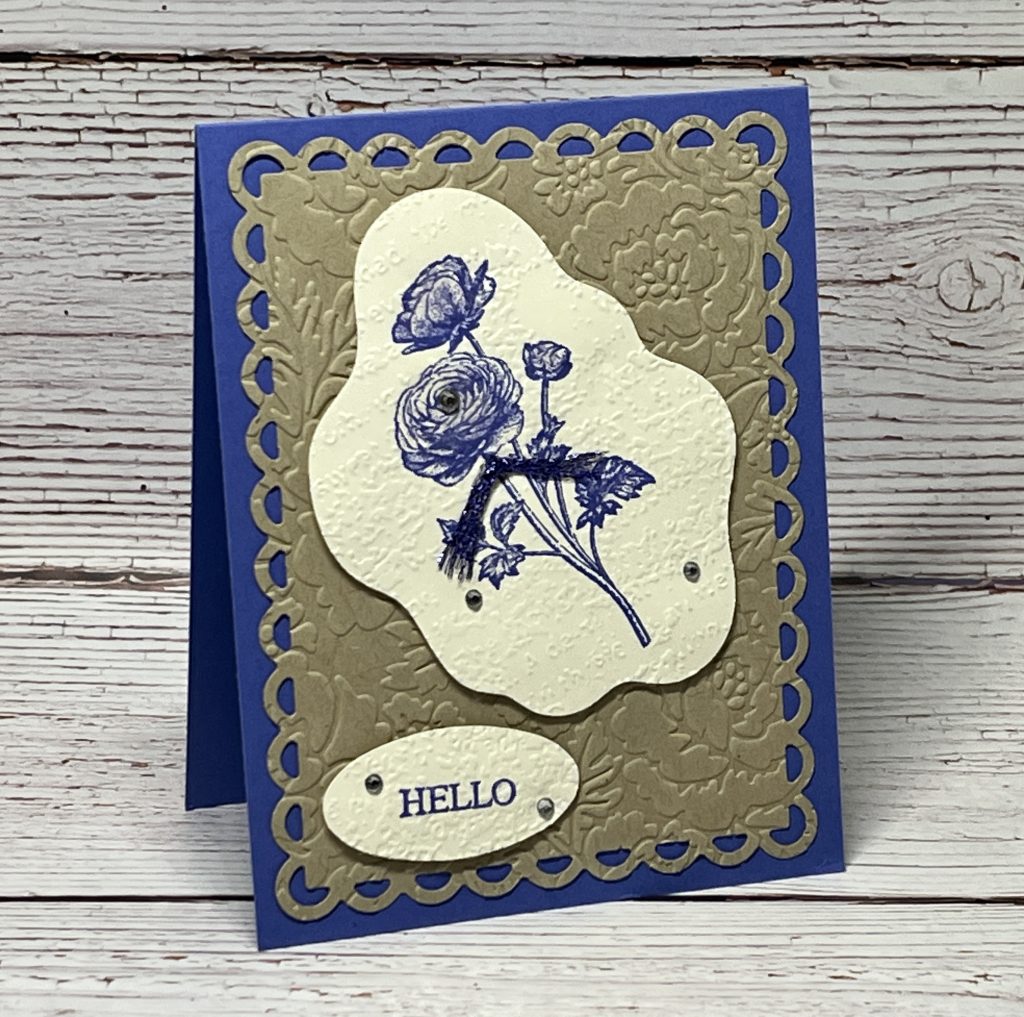


Using the sweet sorbet with the sahara sand color scheme makes for an elegant card!! Thank you for sharing these!!
Deb
Thanks so much Deb!
Thank you Deb!