Add a WOW to your project!

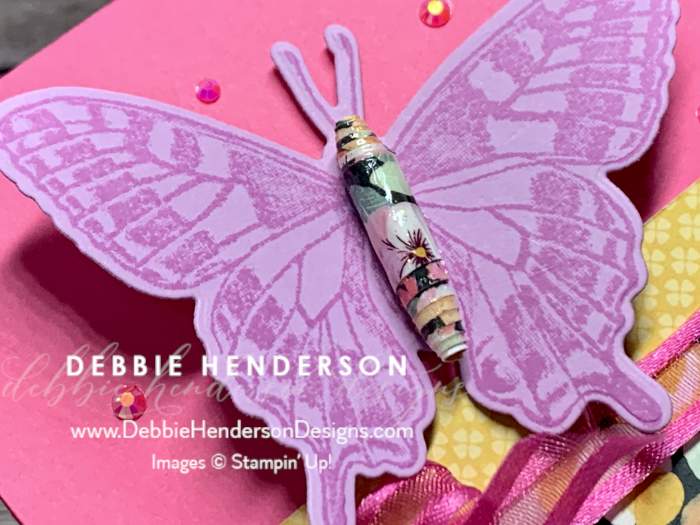
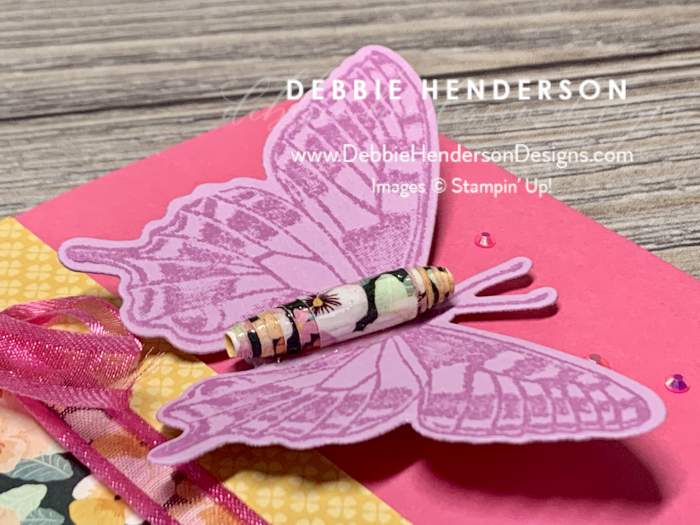
I brought back an oldie but goodie with my Pansy Petals Bead. Did you notice that beautiful bead on the center of my butterfly? I made that with a strip of designer paper, Shimmery Crystal Effects, glue, a toothpick and an empty embellishment lid. So easy and I’ll show you how. First, let’s take a peek at some more of the details with these photos:
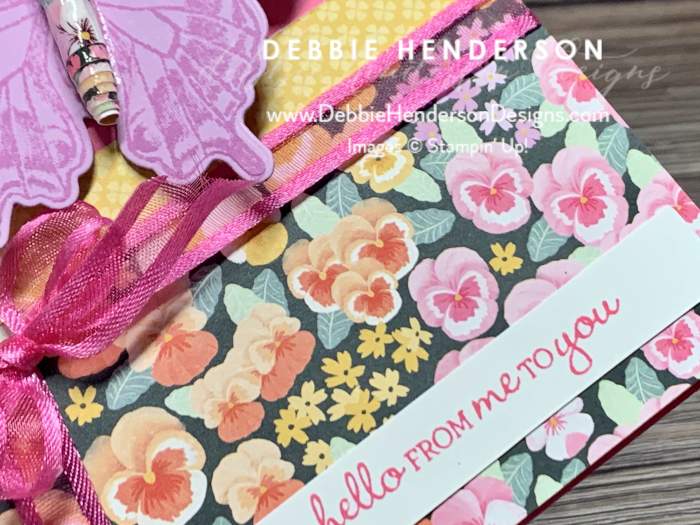
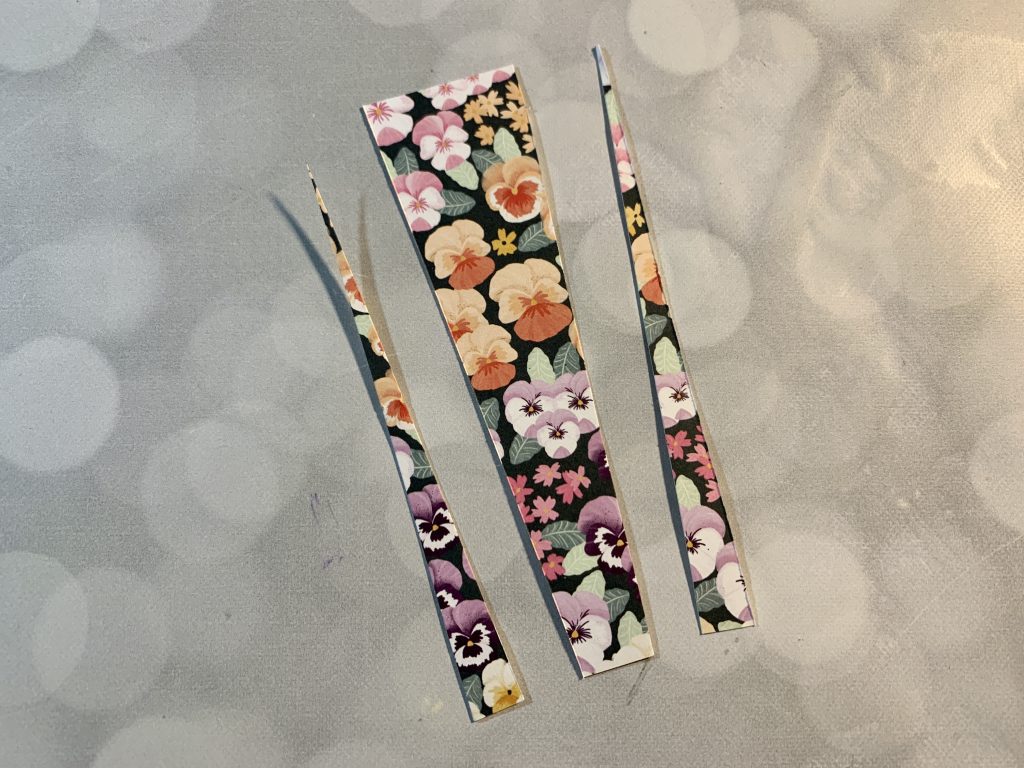
I have all of the details for the bead in my video at the end of my post but I thought I would show you the photos as well. I started off with a piece of designer paper that measures 4″ x 1-1/4″. I then cut off two snips on each long end about 1/2″ down to the corner at the other end, tapered. Do this on both sides:
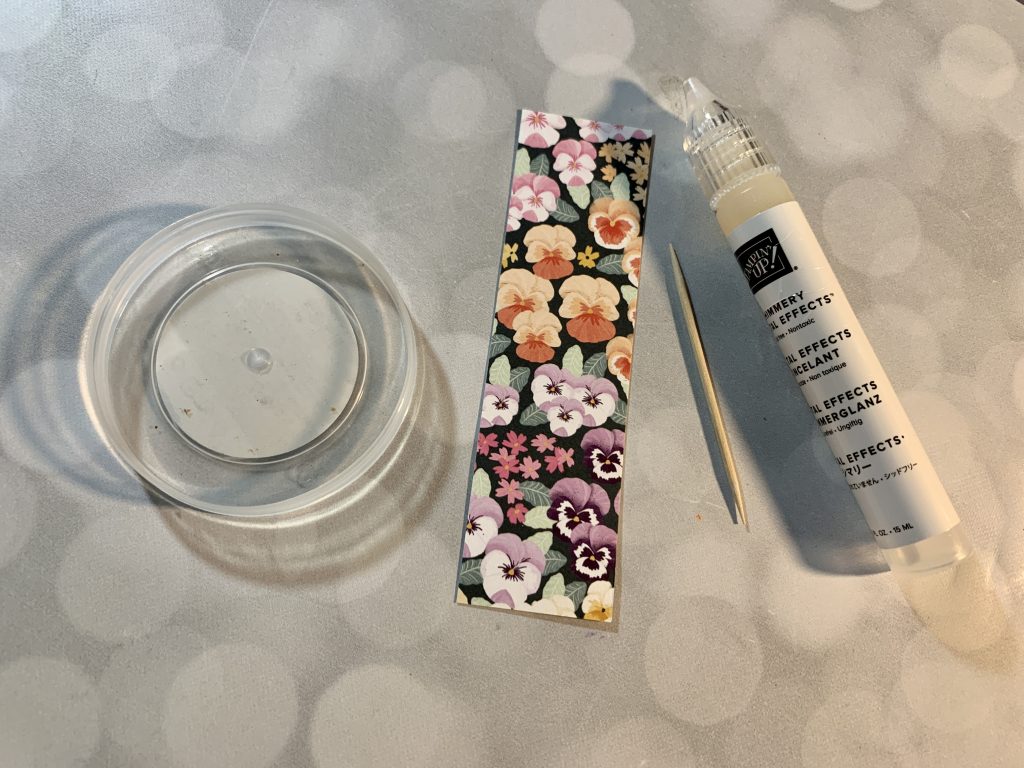
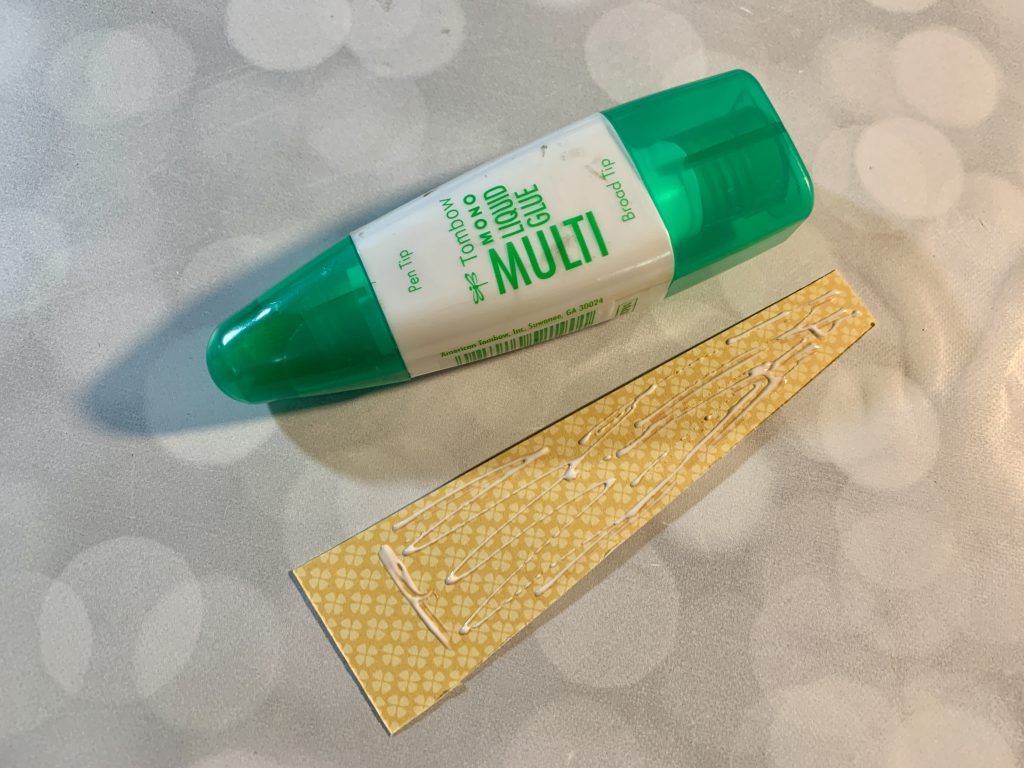
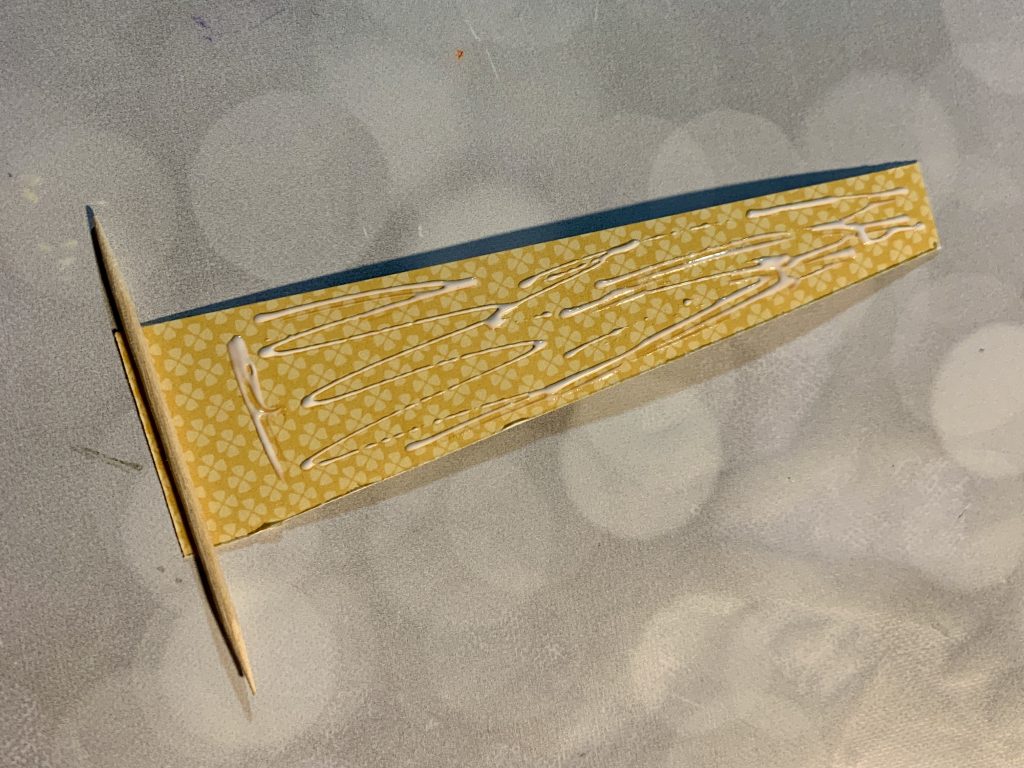
Add liquid glue to the backside only up to 1/2″ from the wide end. Place the toothpick on the wide end without the glue and start rolling. Roll tight until you get to the small end. This creates the shape of the bead. Lay the bead with the toothpick so it rests on the edges of the empty embellishment container. Cover the whole bead with the Shimmery Crystal Effects and allow to dry. Once dry, pull the toothpick away and glue the bead to your project!
Now you can watch my video and create a card of your own!


Love the butterflies! Loved this technique! Debbie..you are always in my thoughts and prayers❤
Thanks so much!