What a great way to create a background!

Have you ever used a punch repeatedly to create a neat background? That’s what I did here on my card for today. This card was created for a Punch Art Challenge during our World Card Making Day a few weeks ago. I challenged all of the attendees of our WCMD event to join in and there was a drawing for a gift from me.
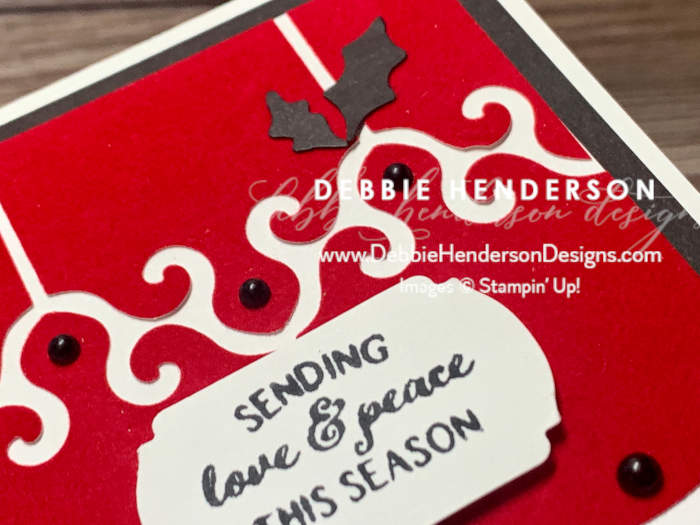
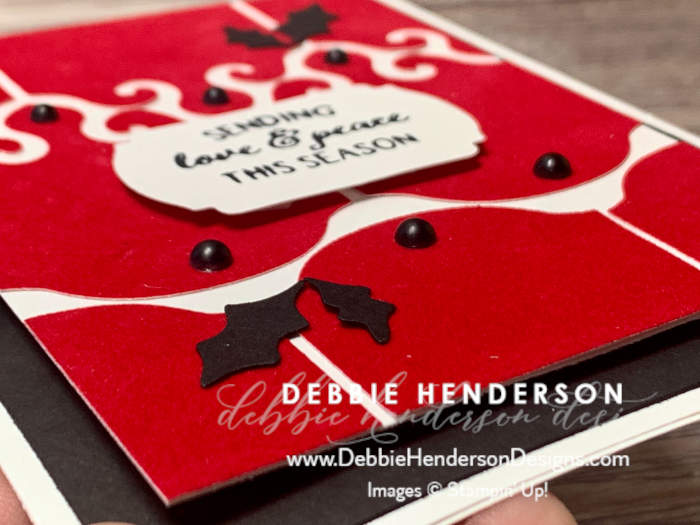
Love the swirls that are created in the white space when I left a 1/8″ spacing between all of my punched piecdes. I also used our Red Velvet Paper for the punched shapes. The paper is so soft and pretty. Here are a few more photos of the details:
Card Recipe:
- Card Base: Thick Basic White Cardstock 11″ x 4-1/4″. Score and fold at 5-1/2″.
- Layer #2: Basic Black Cardstock 5-1/4″ x 4″. Glue to card base.
- Layer #3: Basic White Cardstock 4-3/4″ x 3-1/2″. Set aside.
- Layer #4: Using the Elegant Tag Punch and Red Velvet Paper, cut (9) labels. Glue two of the labels side-by-side, leaving 1/8″ between them in the center vertically. Glue three labels below the first row by turning the labels in the opposite direction and staggering them with 1/8″ spacing all around. Glue three more labels at the top by turning them in the opposite direction with 1/8″ spacing all around. Trim all four sides of the labels that overextended around the white cardstock. Glue to card front using Stampin’ Dimensionals.
- Sentiment: Stamp the sentiment on Basic White Cardstock using Memento Tuxedo Black Ink from the Peaceful Deer stamp set. Cut with the Label Me Fancy Punch. Glue to card front using Stampin’ Dimensionals.
- Holly Leaves: Using Basic Black Cardstock and the Holly Border Punch, cut 2 sets of the holly leaves. Glue to card front using liquid glue.
- Bling: Add Matte Black Dots to the background.


Leave a Reply