Sketch Challenge Week With Lovely Arrangements!
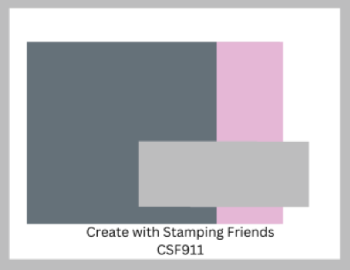
It’s Thursday Challenge time at Create With Stamping Friends . I have some pretty layers to show you this week using our Sketch Challenge:
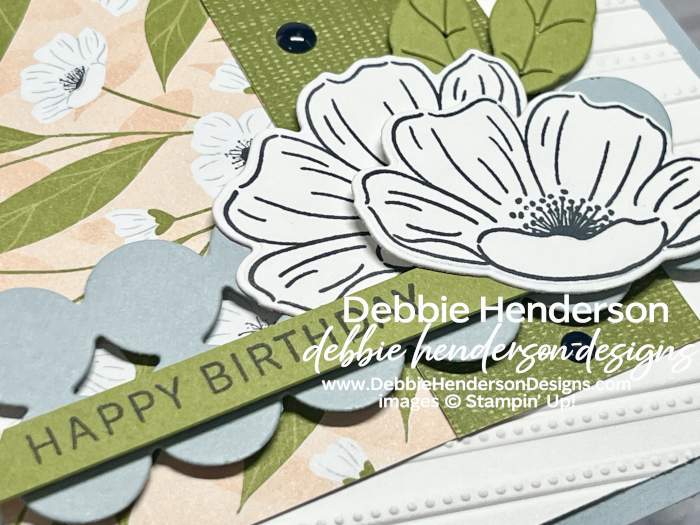
I used lots and lots of products from one of our newest suites called Lovely Blossoms:

There’s so much to show you from this collection:
- Stamp & Die Bundle
- Embossing Folder
- Embellishments
- Designer Paper
Stampin’ Up! Products Used:
- Stamps: Lovely Arrangements
- Cardstock: Cloud Cover, Old Olive, Basic White
- Designer Paper: Lovely Blossoms
- Inks: Secret Sea
- Tools & Accessories: Lovely Arrangements Dies, Moody Palette Glossy Dots, Lovely Stripes 3D Embossing Folder, Stampin’ Dimensionals, Mini Stampin’ Dimensionals, Paper Snips
Card Recipe:
- Card Base: Cloudy Cover Cardstock 8-1/2 x 5-1/2. Score and fold at 4-1/4.
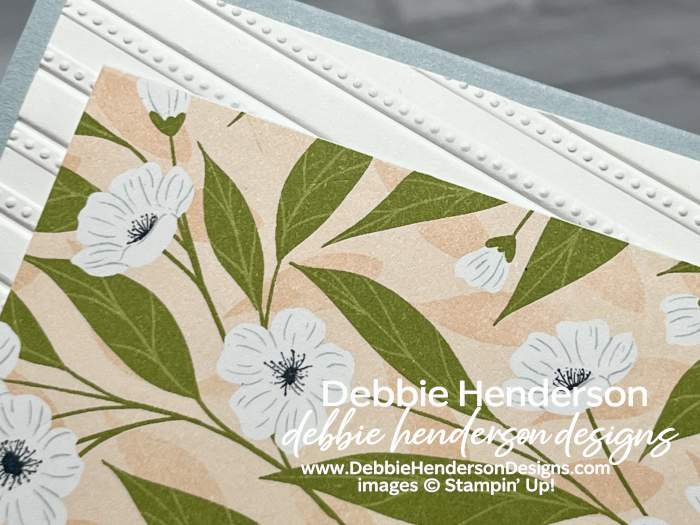
- Layer 2: Basic White Cardstock 5-1/4 x 4. Emboss with the Lovel Stripes Embossing Folder set at an angle. Glue to card base.
- Layer 3: Lovely Blossoms Designer Paper 3 x 3. Glue about 1/2″ from the left edge.
- Layer 4: Lovely Blossoms Designer Paper 3 x 1-1/4. Glue next to the first layer of designer paper.
- Layer 5: Cloud Cover Cardstock cut with the circles background die. Cut off 2 rows of circles and glue about 1″ from the bottom and 1/2″ from the right with Stampin’ Dimensionals.
- Flowers: Stamp 1 of each flower with Secret Sea Ink on Basic White Cardstock. Cut with the dies. Glue the large flower to the circles diecut. Glue the smaller flower layered over the 1st flower with Stampin’ Dimensionals.
- Sentiment: Stamp the sentiment with Secret Sea Ink on Old Olive Cardstock 2-1/2 x 1/4. Trim the left end at an angle. Tuck and glue under the flowers and over the circles with Mini Stampin’ Dimensionals.
- Bling: Add Moody Palette Glossy Dots to the smaller designer paper layer.
Check out what the rest of our team is up to this week by visiting Create With Stamping Friends and while visiting, check out our newest tutorial Collection:


Leave a Reply