Sketch Challenge Week With Sweet Bugs!
Good morning and welcome to a new Thursday Challenge at Create With Stamping Friends . This week, we have this sketch to follow:

I love using sketches to create a card. All of the work is done for you as far as figuring out what type of layers you want to use. I decided to keep the larger circle shapes as circles and added a bug for the smaller circle shape:

It was easy to cut different patterns and layers with the Cute As A Bug Designer Paper. You can see three different patterns that I used from this paper package:


Stampin’ Up! Products Used:
- Stamps: Sweet Bugs
- Cardstock: Poppy Parade, Mossy Meadow, Basic White
- Designer Paper: Cute As A Bug
- Inks: Mossy Meadow
- Stampin’ Blends: Poppy Parade, Old Olive, Flirty Flamingo
- Tools & Accessories: Sweet Bugs Dies, 2″ Circle Punch, Ladybug Garden Epoxy Shapes, Stampin’ Dimensionals, Paper Snips
Card Recipe:
- Card Base: Poppy Parade Cardstock 11 x 4-1/4. Score and fold at 5-1/2.
- Layer 2: Cute As A Bug Designer Paper 5 x 3-3/4. Glue to card base.
- Layer 3: Mossy Meadown Cardstock 3-3/4 x 2. Glue to card front centered.
- Circles: Cut 2 circles with the 2″ Circle Punch and two patterns from the Cute As A Bug Designer Paper. Glue to mossy layer with Stampin’ Dimensionals.
- Bug: Stamp the bug image on Basic White Cardstock with Mossy Meadown Ink. Color with Stampin’ Blends. Cut with the die. Glue to the left of the circles with Stampin’ Dimensionals.
- Sentiment: Stamp the sentiment on Basic White Cardstock 2-3/4 x 1/2 with Mossy Meadow Ink. Cut the ends into a banner shape with Paper Snips. Glue to the right of the bug on the circles.
- Bling: Add Ladybug Garden Epoxy Shapes to the circles (clear ones).
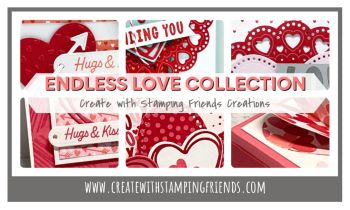
Check out what the rest of our team is up to this week by visiting Create With Stamping Friends and while visiting, check out our newest tutorial Collection:


Leave a Reply