Ready For Christmas Theme!

Welcome to our Saturday Blog Hop at Create With Stamping Friends. I hope you had a great Thanksgiving celebration this week. Now it’s time to focus on Christmas. Our theme this week is Ready For Christmas and I used the Homemade Treats Bundle for my card:
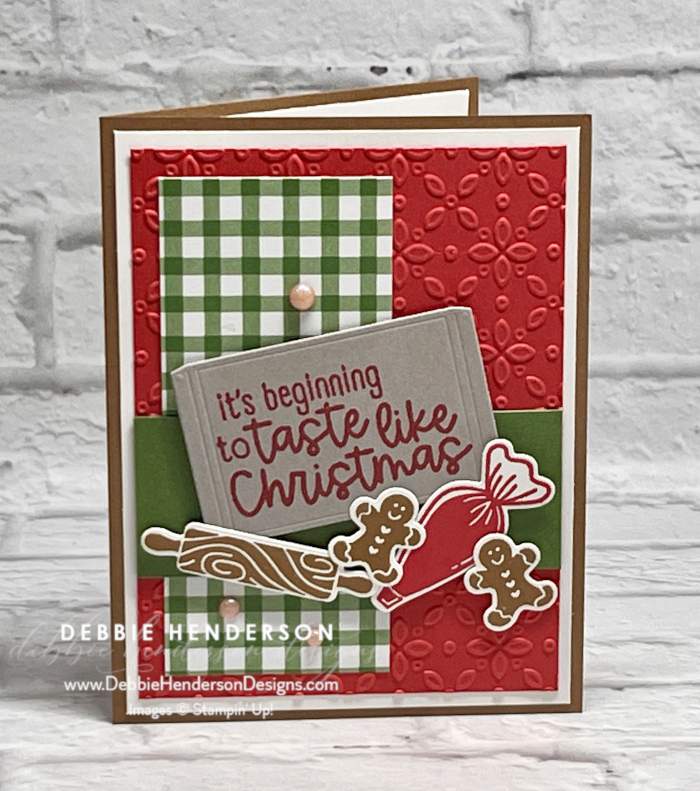
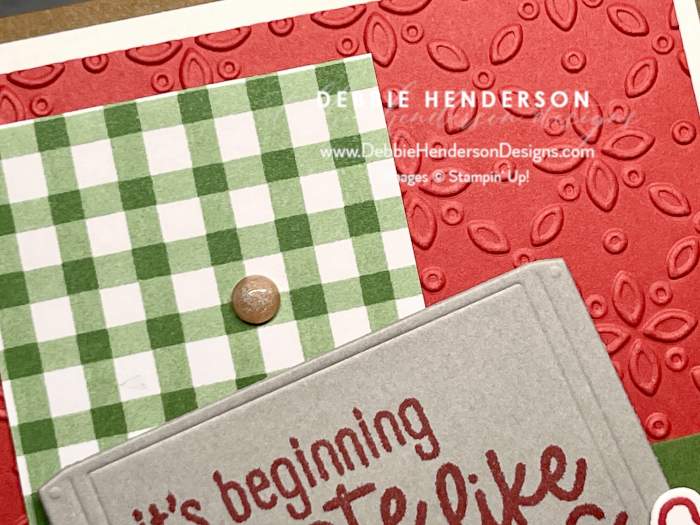
There are so many stamp images and dies that it’s a lot of fun to layer. I almost couldn’t stop myself! I also added some pretty dry embossing to my Real Red layer with the Eyelet Embossing Folder:
Stampin’ Up! Products Used:
- Stamps: Homemade Treats
- Inks: Real Red, Pecan Pie
- Cardstock: Real Red, Pecan Pie, Garden Green, Gray Granite, Basic White
- Designer Paper: Christmas Tags & More
- Tools & Accessories: Homemade Treats Dies, Delightful Decorative Dots, Eyelet Embossing Folder, Stampin’ Dimensionals
Card Recipe:
- Card Base: Pecan Pie Cardstock 8-1/2 x 5-1/2. Score and fold at 4-1/4.
- Layer 2: Basic White Cardstock 5-1/4 x 4. Glue to card base.
- Layer 3: Real Red Cardstock 5 x 3-3/4. Emboss with the Eyelet Embossing Folder. Glue to card front.
- Layer 4: Christmas Tags & More Designer Paper 4-1/2 x 2. Glue 1/4″ from the edge of the red layer on the left.
- Layer 5: Garden Green Cardstock 3-3/4 x 1-1/2. Glue about 1-1/2″ from the bottom.
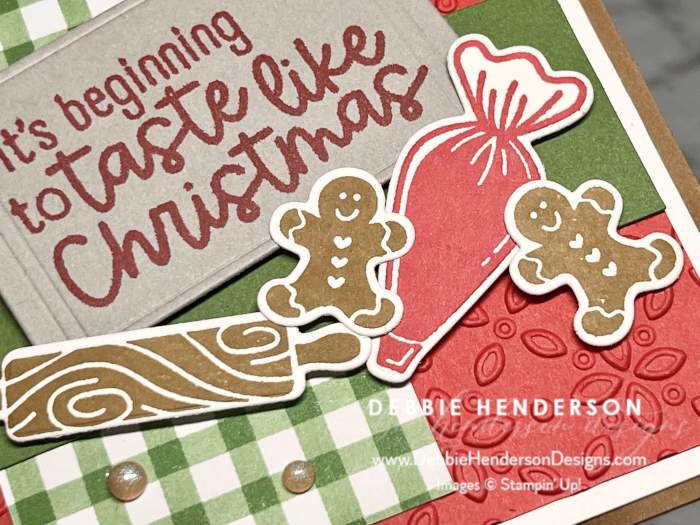
- Cookie Sheet: Use the die to cut the cookie sheet with Gray Granite Cardstock. Stamp the senitment in the center with Real Red Ink. Glue to green layer at an angle with Stampin’ Dimensionals.
- Stamped Images; Stamp the rolling pin and 2 gingerbread men with Pecan Pie Ink on Basic White Cardstock. Stamp the icing bag with Real Red Ink on Basic White Cardstock. Cut all images with the dies and glue below the cookie sheet with Stampin’ Dimensionals.
- Bling: Add Delightful Decorative Dots to the designer paper background.
Now you can follow the rest of the Saturday Blog Hop by clicking on the links below to visit my talented teammates! Click BACK to visit the Create With Stamping Friends Blog and NEXT to visit Lori de Groot:


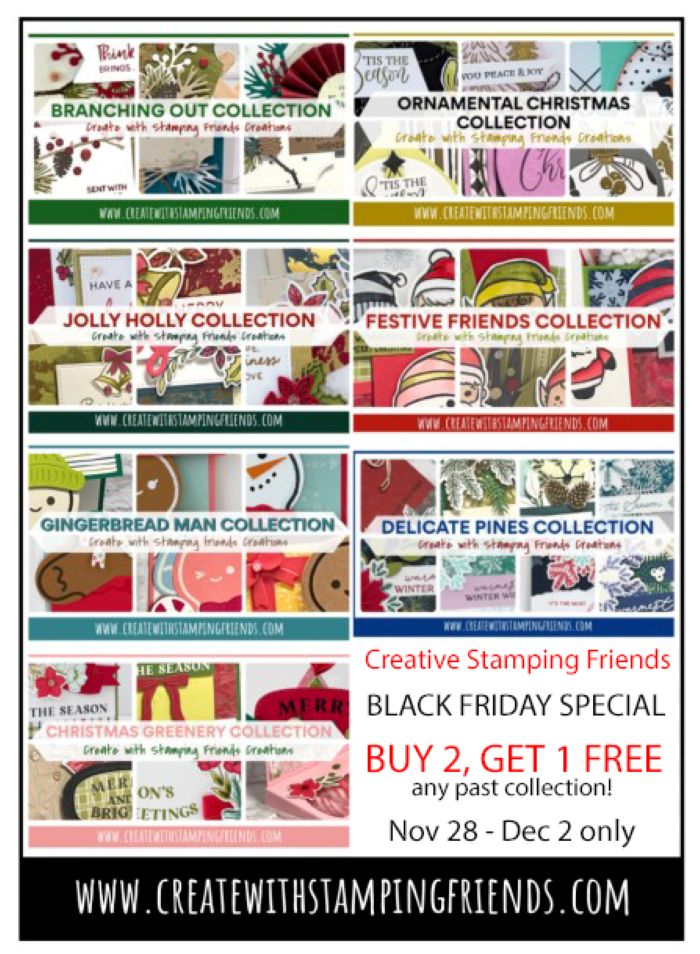
Check out our Black Friday Special on all of our Collections at Create With Stamping Friends:


Leave a Reply