A Watercolored & Diecut Christmas Wreath!

Welcome to our Create With Stamping Friends Inspiration Monday challenges. This week’s inspiration challenge is this beautiful Christmas wreath image:

I created my own watercolored wreath using some branch diecuts and I’ll show you how using a few tools and a few ink pads:
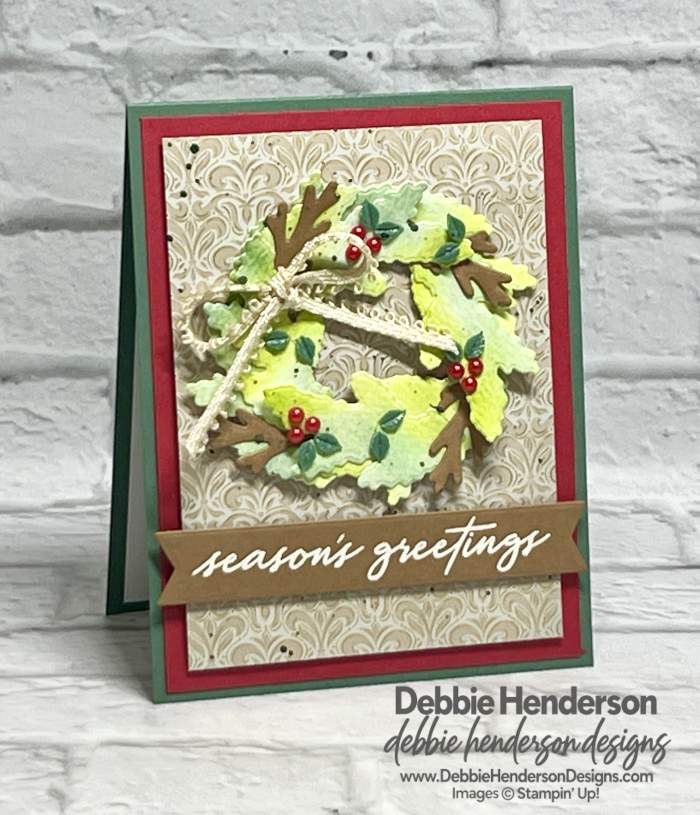
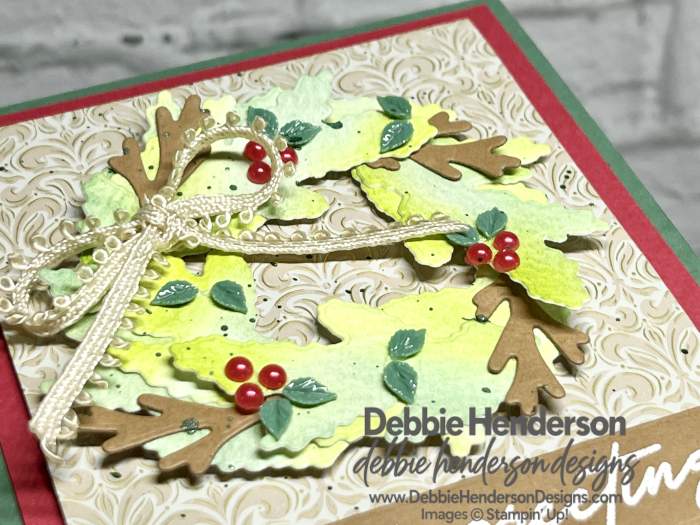
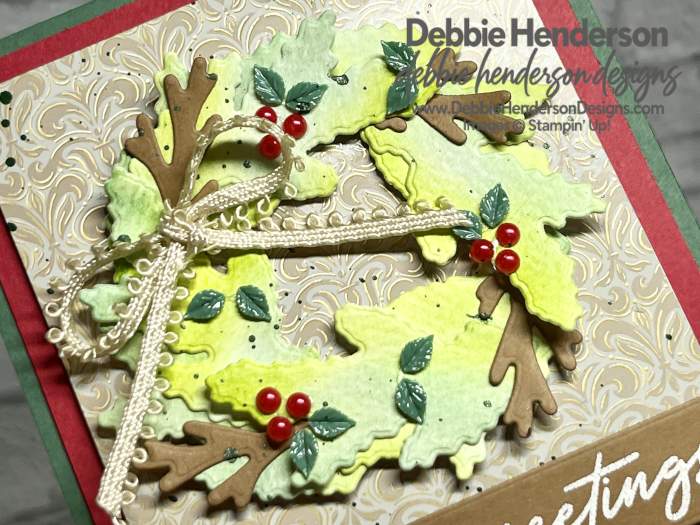
You can see that the diecut branches have multiple watercolored inks and then I added the embellishments and Pecan Pie branches as well. I even use the Peaceful Pine Shimmer Brush to add specks of ink all over the card front when all of my layers were in place:
Stampin’ Up! Products Used:
- Stamps: Noel Tidings
- Inks: VersaMark, Granny Apple Green, Peaceful Pine
- Cardstock: Peaceful Pine, Pecan Pie, Poppy Parade, Fluid 100 Watercolor Paper
- Designer Paper: Neutral Noel Specialty
- Tools & Accessories: Noel Tidings Dies, Stampin’ Spritzer, Heat Tool, Basics Embossing Powders, Stampin’ Dimensionals, Mini Glue Dots, Waterpainter, Adhesive Backed Christmas Berries, Crumb Cake Lacelet Trim
Card Recipe:
- Card Base: Peaceful Pine Cardstock 11 x 4-1/4. Score and fold at 5-1/2.
- Layer 2: Poppy Parade Cardstock 5-1/4 x 4. Glue to card base.
- Layer 3: Neutral Noel Specialty Designer Paper 5 x 3-3/4. Set aside.
- Wreath: Here are my steps to creating a watercolored diecut wreath. Follow the steps below:
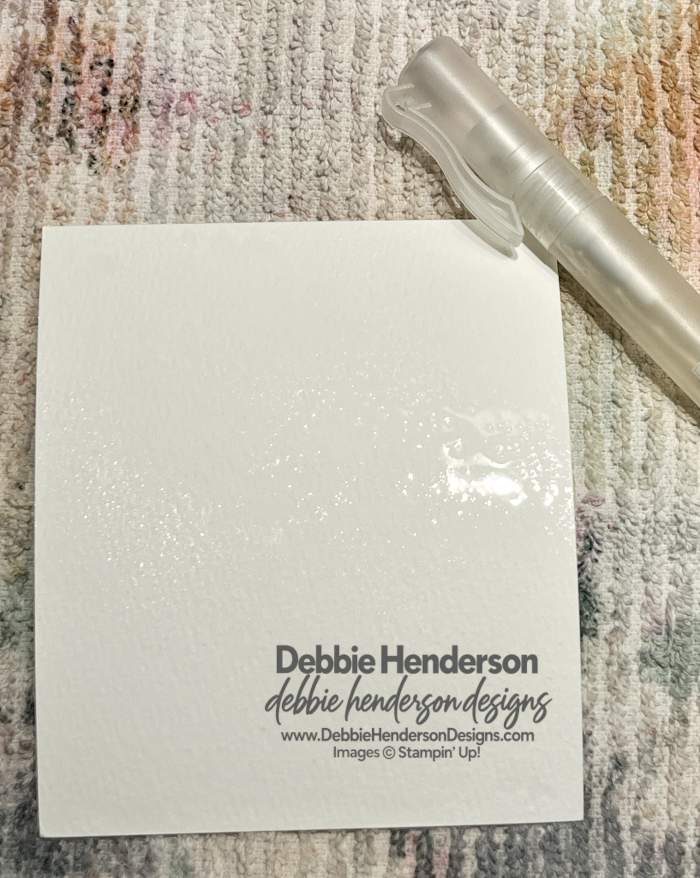
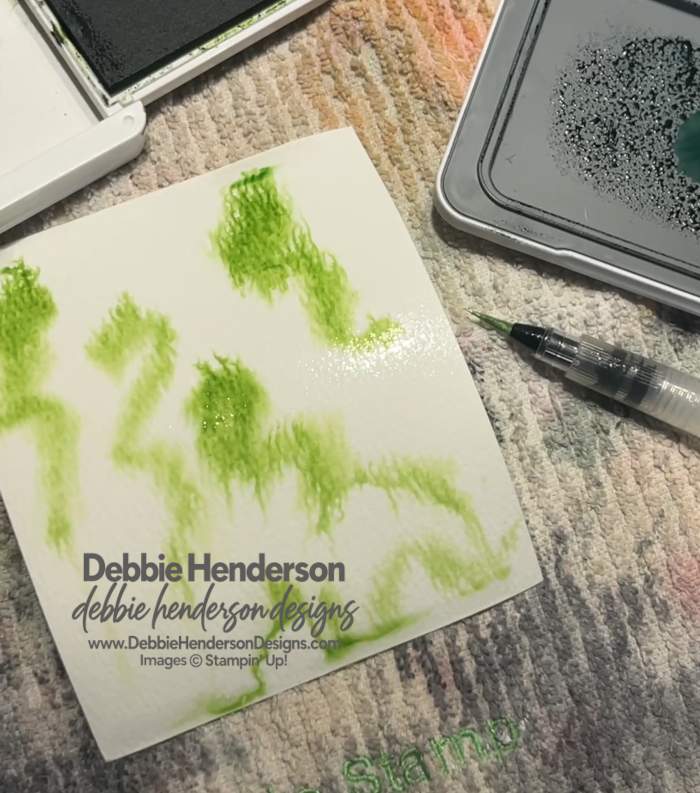
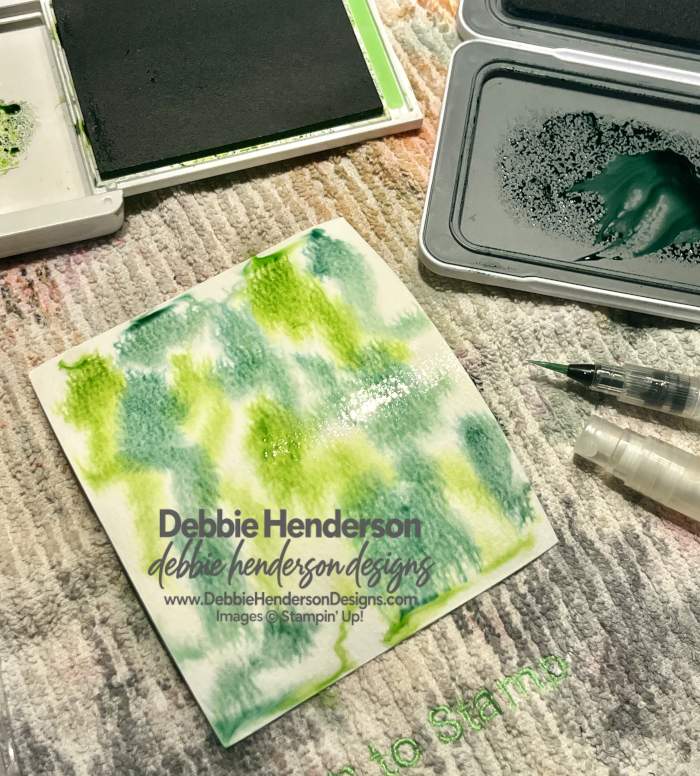
- Fluid 100 Watercolor Paper: Use a Stampin’ Spritzer filled with water to add lots of water to the watercolor paper.
- Add pressure to the lid of the Granny Apple Green Ink by squeezing before you open the lid. Open the lid and use a Water Painter to add water to the ink on the inside lid. Touch the tip of the water painter to the water you spritzed on the watercolor paper in different areas.
- Repeat the same step with Peaceful Pine Ink.
- As you add the ink to the watercolor paper, spritz with more water to make the ink run.
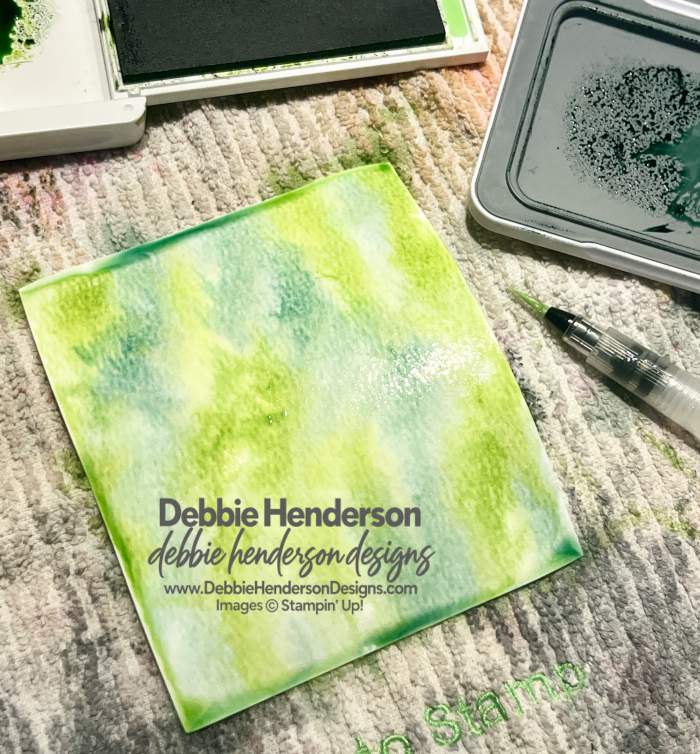

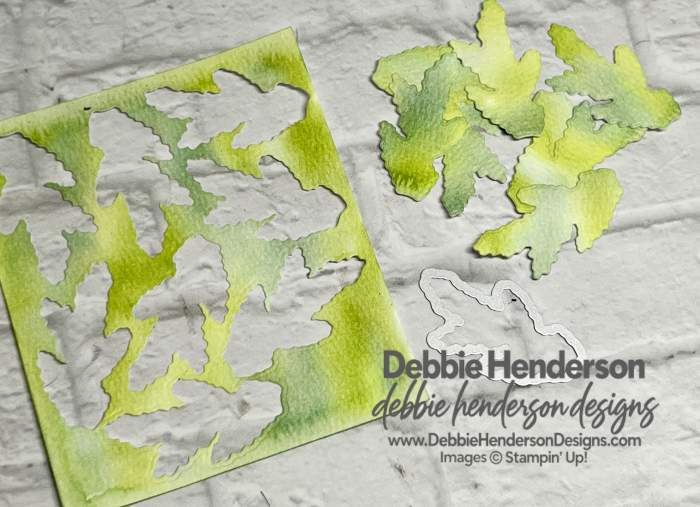
- Allow the watercolor paper to dry and if you are impatient, use a Heat Tool to help!
- Use the branch die to cut out 8 branches.
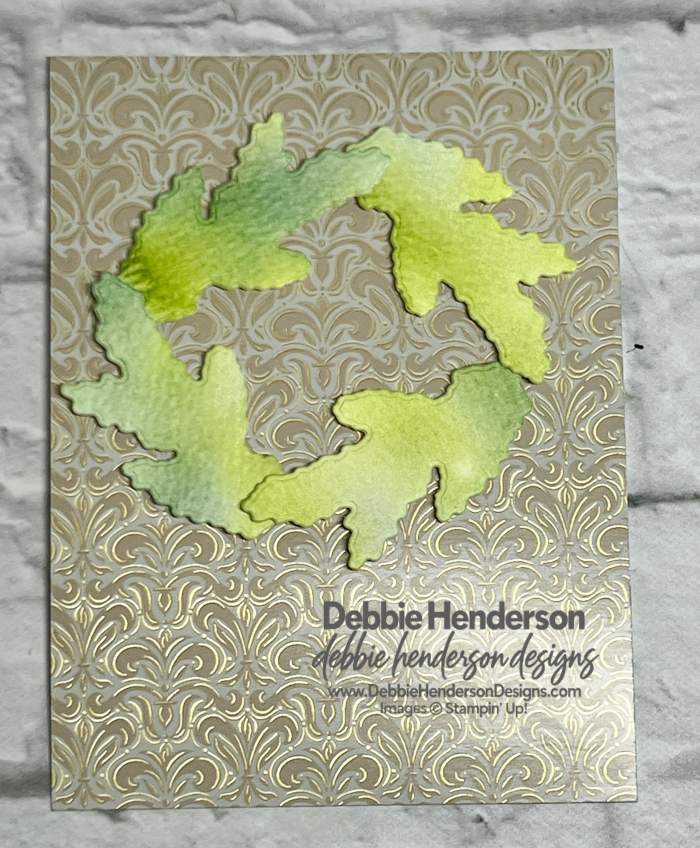
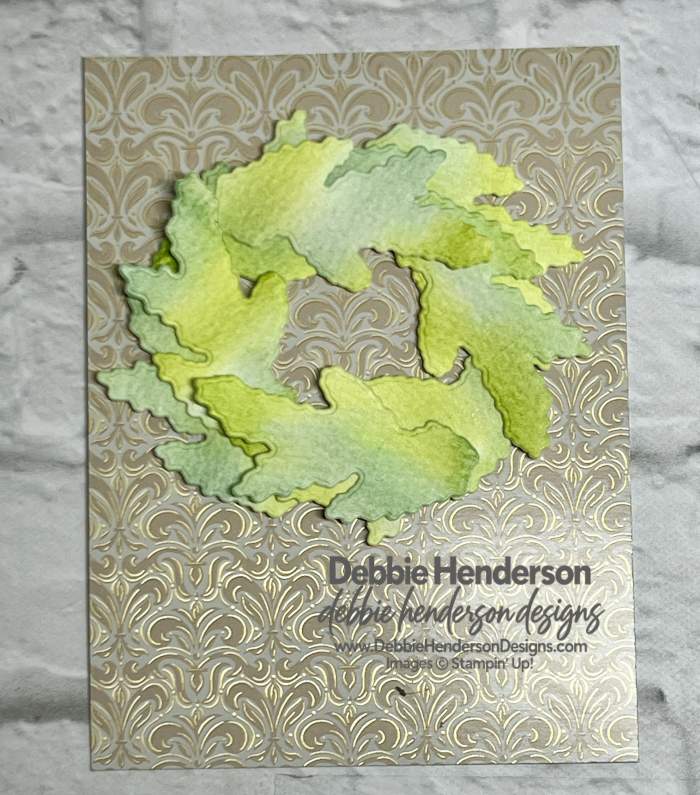
- Press in place, 4 branches in a circular wreath with Mini Stampin’ Dimensionals.
- Add a 2nd layer of branches flat over the first layer as shown in the 2nd photo.
- Diecut 4 skinny branches with Pecan Pie Cardstock. Tuck and glue under the watercolored branches.
- Tie a bow with the ribbon and glue to the top left on the wreath with Mini Glue Dots.
- Add Adhesive-Backed Berries to the wreath.
- Glue layer to card front with Stampin’ Dimensionals.
- Banner: Stamp the sentiment on Pecan Pie Cardstock with VersaMark Ink. Sprinkle with white embossing powder and melt the powder with a Heat Tool. Cut with the banner die. Glue banner below the wreath with Stampin’ Dimensionals.
- Specks: Add specks of ink with the Peaceful Pine Shimmer Brush by smacking the brush hard over your index finger on your opposite hand repeatedly.
Make sure you visit Create With Stamping Friends to see what Connie created for our team this week and see our newest tutorial Collection too:




Leave a Reply