Winter Adventures & Alpine Winter!
Welcome to our Create With Stamping Friends Inspiration Monday challenges. This week’s inspiration challenge is this alpine inspiration photo:
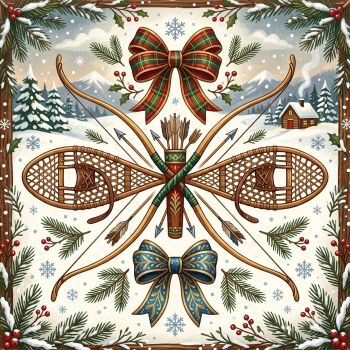
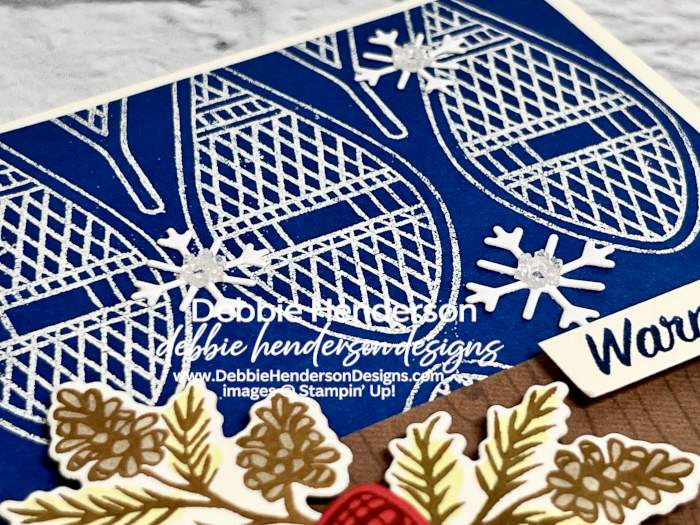
There’s a tiny little bit of blue in the inspiration photo so I used that as my stamping layer and then added a few layers so as not to cover my white-embossed snowshoes too much:
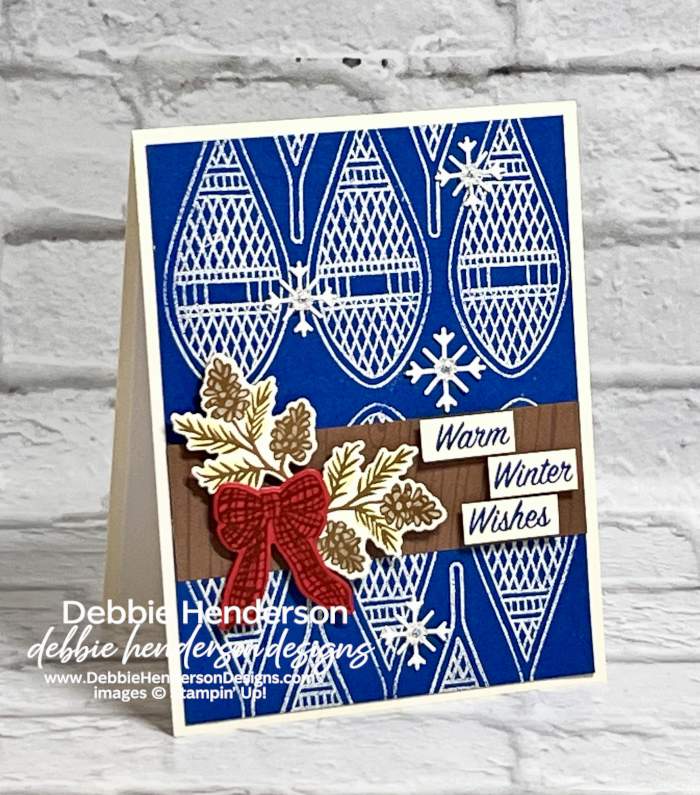
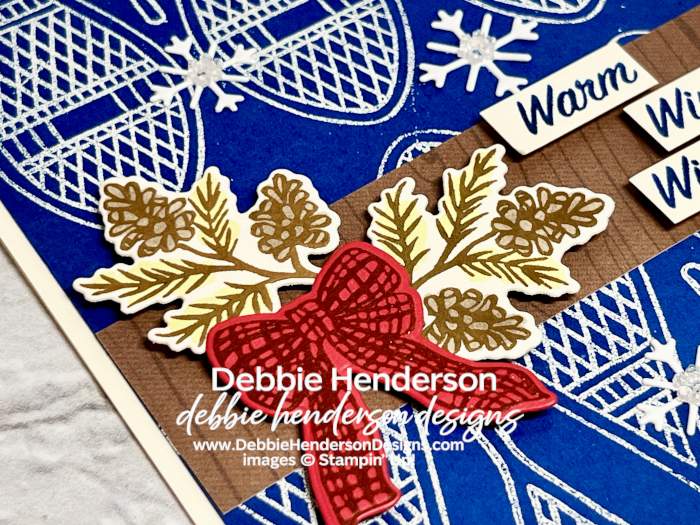
Do you like how the Poppy Parade stamped and diecut bow really pops against the other colros? I almost went with Coastal Cabana and then changed my mind. I stamped the snowshoes several times in horizontal rows and then sprinkled white embossing powder and set them with a Heat Tool:
Stampin’ Up! Products Used:
- Stamps: Winter Adventures
- Inks: VersaMark, Blueberry Bushel, Pecan Pie
- Stampin’ Blends: Pecan Pie, Soft Sea Foam
- Cardstock: Thick Basic White, Basic White, Blueberry Bushel, Poppy Parade
- Designer Paper: Alpine Winter
- Tools & Accessories: Winter Adventures Dies, Adhesive Backed Snowflakes, Stampin’ Dimensionals, Basics Embossing Powder, Heat Tool
Card Recipe:
- Card Base: Thick Basic White Cardstock 11 x 4-1/4. Score and fold at 5-1/2.
- Layer 2: Blueberry Bushel Cardstock 5-1/4 x 4. Stamp the snowshoe image repeatedly with VersaMark Ink in horizontal rows. Sprinkle white embossing powder and melt with the Heat Tool. Glue to card base.
- Layer 3: Alpine Winter Designer Paper 4 x 1-1/4. Glue to card front 1-1/4″ from the bottom.
- Bow: Stamp the bow image with Pecan Pie Ink on Poppy Parade Cardstock. Cut with the die and glue to the designer paper at the left with Stampin’ Dimensionals.
- Boughs: Stamp 2 boughs on Basic White Cardstock with Pecan Pie Ink. Cut with the die. Color with Stampin’ Blends. Tuck and glue around the bow with Stampin’ Dimensionals.
- Sentiment: Stamp the sentiment on Basic White Cardstock with Blueberry Bushel Ink. Cut close to the wording and cut into 3 separate words. Glue to the right of the boughs with Stampin’ Dimensionals.
- Snowflakes: Cut 4 snowflakes with the dies and Basic White Cardstock. Glue to blueberry bushel layer.
- Bling: Add Adhesive Backed Snowflakes to each snowflake.
Make sure you visit Create With Stamping Friends to see what Connie created for our team this week and see our newest tutorial Collection too:




Leave a Reply