Pretty Poinsettia & A Stitched Season!
Good morning and welcome to our Create With Stamping Friends Inspiration Monday challenges. This week’s inspiration photo challenges us to use anything you see on this photo:
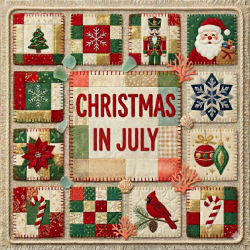
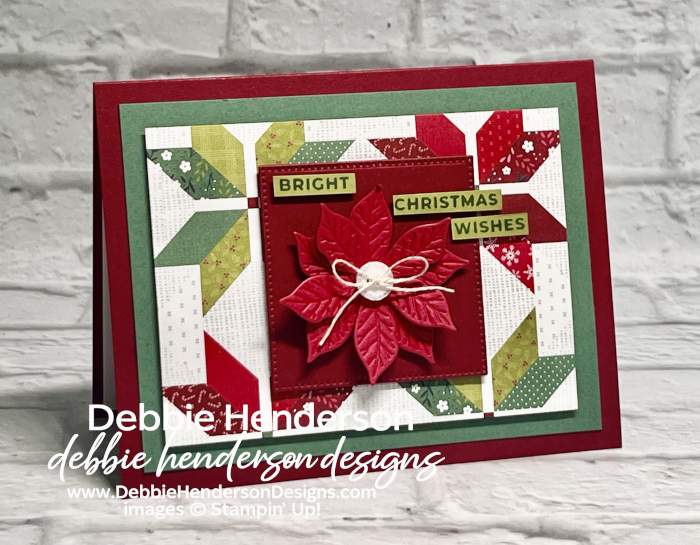
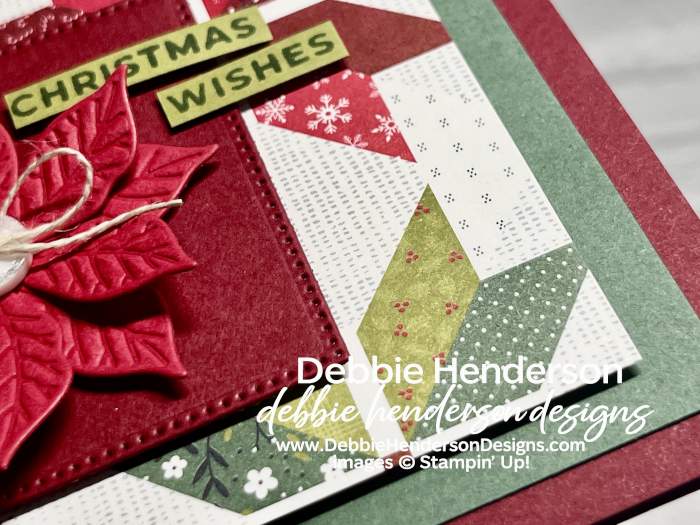
First off, it’s a quilted square and it’s got poinsettias too! I opted to use a quilted print from our A Stitched Season Designer Paper and topped it off with a beautiful layered Christmas flower from the Pretty Poinsettia Bundle:
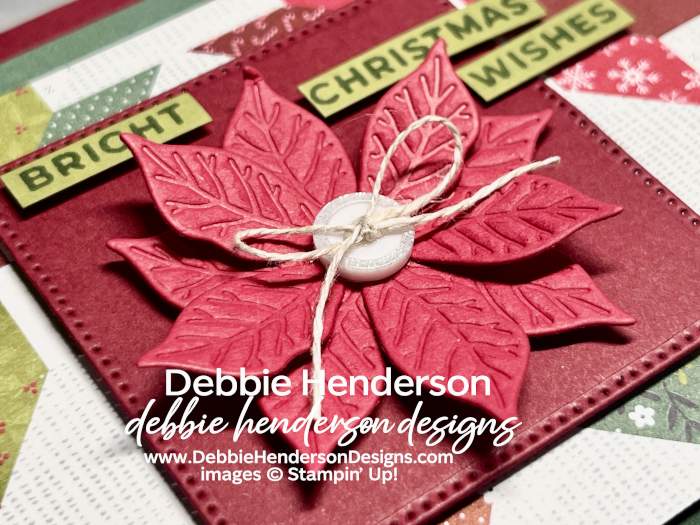
What you’ll notice on the diecut poinsettia layers, is the deep embossing from the diecuts. I have 2 layers of poinsettias on this flower topped with a button embellishment and a Linen Thread bow:
Stampin’ Up! Products Used:
- Stamps: Pretty Poinsettia
- Inks: Peaceful Pine
- Cardstock: Cherry Cobbler, Real Red, Peaceful Pine, Old Olive
- Designer Paper: A Stitched Season
- Tools & Accessories: Pretty Poinsettia Dies, Stylish Shapes Dies, Linen Thread, Adhesive-Backed Mini Christmas Buttons, Stampin’ Dimensionals, Mini Stampin’ Dimensionals
Card Recipe:
- Card Base: Cherry Cobbler Cardstock 8-1/2 x 5-1/2. Score and fold at 4-1/4.
- Layer 2: Peaceful Pine Cardstock 5 x 3-3/4. Glue to card base.
- Layer 3: A Stitched Season Designer Paper 4-1/2 x 3-1/4. Glue to card front with Stampin’ Dimensionals.
- Layer 4: Cherry Cobbler Cardstock cut with the 2-3/8″ square from the Stylish Shapes Dies. Glue to card front with Stampin’ Dimensionals.
- Flower: Cut 2 of the poinsettia flower with the 2-1/4″ poinsettia die. Layer both flowers on top of each other and glue to square with Stampin’ Dimensionals.
- Bling: Add a white Adhesive-Backed Mini Christmas Button to the center of the flower.
- Linen Thread: Tie a bow with the thread and glue to the button with Mini Glue Dots.
- Sentiment: Stamp the sentiment on Old Olive Cardstock with Peaceful Pine Ink. Cut the sentiment into 3 words and close to the lettering. Glue above the poinsettia with Mini Stampin’ Dimensionals.
Make sure you visit Create With Stamping Friends to see what Connie created for our team this week and see our newest tutorial Collection too:



Beautiful and meaningful verse. The card is so pretty, makes a lovely Christmas card.