Plaid Perfection Theme!
Welcome to our Saturday Blog Hop at Create With Stamping Friends. This week, we are all adding plaids to our projects and this is what I came up with:
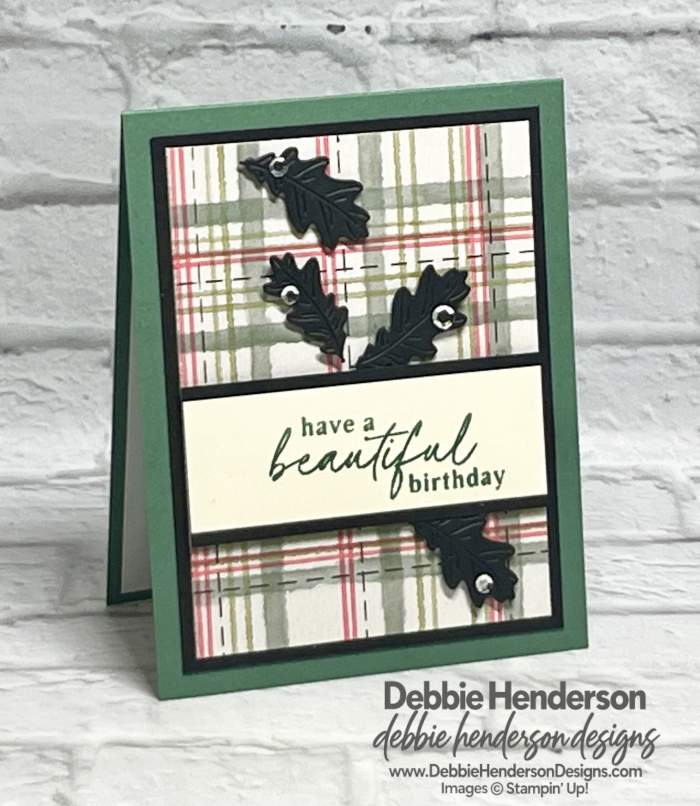
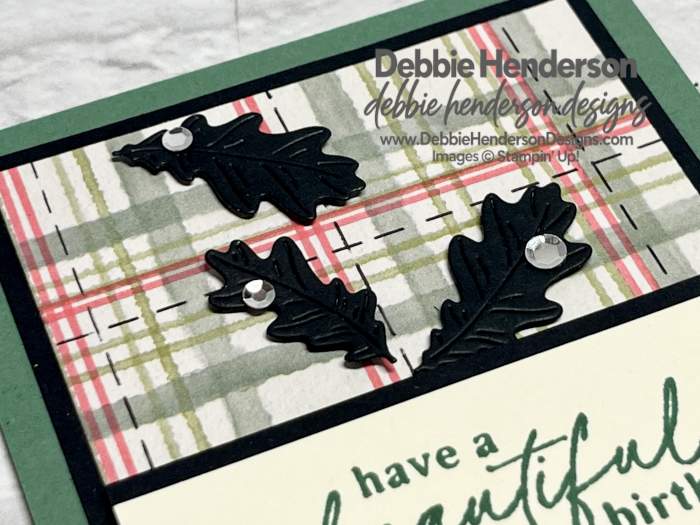
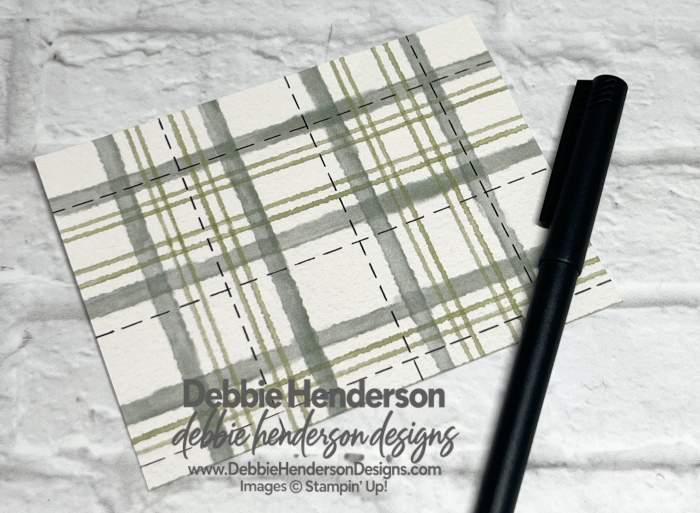
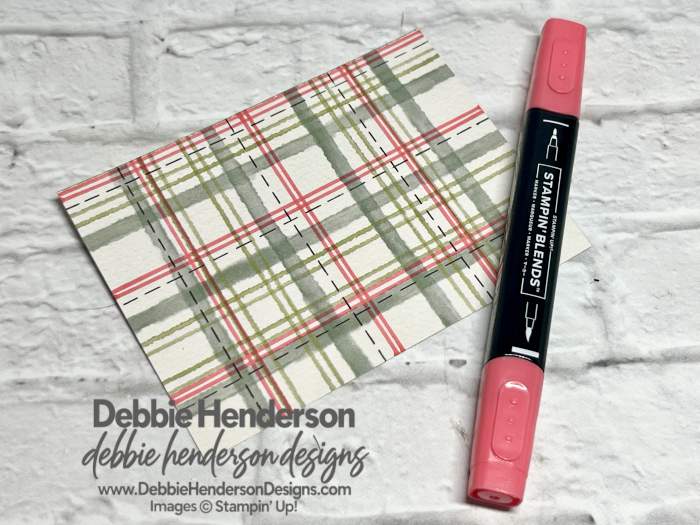
For my plaid layer, I actually altered a sheet of designer paper from the Waterside Retreat Designer Paper pack. I’ll show you what I added and how to alter your own sheet of DSP:
Stampin’ Up! Products Used:
- Stamps: Poetic Petals
- Inks: Peaceful Pine
- Stampin’ Blends: Light Poppy Parade
- Cardstock: Peaceful Pine, Basic Black, Very Vanilla
- Designer Paper: Waterside Retreat
- Tools & Accessories: Sweet Words & Labels Dies, Adhesive Backed Sparkle Sequins, Stampin’ Dimensionals
Card Recipe:
- Card Base: Peaceful Pine Cardstock 11 x 4-1/4. Score and fold at 5-1/2.
- Layer 2: Basic Black Cardstock 5 x 3-3/4. Glue to card base.
- Layer 3: To add plaid, follow these steps:
- Waterside retreat Designer Paper 4-3/4 x 3-1/2.
- Use a Black Stampin’ Journaling Pen and a ruler.
- Start on one vertical side and add dashed lines with the pen.
- Move 1-1/2″ and keep adding stitched lines.
- Repeat on the horizontal side.
- Next, use a Poppy Parade Light Stampin’ Blends and a ruler to add double lines near each stitched line.
- Repeat vertically and horizontally.
- Glue to black layer.
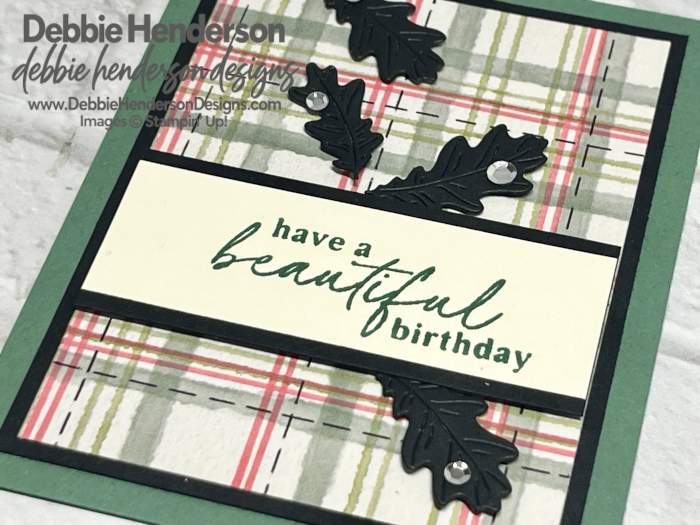
- Layer 4: Basic Black Cardstock 3-1/2 x 1-1/2. Glue to card front with Stampin’ Dimensionals 1-1/2″ from the bottom.
- Layer 5: Very Vanilla Cardstock 3-1/2 x 1-1/4. Stamp the sentiment in the center with Peaceful Pine Ink. Glue to black layer flat.
- Leaves: Cut 4 leaves with the dies and Basic Black Cardstock. Glue the leaves above and below the sentiment to mimic falling leaves with Stampin’ Dimensionals.
- Bling: Add Adhesive Backed Sparkle Sequins to each leaf.
Now you can follow the rest of the Saturday Blog Hop by clicking on the links below to visit my talented teammates! Click BACK to visit the Create With Stamping Friends Blog and NEXT to visit Lori de Groot:


Check out our newest tutorial Collection at Create With Stamping Friends:





Leave a Reply