Jolly July Theme!
Welcome to our Saturday Blog Hop at Create With Stamping Friends. Did you see our theme for this week in my heading? It’s all about Christmas! Our newest Stampin’ Up! products include some Christmasy products and this is what I came up with:
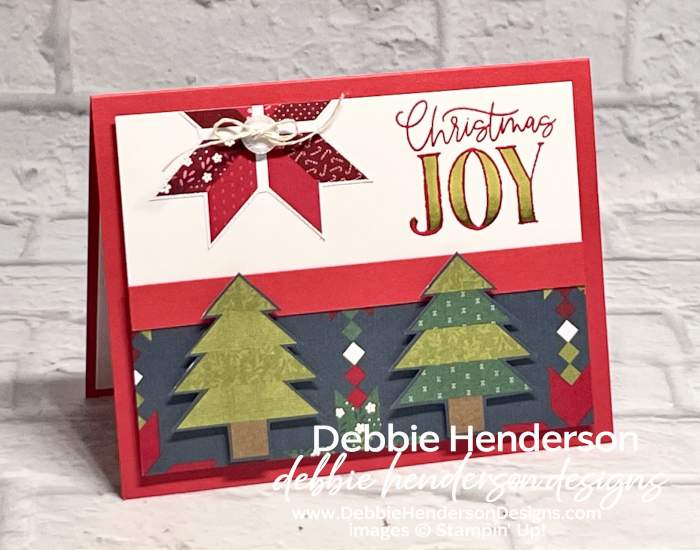
Just perfect for you quilters or those of you that like to sew. All of the paper prints feature quilt-inspired patterns!
Stampin’ Up! Products Used:
- Stamps: Pretty Poinsettia
- Inks: Poppy Parade
- Stampin’ Blends: Old Olive
- Cardstock: Poppy Parade, Basic White
- Designer Paper: A Stitched Season
- Tools & Accessories: Pretty Poinsettia Dies, Adhesive-Backed Mini Christmas Buttons, Linen Thread, Stampin’ Dimensionals, Paper Snips
Card Recipe:
- Card Base: Poppy Parade Cardstock 8-1/2 x 5-1/2. Score and fold at 4-1/4.
- Layer 2: Basic White Cardstock 5 x 3-3/4. Stamp the sentiment at the top right corner with Poppy Parade Ink. Color the lettering with Old Olive Stampin’ Blends. Glue to card base with Stampin’ Dimensionals.
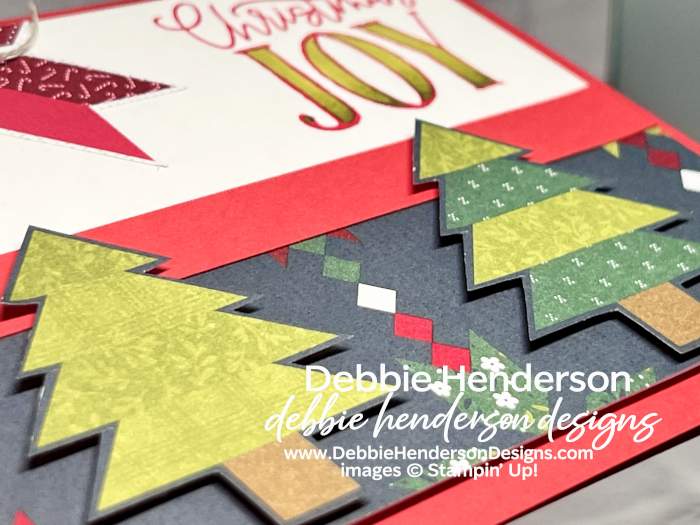
- Layer 3: A Stitched Season Designer Paper 5 x 1-3/4. (I used a piece with 2 preprinted trees). Glue to the bottom of the white layer.
- Layer 4: Poppy Parade Cardstock 5 x 1/2. Glue where the white layer and designer paper meet.
- Trees: Cut 2 trees from the designer paper with Paper Snips. Glue to designer paper layer over the preprinted trees with Stampin’ Dimensionals.
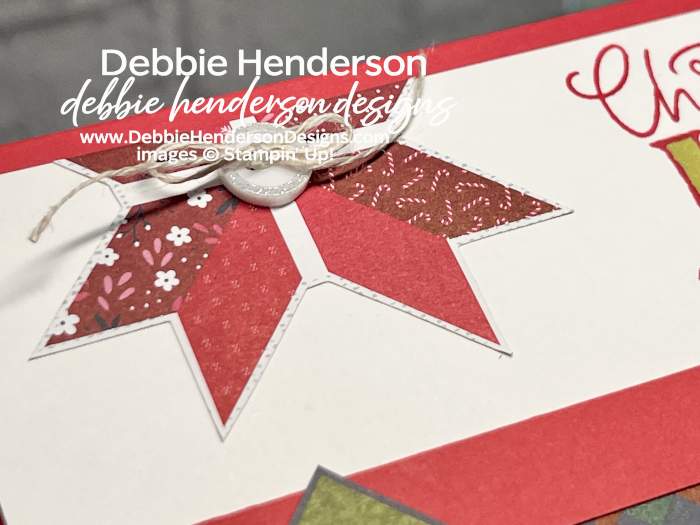
- Quilt Designer: Cut the quilt design from the designer paper with Paper Snips. Glue to the left of the sentiment.
- Bling: Add Adhesive-Backed Mini Christmas Buttons to the quilt layer with Mini Glue Dots. Tie a bow with Linen Thread and glue to button with Mini Glue Dots.
Now you can follow the rest of the Saturday Blog Hop by clicking on the links below to visit my talented teammates! Click BACK to visit the Create With Stamping Friends Blog and NEXT to visit Lori de Groot:

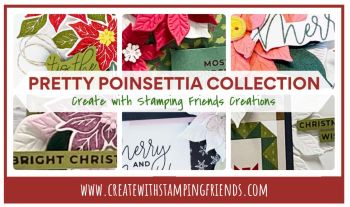
Check out our newest tutorial Collection at Create With Stamping Friends:



Leave a Reply