Birthday Bonanza Theme!
Welcome to our Saturday Blog Hop at Create With Stamping Friends. It’s all about birthday’s this week for our Birthday Bonanza theme and I stuck with purples on my card with a small splash of green:
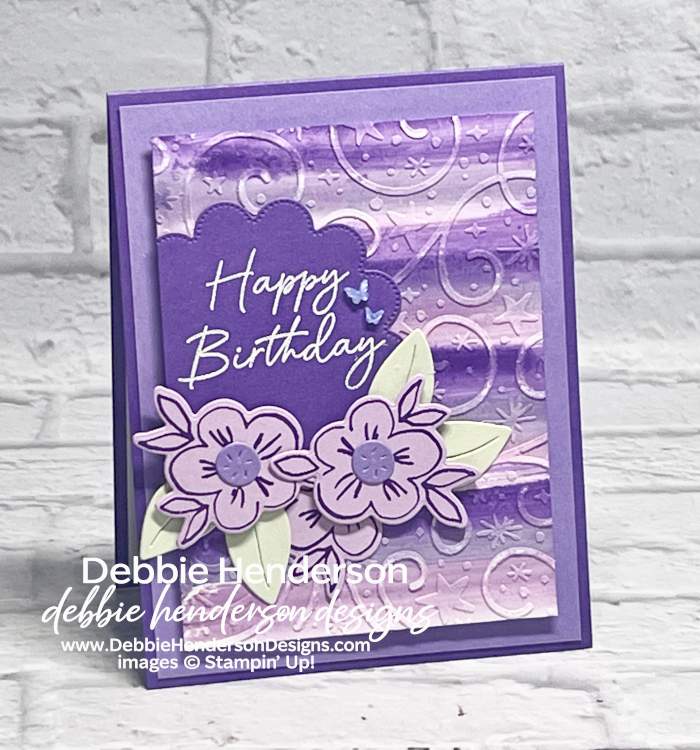
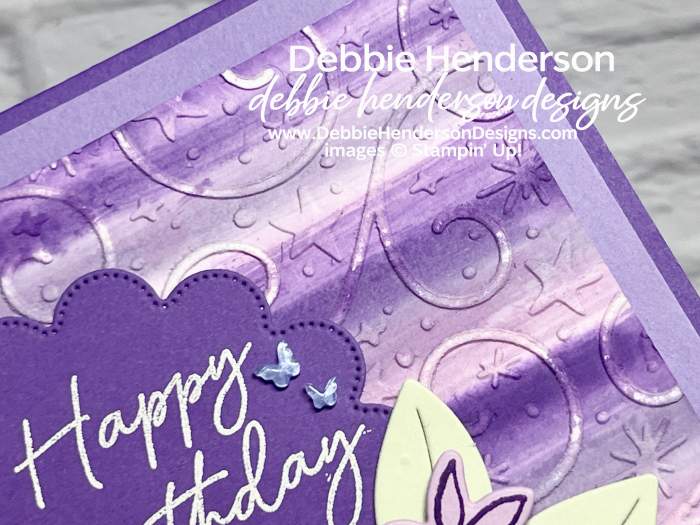
I used an ink-swipe technique on my card and also dry-embossed and then sanded the embossing with a sanding block. Did you know if you leave your embossed layer inside the embossing folder when you sand, you won’t smoosh down the embossing bumps?
Stampin’ Up! Products Used:
- Stamps: Scalloped Blooms, Heirloom Boutique
- Inks: VersaMark, Gorgeous Grape
- Ink Refills: Gorgeous Grape, Fresh Freesia, Highland Heather
- Cardstock: Gorgeous Grape, Fresh Freesia, Highland Heather, Soft Sea Foam, Thick Basic White
- Tools & Accessories: Heirloom Boutique Dies, Scalloped Blooms Dies, Heat Tool, Basics Embossing Powders, Swirls Of Magic Embossing Folder, In Color Butterflies, Stampin’ Dimensionals, Foam Adhesive Sheets
- Misc: Sanding Block, Baby Wipes
Card Recipe:
- Card Base: Gorgeous Grape Cardstock 11 x 4-1/4. Score and fold at 5-1/2.
- Layer 2: Highland Heather Cardstock 5-1/4 x 4. Glue to card base.
- Layer 3: Thick Basic White Cardstock 4-3/4 x 3-1/2 and follow these steps:
- Fold two baby wipes on top of each other in half.
- Using the ink refill bottles, create lines of ink color next to each other using all three ink refill colors. Repeat a few times in rows by alternating each color. I used 6 rows total.
- Face the inked side of the baby wipe to the white cardstock layer and swipe from end to end. Repeat until the white layer is covered in ink.
- Allow to dry.
- Emboss with the Swirls Of Magic Embossing Folder.
- Leave the cardstock inside the embossing folder and sand the bumps with a sanding block until some of the bumps turn white.
- Add a Foam Adhesive Sheet on the back and glue to card front.
- Scallop: Follow these steps:
- Gorgeous Grape Cardstock cut with the 2-3/4″ scallop die.
- Cut off 1/2″ on one end.
- Face the flat end to the left and stamp the sentiment at the top with VersaMark Ink.
- Sprinkle white embossing powder and Melt with the Heat Tool.
- Glue to the left side of the inked layer flat.
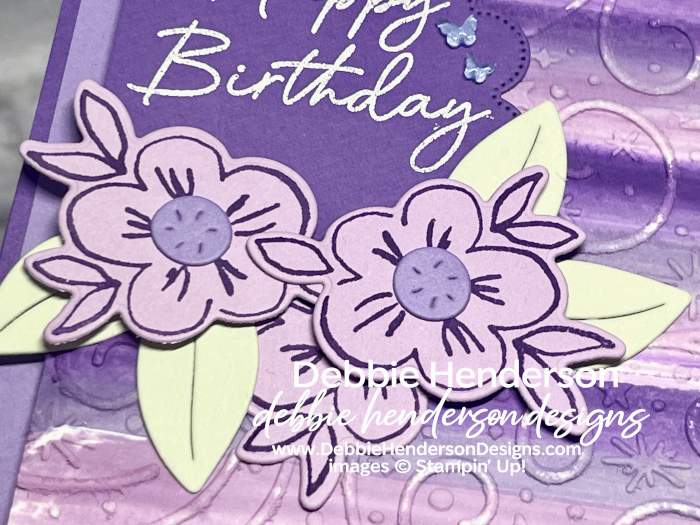
- Flowers: Stamp 3 flower images on Fresh Freesia Cardstock with Gorgeous Grape Ink. Cut with the die. Glue one flower tucked under the scallop and glue two of the flowers to the bottom of the scalloped layer with Stampin’ Dimensionals.
- Leaves: Use the leaf die to cut 4 with Soft Sea Foam Cardstock. Tuck and glue under the flowers flat.
- Flower Centers: Cut 2 flower centers with the die and Highland Heather Cardstock. Glue to the center of the two flowers.
- Bling: Add In Color Butterflies to the scallop.
Now you can follow the rest of the Saturday Blog Hop by clicking on the links below to visit my talented teammates! Click BACK to visit the Create With Stamping Friends Blog and NEXT to visit Lori de Groot:

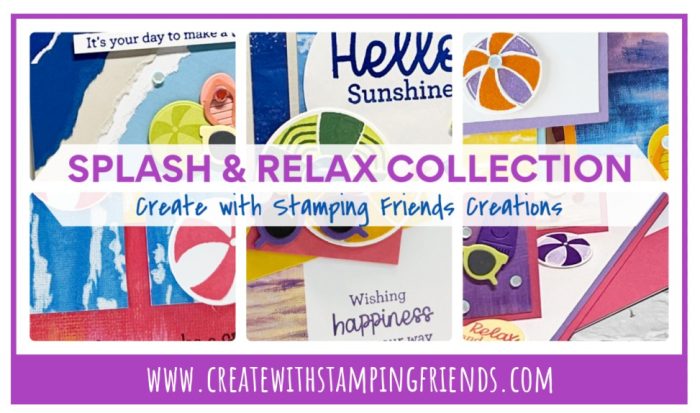
Check out our newest tutorial Collection at Create With Stamping Friends:


Leave a Reply