Embossing Folder Technique!

Welcome to our Saturday Blog Hop at Create With Stamping Friends. We have a really neat theme this week from our design team. We are all using embossing folders and adding techniques with them. For mine, I used the Emboss Resist Technique and I’ll show you how. First, take a look at this pretty card:
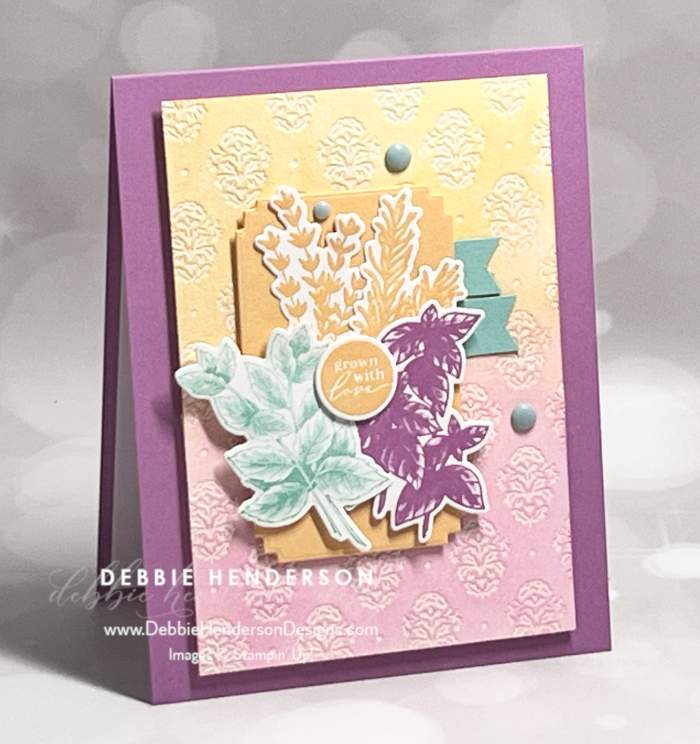
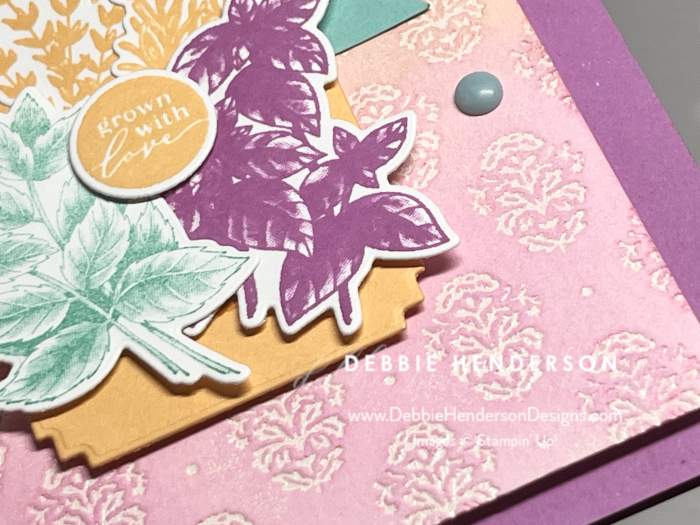
Notice how the embossing folder I used shows up with white embossing? I dry embossed by adding VersaMark Ink and then heat embossed with white embossing powder. Follow these steps for the technique:
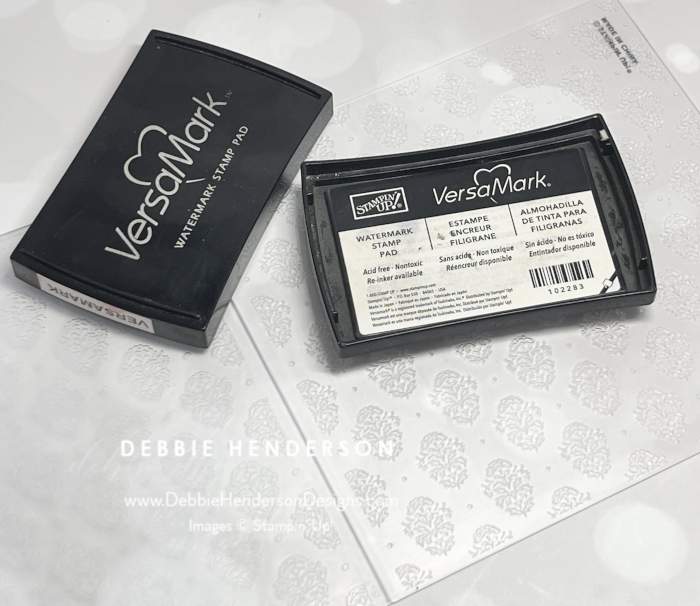
- Step 1: Use a VersaMark Ink Pad with the ink pad facing down. Lightly pounce on the inside of the embossing folder on the bumpy side. For my embossing folder, I am using the Damask Designs Embossing Folder.
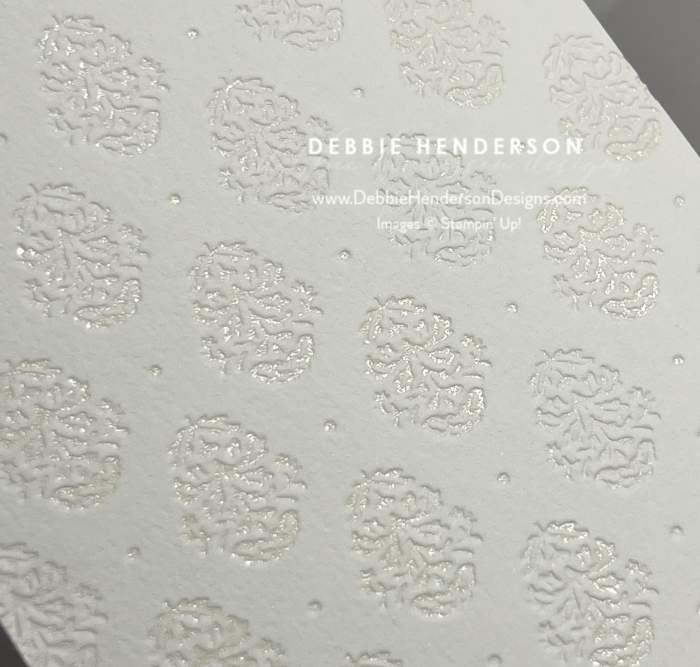
- Once the bumpy side has been inked, gently place a layer of Fluid 100 Watercolor Paper inside the folder. Run the embossing folder through the machine and remove the watercolor paper once embossed.
- Sprinkle the watercolor paper with white embossing powder over the dry embossing from the Basics Embossing Powders. Shake off excess.
- Heat the powder with a Heat Tool
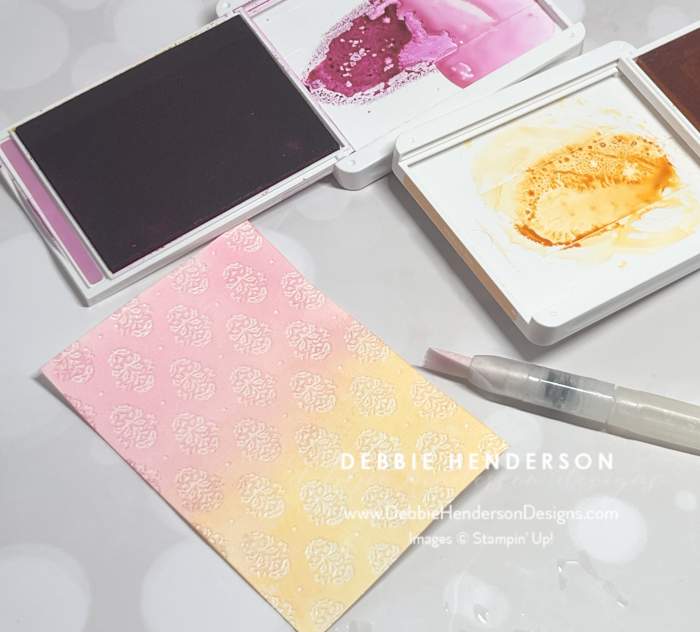
- Using a closed ink pad, press in the center to transfer the ink to the inside of the lid. Open the ink pad and add a few drops of water to thin out the ink on the lid. You will need a paint brush, Aqua Painter or Water Painter.
- Brush the ink over the watercolor paper and over the white embossing. The white-embossed areas should resist the ink. Use several colors. I used Peach Pie and Petunia Pop. Allow to dry.
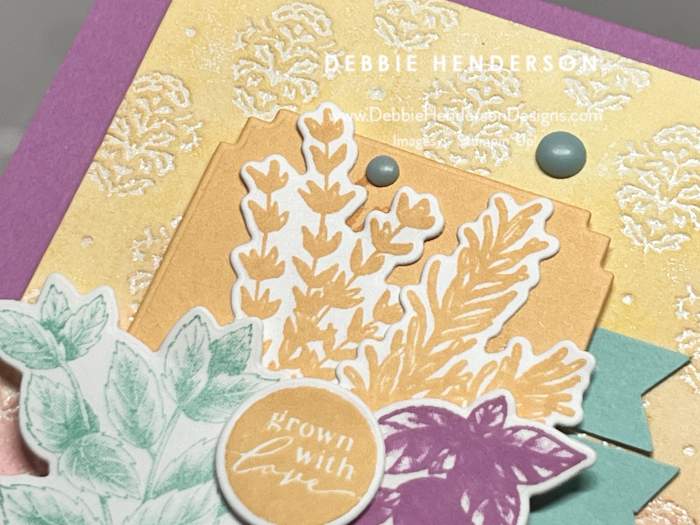
You can see all of the details in the photos below:
Stampin’ Up! Products Used:
- Stamps: Grow With Love
- Inks: Peach Pie, Petunia Pop, Summer Splash, VersaMark
- Cardstock: Peach Pie, Petunia Pop, Summer Splash, Basic White, Fluid 100 Watercolor Paper
- Tools & Accessories: Grow With Love Dies, Damask Designs Embossing Folder, Basics Embossing Powders, Heat Tool, Stampin’ Dimensionals, Water Painters, Adhesive Foam Sheets
Card Recipe:
- Card Base: Petunia Pop Cardstock 11 x 4-1/4. Score and fold at 5-1/2.
- Layer 2: Fluid 100 Watercolor Paper 5 x 3-1/2. Follow the steps above to add the technique. Glue to card base with Adhesive Foam Sheets.
- Layer 3: Cut a frame shape with the die and Peach Pie Cardstock. Glue to card front vertically about 1″ from the left edge with Stampin’ Dimensionals.
- Banners: Cut 2 using Summer Splash Cardstock 3/4″ x 1/2″. Cut one end with Paper Snips into a banner shape on each layer. Tuck and glue each banner under the frame label on the top right.
- Branches: Stamp all four branches-1 with Summer Splash Ink, 1 with Petunia Pop Ink and 2 with Peach Pie Ink on Basic White Cardstock. Cut with the dies. Glue the 2 Peach Pie branches to the frame label flat at the top. Glue the other two over the peach branches with Stampin’ Dimensionals a little lower.
- Sentiment: Stamp the sentiment on Basic White Cardstock with Peach Pie Ink. Cut with the circle die. Glue to card front with Stampin’ Dimensionals.
- Bling: Add Rainbow Adhesive-Backed Dots to the background.
Now you can follow the rest of the Saturday Blog Hop by clicking on the links below to visit my talented teammates! Click BACK to visit the Create With Stamping Friends Blog and NEXT to visit Lori de Groot:


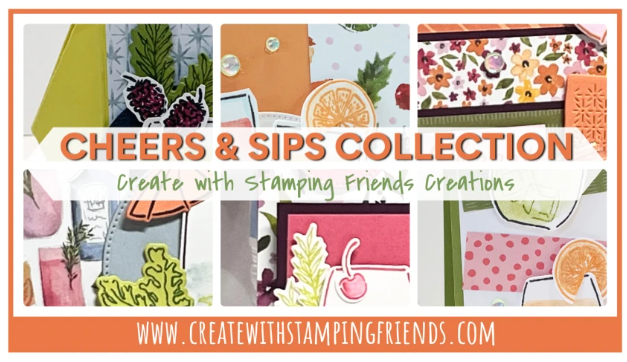
Check out our newest tutorial Collection at Create With Stamping Friends:


Leave a Reply