A Cute Santa Image Colored With Stampin’ Blends!
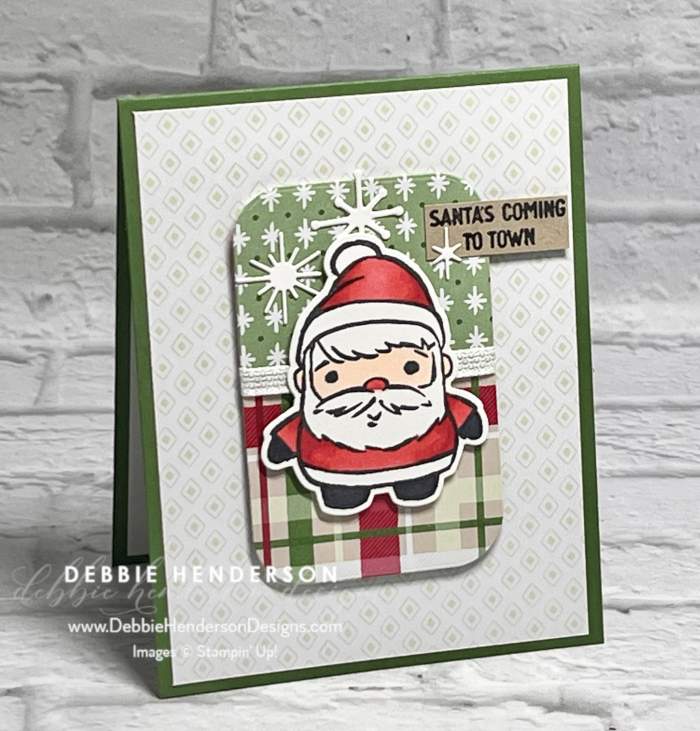
You’ve seen me use the Festive Friends Bundle a lot during this holiday season. I just love how large the festive friends are when stamped and oh so fun to color. I also used the Christmas Tags & More Designer Paper for several of my layers:

Stampin’ Up! Products Used:
- Stamps: Festive Friends
- Inks: Memento Black
- Stampin’ Blends: Real Red, Basic Black, Ivory
- Cardstock: Garden Green, Crumb Cake, Basic White
- Designer Paper: Christmas Tags & More, White 1/4″ Ribbon, Stampin’ Dimensionals
- Card Base: Garden Green Cardstock 11 x 4-1/4. Score and fold at 5-1/2.
- Layer 2: Christmas Tags & More Designer Paper 5-1/4 x 4. Glue to card base.
- Tag: Two patterns from the Christmas Tags & More Designer Paper 2-3/4 x 2 eacg. Add a scrap piece of cardstock on the back to glue them side-by-side. Cut with the tag die. Set aside.
- Ribbon: Wrap the ribbon around the tag where the 2 designer papers meet and glue to the backside of the tag.
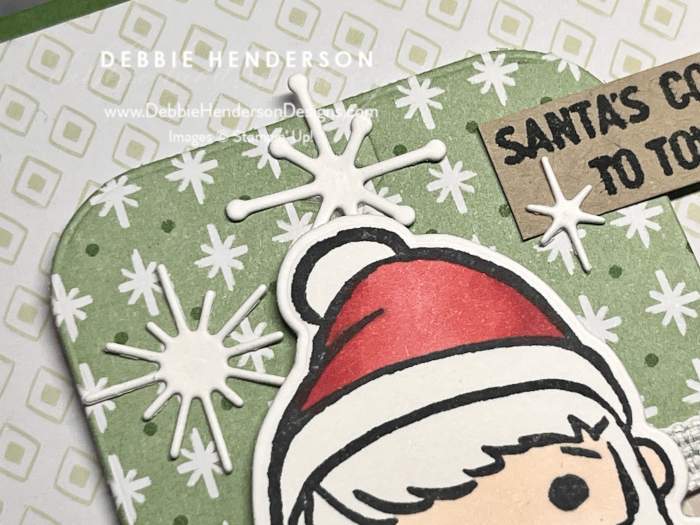
- Santa: Stamp the Santa image on Basic White Cardstock with Memento Black Ink. Color with Stampin’ Blends. Cut with the die. Glue Santa to tag with Stampin’ Dimensionals. Glue tag to card front with Stampin’ Dimensionals.
- Sentiment: Stamp the sentiment with Memento Black Ink on Crumb Cake Cardstock. Cut close to the lettering. Glue to the top right of the tag, adding a Stampin’ Dimesional on the right end.
- Snowflakes: Diecut the 3 snowflakes with Basic White Cardstock and glue to the top half of the tag.


Leave a Reply