Springtime Scenes Ladybugs!

Welcome to our Create With Stamping Friends Inspiration Monday challenges. This week’s inspiration challenge is bugs, all about ladybugs!
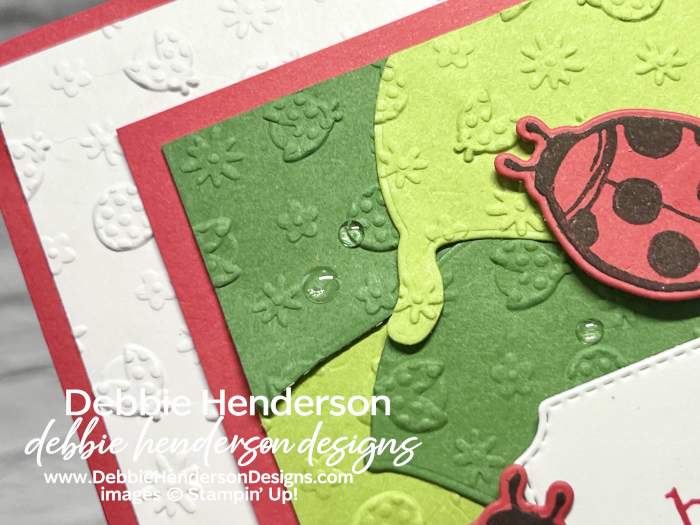
The Springtime Scenes Bundle has the cutest ladybug image and I added a bunch of dry-embossed leaves on the ladybug layer:
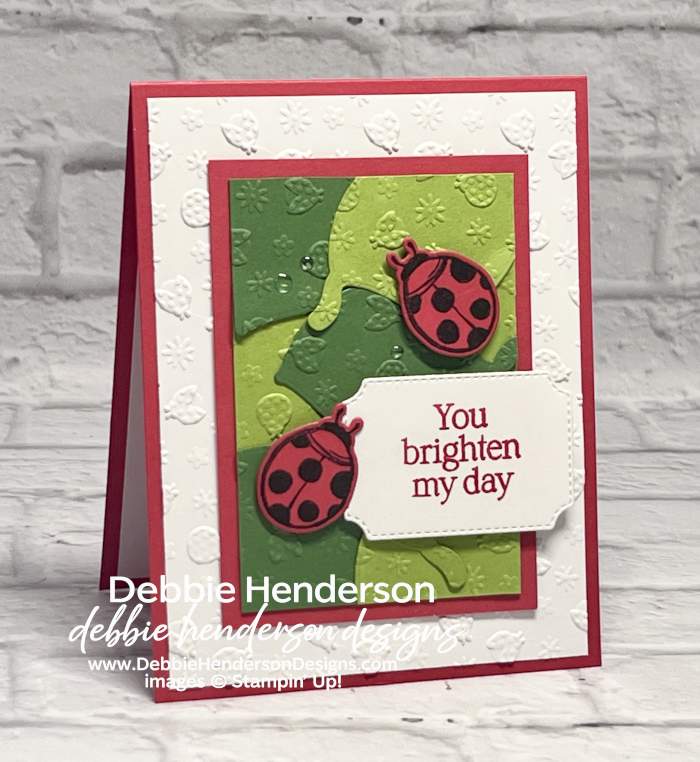
If you look closely, I also added some clear water droplets from the Ladybug Garden Epoxy Shapes to the background and a sentiment stamped on a diecut label shape:

Stampin’ Up! Products Used:
- Stamps: Springtime Scenes
- Inks: Poppy Parade, Memento Black
- Stampin’ Blends: Basic Black
- Cardstock: Poppy Parade, Granny Apple Green, Garden Green, Basic White
- Tools & Accessories: Springtimes Scenes Dies, Ladybug Picnic 3D Embossing Folder, Ladybug Garden Epoxy Shapes, Stampin’ Dimensionals
Card Recipe:
- Card Base: Poppy Parade Cardstock 11 x 4-1/4. Score and fold at 5-1/2.
- Layer 2: Basic White Cardstock 5-1/4 x 4. Emboss with the Ladybug Picnic Embossing Folder. Glue to card base.
- Layer 3: Poppy Parade Cardstock 4-1/4 x 3. Glue to card front.
- Layer 4: Basic White Cardstock 4 x 2-3/4. Follow these steps-
- Cut 4 larges leaves with the die and Granny Apple Green Cardstock
- Cut 4 large leaves with the die and Garden Green Cardstock.
- Emboss all 8 leaves with the Ladybug Picnic Embossing Folder.
- Overlap and glue all 8 leaves over the white layer to completely cover the white.
- Trim all 4 sides.
- Glue to Poppy Parade layer on the card front.
- Sentiment: Cut 1 label shape with the die and Basic White Cardstock using Poppy Parade Ink. Glue to the right with Stampin’ Dimensionals.
- Ladybugs: Stamp 2 ladybugs on Poppy Parade Cardstock with Memento Black Ink. Cut with the die. Glue the ladybugs to the leaf layer with Stampin’ Dimensionals.
- Bling: Add Ladybug Garden Epoxy Shapes to the leaf layer.
Make sure you visit Create With Stamping Friends to see what Connie created for our team this week and see our newest tutorial Collection too:


Leave a Reply