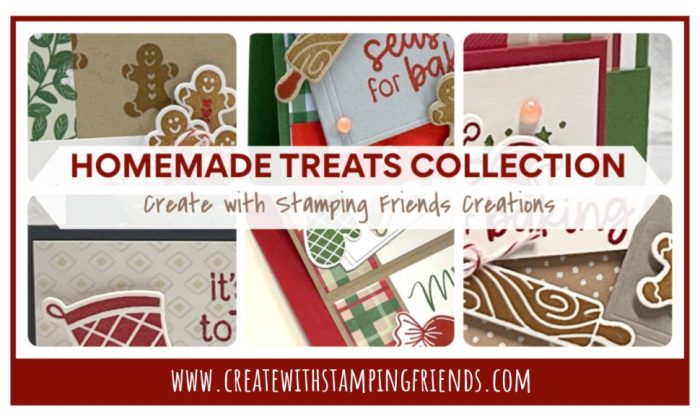
An Oven Mitt Shaped Card Fold With Homemade Treats!

Welcome to our Create With Stamping Friends Inspiration Monday challenges. This week’s inspiration challenge is this photo:

I decided to create an oven mitt shaped card for you this week. I stuffed the top with stamped & diecut images and also added ribbon and designer paper to the mitt:

I’ll show you how I stuffed the images at the top even though there’s a folded edge there. I love the sentiment that I used from the Homemade Treats Bundle.
Stampin’ Up! Products Used:
- Stamps: Homemade Treats
- Inks: Mossy Meadow, Garden Green, Early Espresso, Pecan Pie, Crumb Cake, Poppy Parade
- Cardstock: Basic White, Poppy Parade
- Designer Paper: Christmas Tags & More
- Tools & Accessories: Homemade Treats Dies, Mossy Meadow & Gold Trim, Real Red & White Adhesive-Backed Peppermints, Labeled With Love Punch, Stampin’ Dimensionals, Paper Snips
Card Recipe:
- Card Base: Poppy Parade Cardstock 11 x 4-1/4. Score and fold at 5-1/2. Set aside.
- Pattern: Basic White Cardstock 4-1/2 x 3-3/4. Hand-draw an oven mitt shape and cut out with Paper Snips. I made sure the bottom was pretty flat so the card would stand in the open position.

- Place the pattern even at the top of the card base. Trace with a pencil and handcut with Paper Snips. Once you create the base, make sure the card stands up well. If not, trim it a little flatter at the bottom.

- Use the two photos below for the following steps:
- Designer Paper: Christmas Tags & More Designer Paper 4 x 1/2, cut 2. Glue one strip 1/8″ from the score line at the top. Trim to fit with Paper Snips. Set aside the 2nd strip.
- Ribbon: Wrap the ribbon around the top layer only and tie into a bow. Cut the ends at an angle.
- Designer Paper: 2 patterns of the Christmas Tags & More Designer Paper 1-1/2 x 1-1/2. Glue layered at the bottom right of the oven mitt on the front at different angles. Trim to fit.
- Sentiment: Stamp the sentiment with Pecan Pie Ink on Basic White Cardstock. Cut with the Labeled With Love Punch. Glue over the designer paper squares with Stampin’ Dimensionals.


- Stamped Images: Stamp and diecut the following:
- Icing Bag: Stamp one of each on Basic White Cardstock with Mossy Meadow Ink, Garden Green Ink and Poppy Parade Ink.
- Gingerbread Men: Stamp 2 gingerbread men with Pecan Pie Ink.
- Candy Canes: Stamp 3 with Poppy Parade Ink.
- Rolling Pin: Stamp one of each on Basic White Cardstock with Crumb Cake Ink and Early Espresso Ink.
- Glue one candy cane and one gingerbread man to the top right of the sentiment.
- Follow these steps (photo of the back of the card) to add the images to the top of the card:

- Add adhesive to the back of the card at the top where the designer paper strip will be glued but don’t glue the designer paper in place yet.
- TIP: As you add the stamped images to the top, make sure you don’t go over the overall card measurement of 5-1/2″ so your card fits in an envelope.
- Press all of the images in place and trim the ends off so the images won’t peek below the \glue where the designer paper will sit. Add adhesive where needed so the images are glued to each other as well as you layer.
- Once all images have been glued in place, glue the designer paper strip over the images 1/8″ from the top of the card fold. Trim the ends with Paper Snips.
- Glue a strip of ribbon below the designer paper and trim the ends.
- Bling: Add Real Red & White Adhesive-Backed Peppermints to the card.
Make sure you visit Create With Stamping Friends to see what Connie created for our team this week and see our newest tutorial Collection too:


Leave a Reply