Modern Christmas Designer Paper Ornaments For My Tree!

Welcome to our Create With Stamping Friends Inspiration Monday challenges. This week, we used this elegant inspiration photo to help us create our projects:
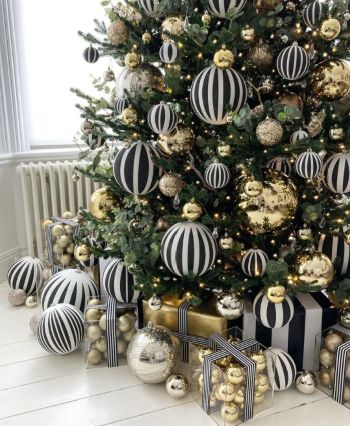
I knew the second I viewed this photo, that I wanted to try to replicate the Christmas tree. I think I succeeded by stamping the pine tree branches repeatedly, some without reinking for a lighter color:
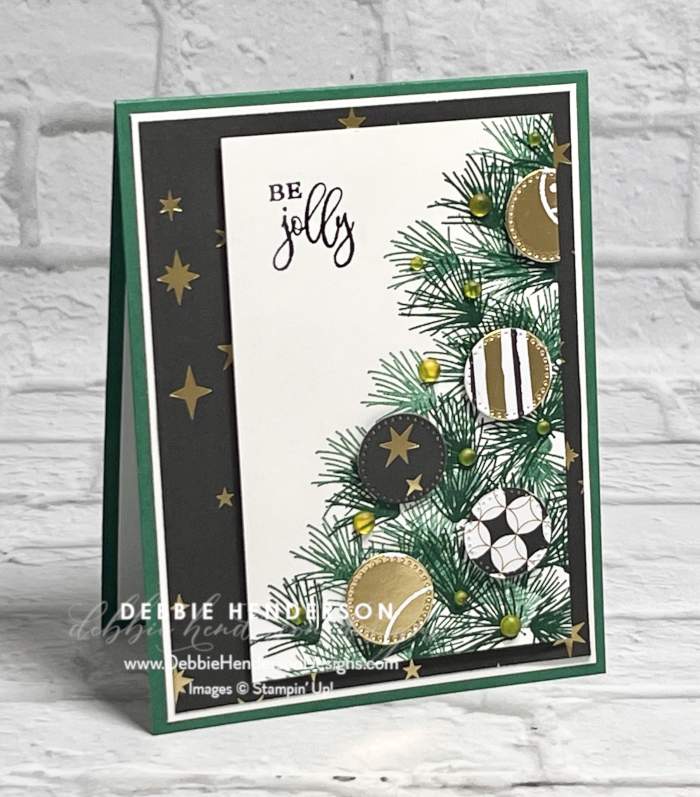
I also used the smallest circle die from the Stylish Shapes Dies to cut my ornament shapes. I love how the stitched lines show up so well on the designer paper:

Stampin’ Up! Products Used:
- Stamps: Branching Out
- Inks: Memento Black Shaded Spruce
- Cardstock: Shaded Spruce, Basic White
- Designer Paper: Modern Christmas
- Tools & Accessories: Stylish Shapes Dies, Stampin’ Dimensionals, Loose Frosted Dots
Card Recipe:
- Card Base: Shaded Spruce Cardstock 11 x 4-1/4. Score and fold at 5-1/2.
- Layer 2: Basic White Cardstock 5-1/4 x 4. Glue to card base.
- Layer 3: Modern Christmas Designer Paper 5-1/8 x 3-7/8. Glue to white layer.
- Layer 4: Basic White Cardstock 4-3/4 x 3. Follow these steps:
- Stamp the pine needles repeatedly with Shaded Spruce Ink. Stamp twice without reinking for a lighter shade. Start at the bottom and work your way up to the right-hand corner for a tree shape.
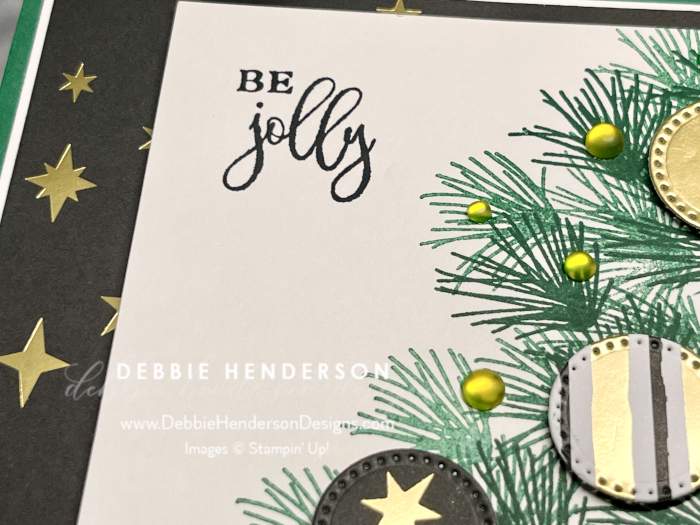
- Stamp the sentiment at the top left with Memento Black Ink.
- Cut several ornaments with the smallest circle die from Stylish Shapes Dies and multiple patterns from the Modern Christams Designer Paper. Glue to the tree and trim to fit the ones going off the sides.
- Add Loose Frosted Dots in all sizes (yellow) by using Liquid Glue for each one.
- Glue layer to card front at the right with Stampin’ Dimensionals.
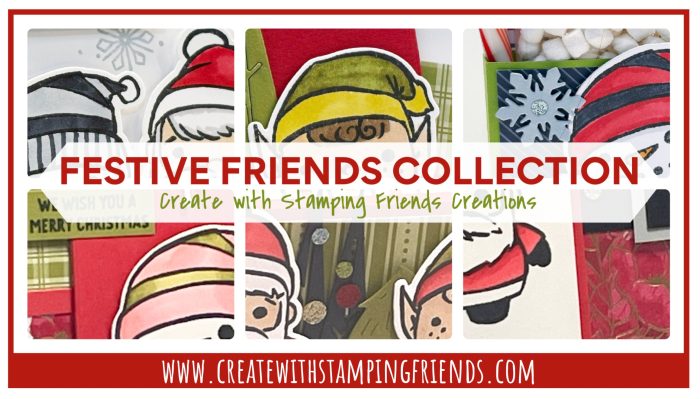
Make sure you visit Create With Stamping Friends to see what Connie created for our team this week and see our newest tutorial Collection too:


What a great card. Thank you for sharing.
Thanks so much Jenny!
Question for you! D id you use the single pine stamp or one of the 2 that have 3 clusters? Love the card and would like to CASE it soon. Thanks!
Hi Judi, I used the pine needles that has 3 on one stamp and I stamped twice without reinking each time. Just shape it so it’s triangular shaped. It was quite easy!