Watercolor Theme With Blended Inks!

Welcome to Create With Stamping Friends Creatively Simple! Connie and I create simple cards with a theme each week and for this month, this is our theme:

I used some vibrant colors this week for my watercolored layer. Once my ink colors were blended in, I dropped drops of water to create the splatters you see:

Once the drops of water are added, they spread on their own to achieve these results. How neat!


Stampin’ Up! Products Used:
- Stamps: Textured Notes
- Inks: Azure Afernoon, Summer Splash, Lemon Lime Twist, Calypso Coral, Memento Black
- Cardstock: Fluid 100 Watercolor Paper, Azure Afternoon, Lemon Lime Twist, Calypso Coral
- Tools & Accessories: Textured Notes Dies, Blending Brushes, Stampin’ Dimensionals, Neutral Matte Dots, Water Painter
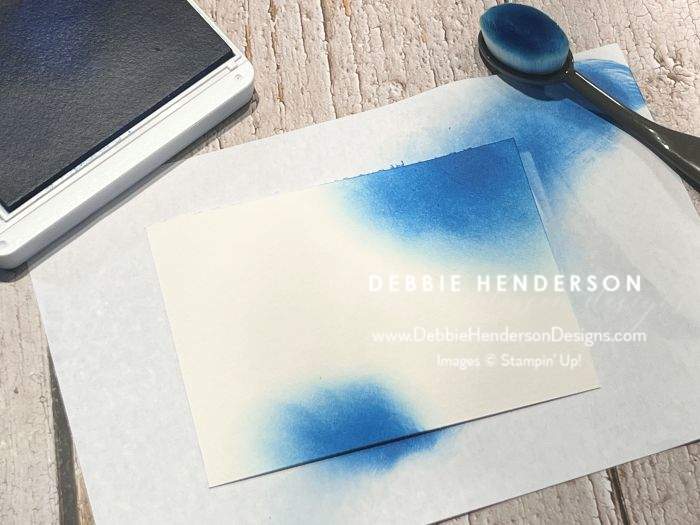
- Step 1: Use a Blending Brush to add a few areas of Azure Afternoon Ink.
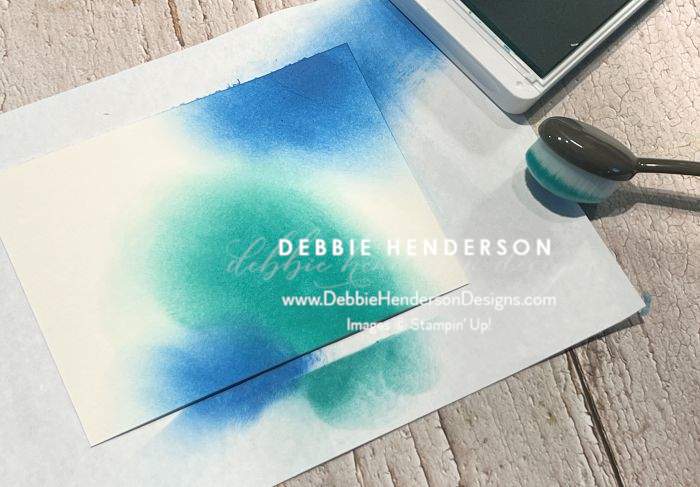
- Step 2: Use a Blending Brush to add a few areas of Summer Splash Ink
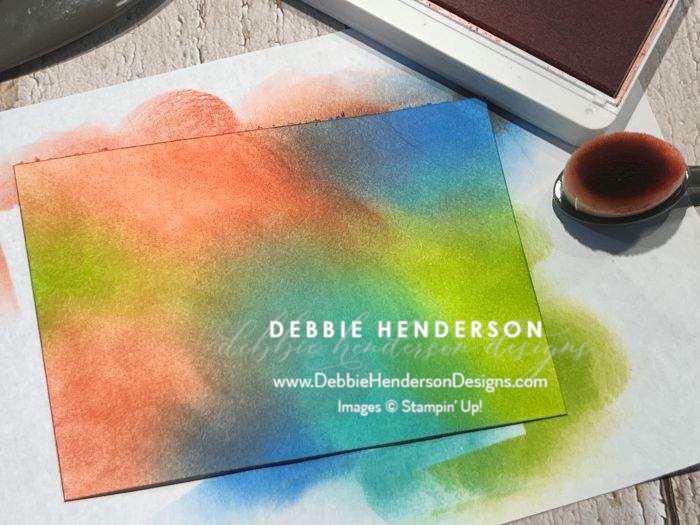

- Step 3: Use a Blending Brush to add a few areas of Calypso Coral Ink.
- Step 4: Use a Blending Brush to add a few areas of Lemon Lime Twist Ink.
- Step 5: Once the ink is dry, add drops of water using a Water Painter, Aqua Painter or Paint Brush. Allow to dry.
Card Layers:
- Card Base: Azure Afternoon Cardstock 11 x 4-1/4. Score and fold at 5-1/2.
- Layer 2: Lemon Lime Twist Cardstock 5-1/4 x 4.
- Layer 3: Fluid 100 Watercolor Paper 4-3/4 x 3-1/2. Once the technique is completed, stamp the large branch image in the center with Memento Black Ink.
- Layer 4: Calypso Coral Cardstock cut with the skinny label die.
- Layer 5: Azure Afternoon Cardstock cut with the skinny label die for the sentiment.
- Bling: Neutral Matte Dots added to the watercolor paper.
Make sure you visit Create With Stamping Friends to see what Connie created for our team this week and visit our tutorial page to see our newest Collection:


Leave a Reply