June Masks Theme!
Welcome to Create With Stamping Friends Creatively Simple! Connie and I create simple cards with a theme each week and for this month, this is our theme:
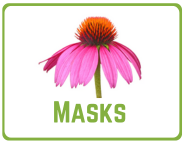
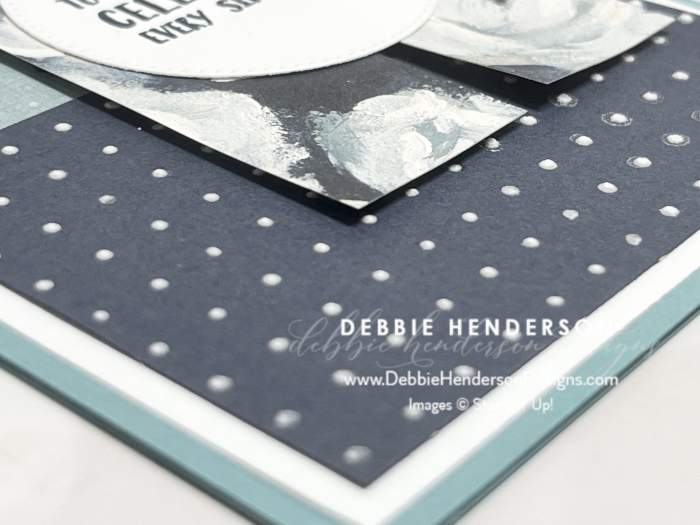
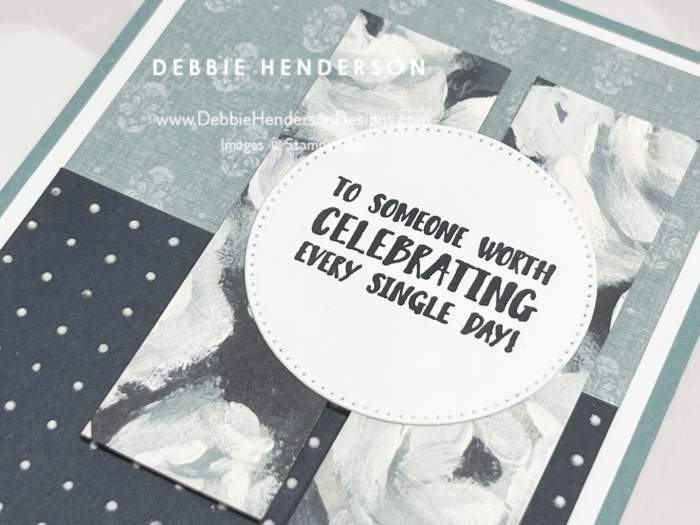
Masks can mean different things you can use. You can use our Stampin’ Up! Decorative Masks, you can use the Masking Technique or you can make your own stencil with punches or dies like I did on this card here:

I used the pegboard die with some embossing paste to create my dotted background on the Secret Sea Cardstock layer. It didn’t take very long to dry either!
Stampin’ Up! Products Used:
- Stamps: The Right Words
- Inks: Secret Sea
- Cardstock: Secret Sea, Basic White, Lost Lagoon
- Designer Paper: Beautiful Gallery
- Tools & Accessories: Stylish Shapes Dies, Palette Knives, Embossing Paste, Trusty Tools Dies, Stampin’ Dimensionals
Supplies needed for the stencil & masking:


- Step 1: Create a stencil using the pegboard die from the Trusty Tools Dies.
- Step 2: Place the stencil over the cardstock piece. I secured the stencil with some sticky tape.
- Setp 3: Use a Palette Knife and spread a layer of Embossing Paste.
Card Recipe:
- Card Base: Lost Lagoon Cardstock
- Layer 2:Basic White Cardstock
- Stencil: Create a stencil with the die from Trusty Tools Dies.
- Layer 3: Secret Sea Cardstock 3-3/4 x 2-1/2. Use the stencil with embossing paste and a palette knife to create the background. Allow to dry. Glue to white layer 1/4″ from the bottom.
- Layer 4: Beautiful Gallery Designer Paper 3-3/4 x 2-1/2. Glue above the secret sea layer.
- Layer 5: Cut 2 strips of Beautiful Gallery Designer Paper 3-1/2 x 1-1/8. Glue to card front at the right with Stampin’ Dimensional.s
- Layer 6: Basic White Cardstock cut with the 2-1/8 circle from the Stylish Shapes Dies. Stamp the sentiment in the center with Secret Sea Ink. Glue over the two designer paper strips.
Make sure you visit Create With Stamping Friends to see what Connie created for our team this week and visit our tutorial page to see our newest Collection:


Leave a Reply