A Wonderful WOW Project With Instructions!
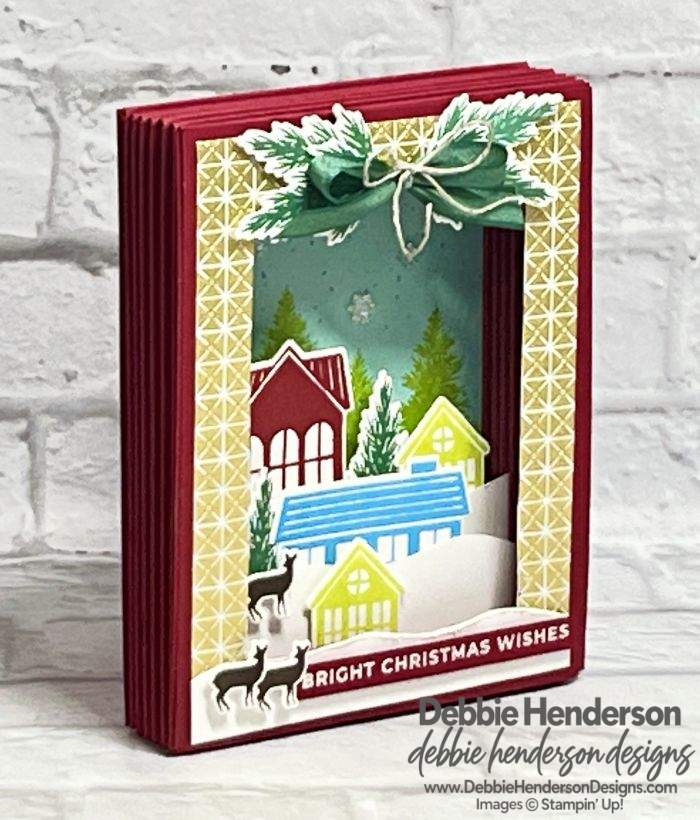
Have you ever heard of a Shadow Box Book? Oh my goodness! Stampin’ Up! Artisan Design Team member Kim McGillis posted one of hers on Facebook and I totally fell in love with it. It’s a little time consuming but the results speak for themselves. I have lots and lots of photos to show you the steps that I took as I figured this out on my own with my own measurements so my post today is quite lenghty. Here we go…
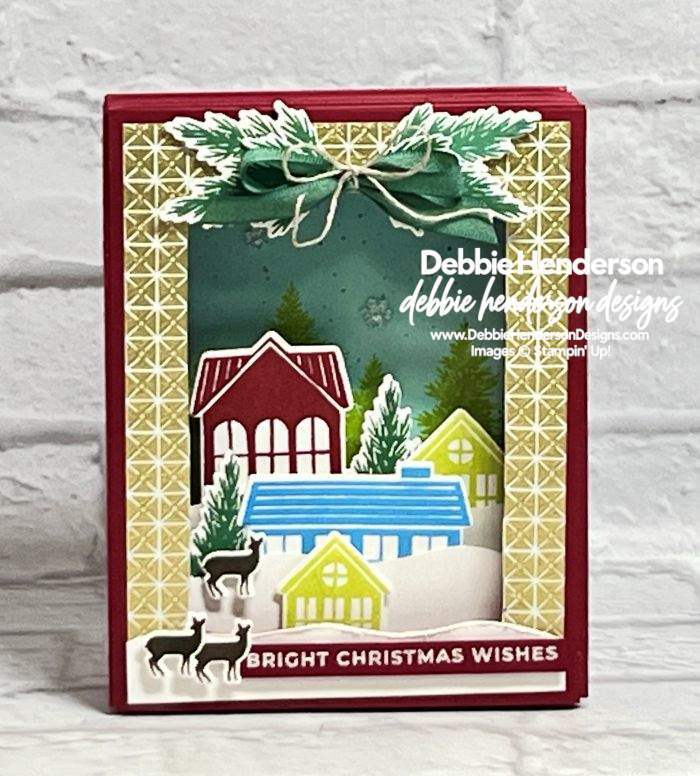
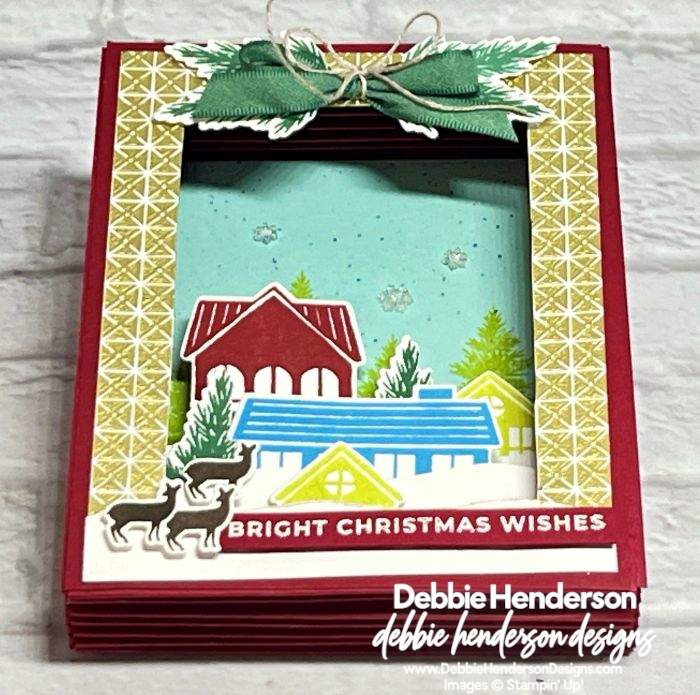
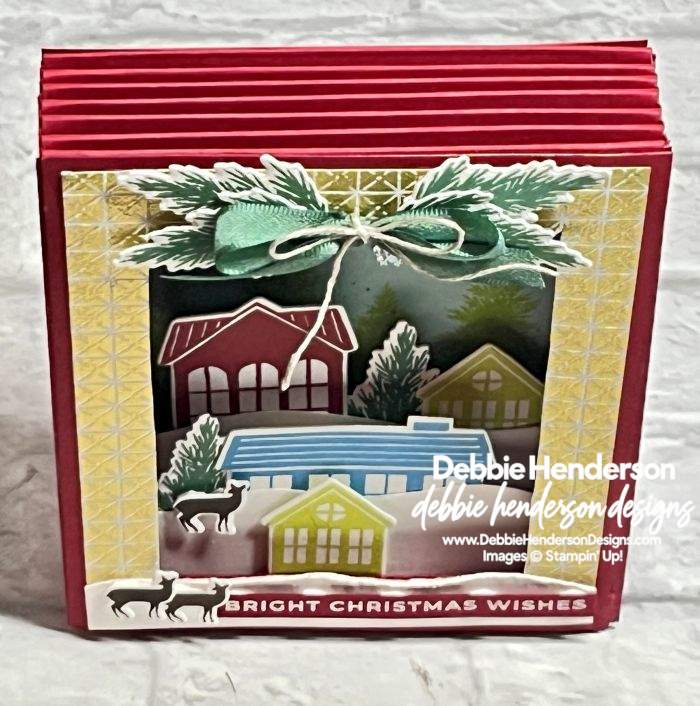
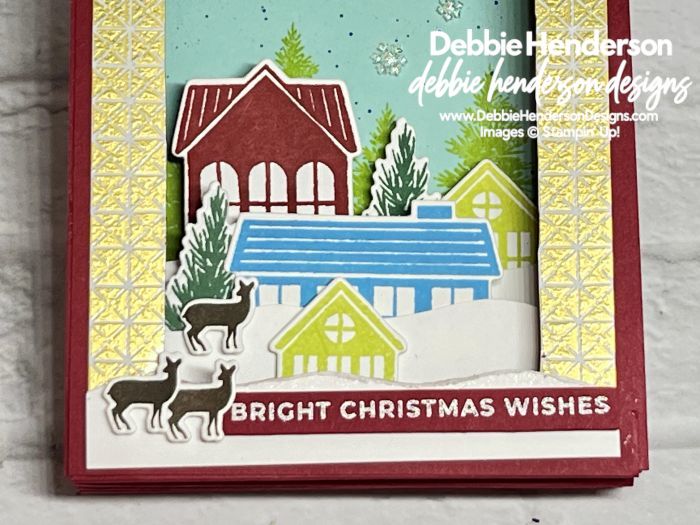
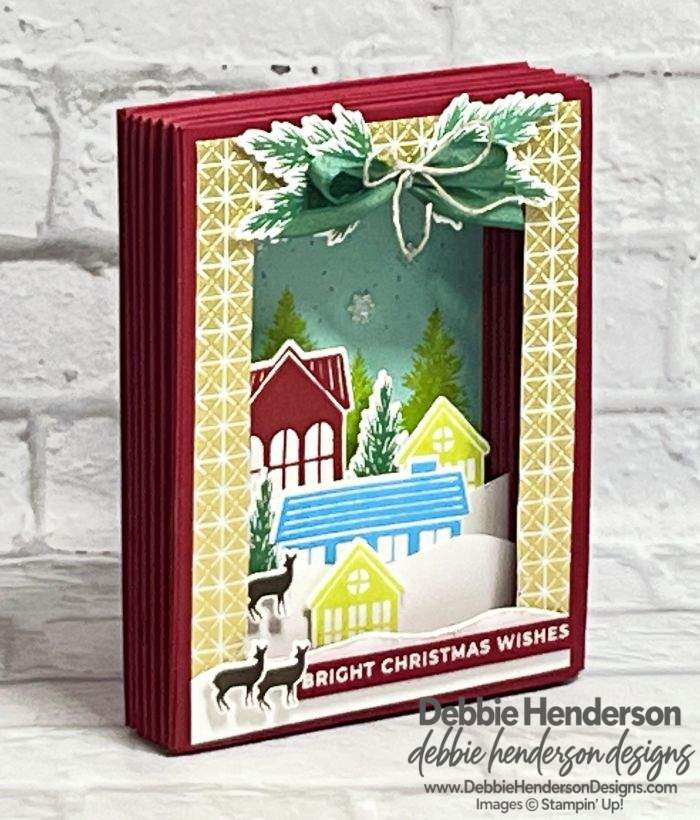
You can see different angles of the project in the photos above. I love the little accordion style book binding around all four sides of the shadow box and it really is not that difficult to complete. Here are my steps below:
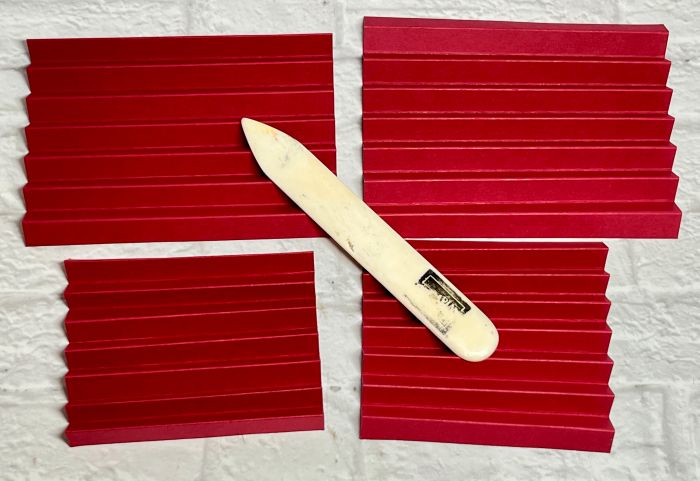
- Cut 2 layers of Cherry Cobbler Cardstock to measure 7 x 5-1/2. Score at every 1/2″ on the 7″ side.
- Cut 2 layers of Cherry Cobbler Cardstock to measure 7 x 4-1/4. Score at every 1/2″ on the 7″ side.
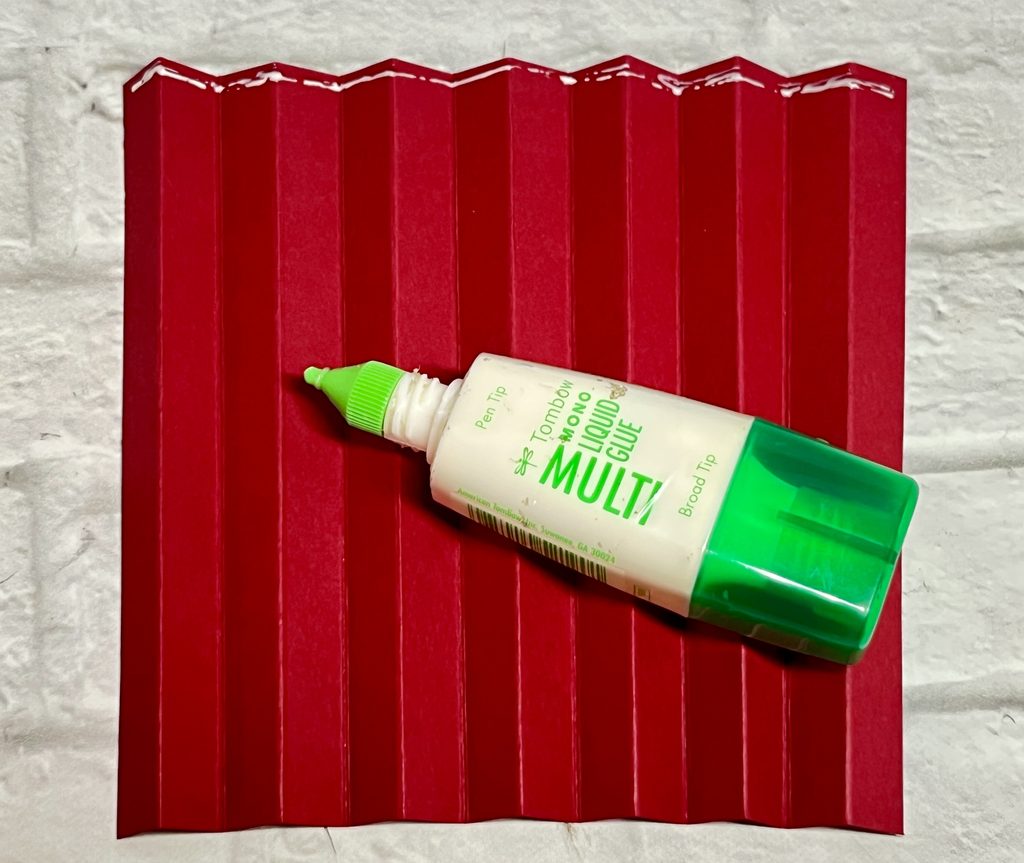
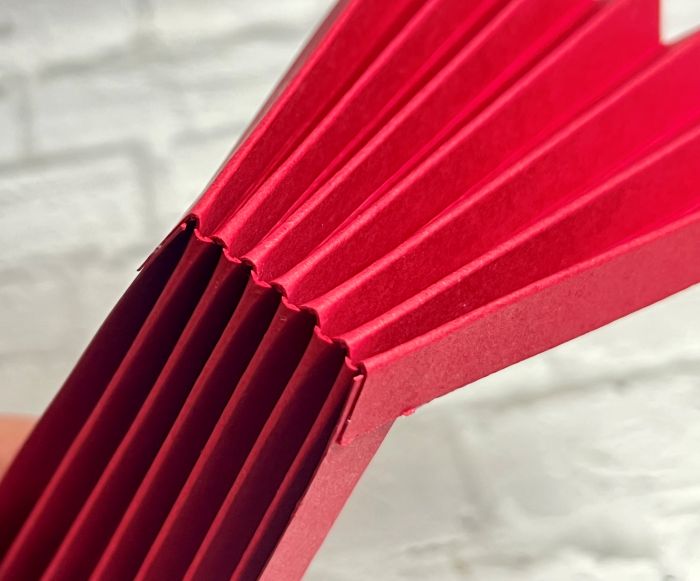
- Add liquid glue to one accordion end on one larger section. Line up one smaller section and slide the accordions in place together to create a corner. When sliding the smaller piece inside the larger piece, one 1/2″ section should sit on the outside corner and the last 1/2″ section should sit on the inside corner.
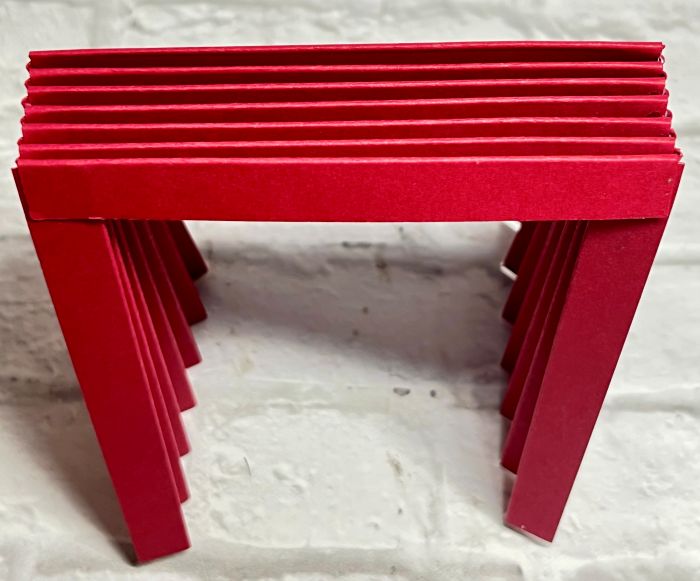
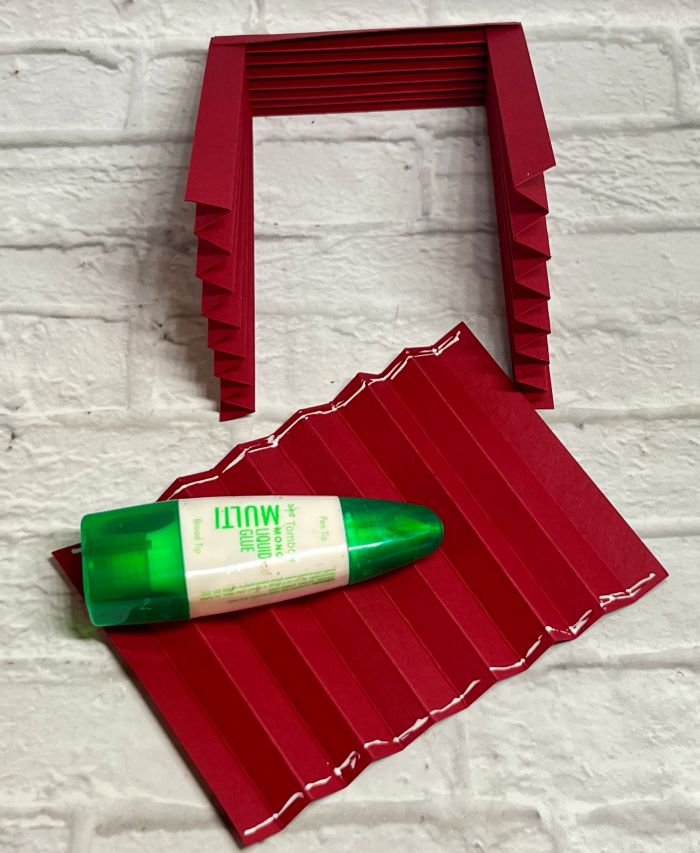
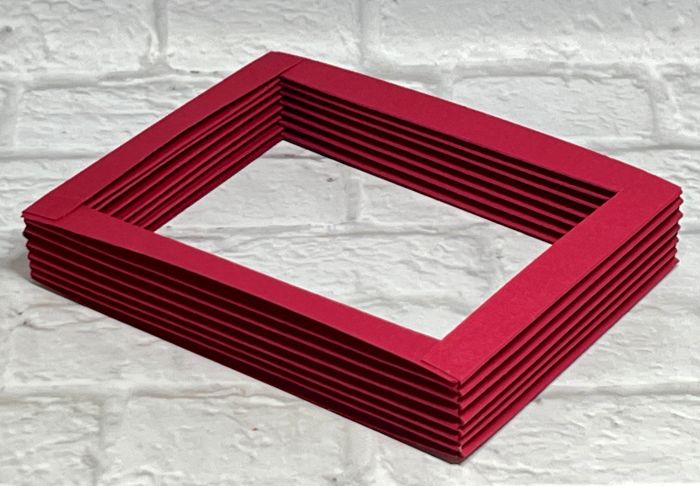
- Repeat by gluing the 2nd larger section to the opposite corner on the smaller section.
- Add liquid glue to the final smaller section on both accortion ends. Slide into the three sided frame to complete the 4th side.
Now let’s assemble and decorate the two layers for the back of the Shadow Book Box:
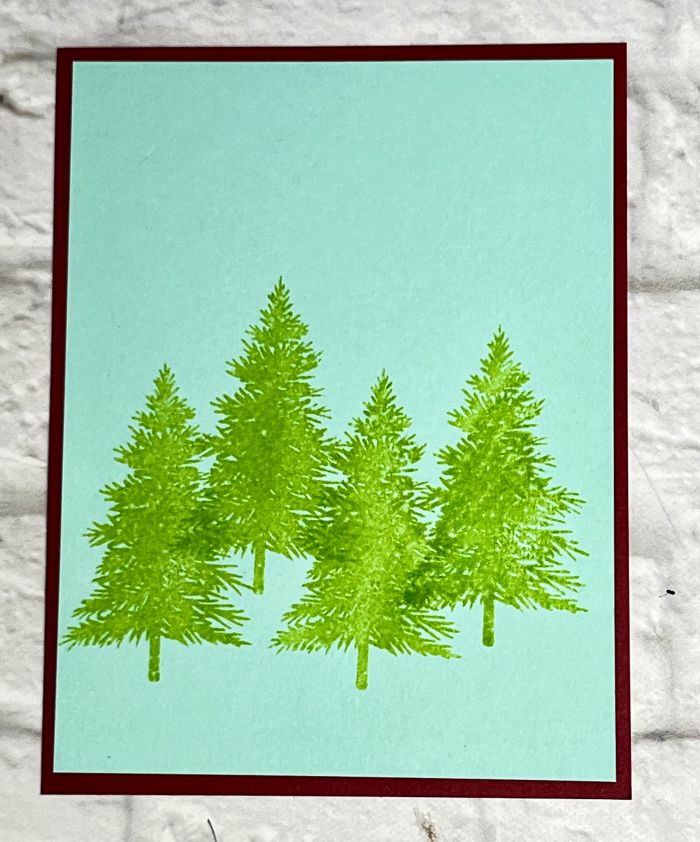
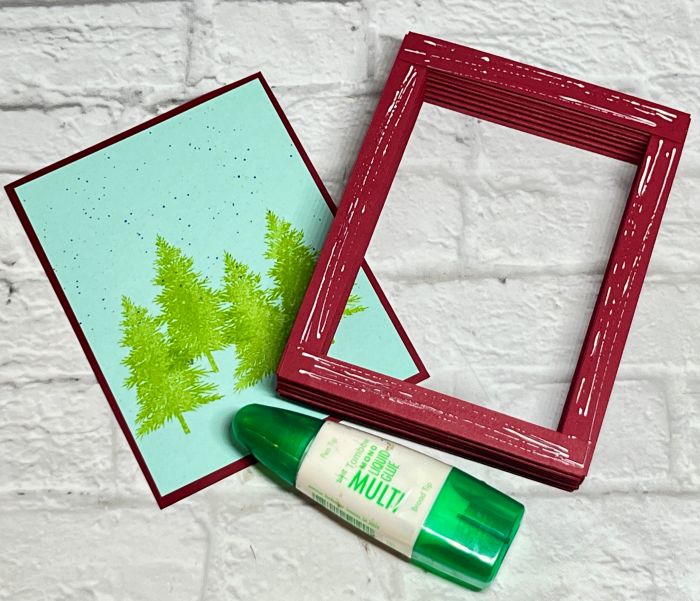
- Cherry Cobbler Cardstock 5-1/2 x 4-1/4.
- Pool Party Cardstock 5-1/4 x 4.
- Stamp the trees with Lemon Lime Twist Ink on the Pool Party layer.
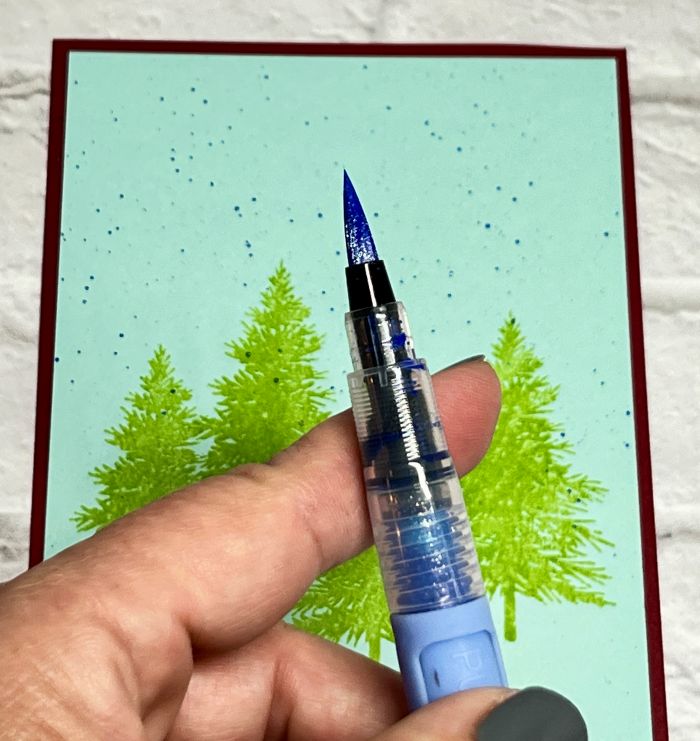
- Use a Hydrangea Hue Shimmer Brush, shake well and after you remove the cap, smack the brush on your opposite index finger to add splatters to the background.
- Glue Pool Party layer to Cherry Cobbler layer.
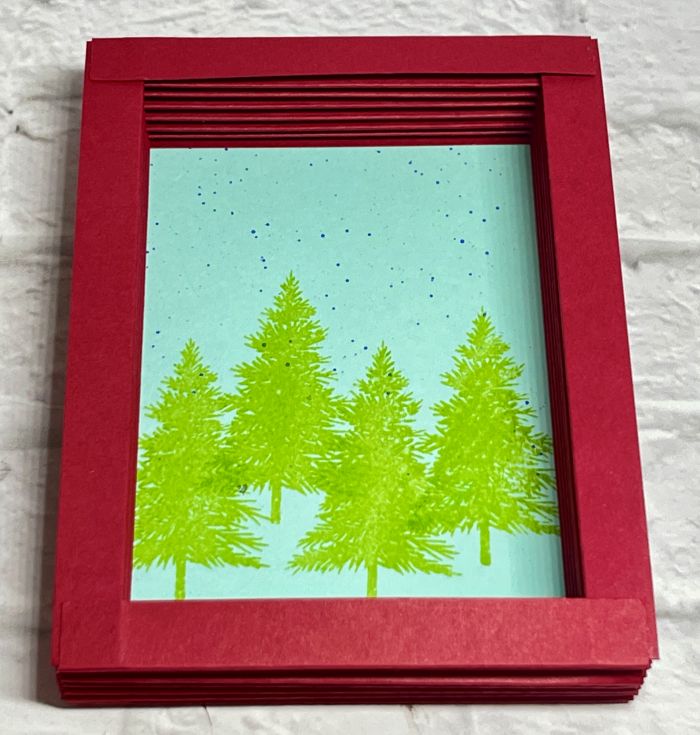
- Add liquid glue to all four sections of the book box:
- Flip the book box so the glued sides are facing the cardstock layers and press in place.
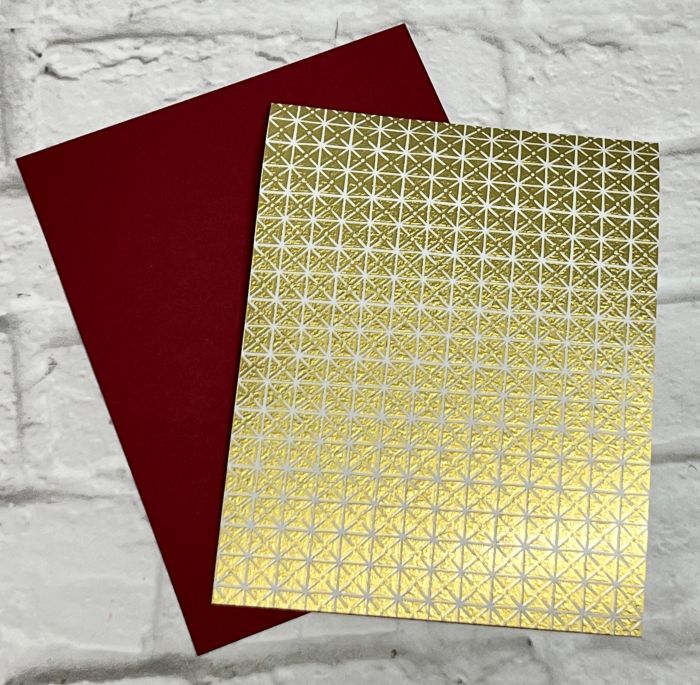
- Cherry Cobbler Cardstock 5-1/2 x 4-1/4.
- Truly Timeless Specialty Designer Paper 5-1/4 x 4.
- Trim around the inside of the designer paper with a Paper Trimmer so that 2 rows of squares are on the outside (about 5/8″) around all four sides to create a rectangular hole.
- Glue to Cherry Cobbler layer.
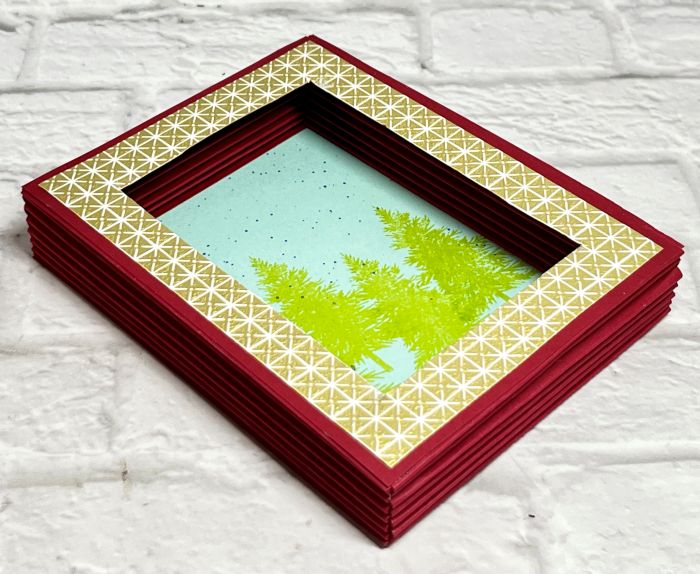
- Use the square hole as a guide to cut the inside of the Cherry Cobbler layer. You can also glue them together first and then make your cuts.
- Position on the front of the book box. Don’t glue yet. I added 2 glue dots at the top to hold in place so it’s easier to fit my inside layers.
Stamp and cut the following layers for the inside and outside of the book box:
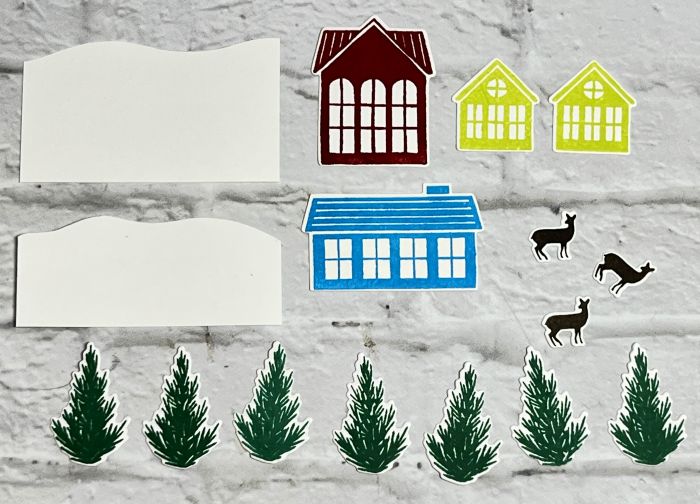
- Snowbank 1: Basic White Cardstock 4 x 2. Trim the top with curved lines using Paper Snips.
- Snowbank 2: Basic White Cardstock 4 x 1-1/2. Trim the top with curved lines using Paper Snips.
- Tall House: Basic White Cardstock stamped with Cherry Cobbler Ink. Cut with the die.
- Long House: Basic White Cardstock stamped with Azure Afternoon Ink. Cut with the die.
- Small Houses: Basic White Cardstock stamped with Lemon Lime Twist Ink. Stamp 2 and cut with the die.
- Deer: Basic White Cardstock stamped with Early Espresso Ink. Stamp 3 and cut with the die.
- Small Bush: Basic White Cardstock stamped with Shaded Spruce Ink. Stamp 7 and cut with the die. (I only used 6)
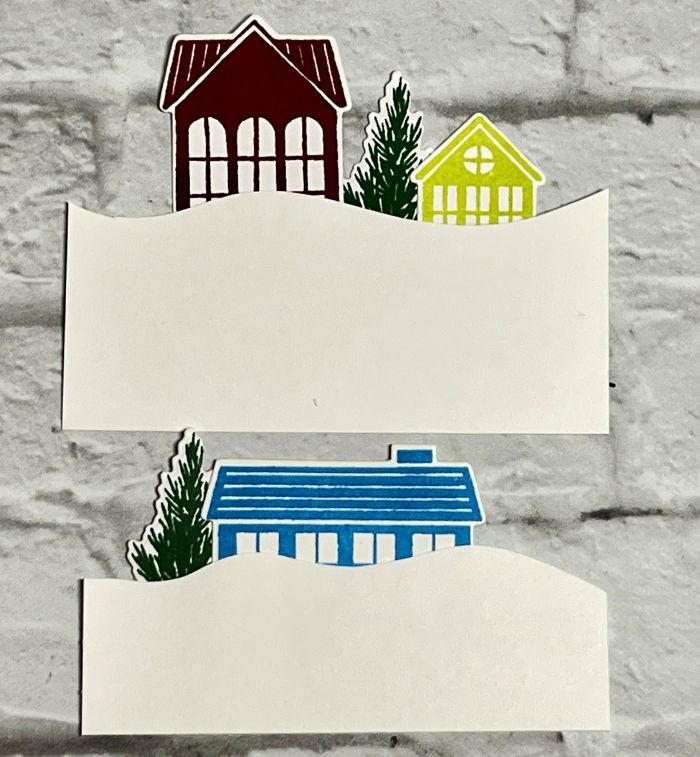
- Glue houses and bushes as shown to the back of each snowbank.
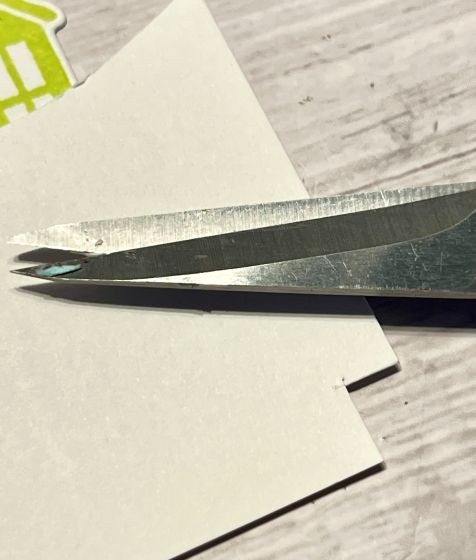
- Using Paper Snips, cut a small square off of each bottom corner of each snowbank. This will make it easier to fit inside.
- Add adhesive to the taller snowbank first, on the bottom and sides.
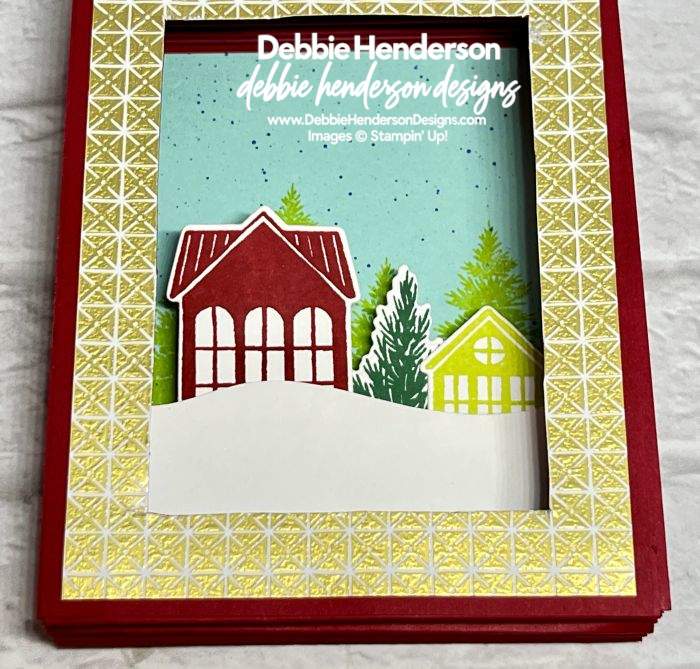
- Slide into the accordion on the bottom and sides. I glued to the 3rd accordion from the back.
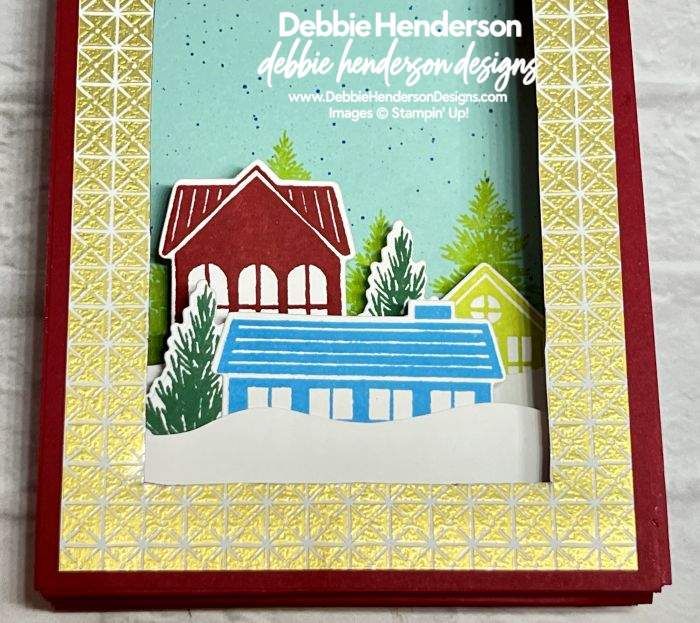
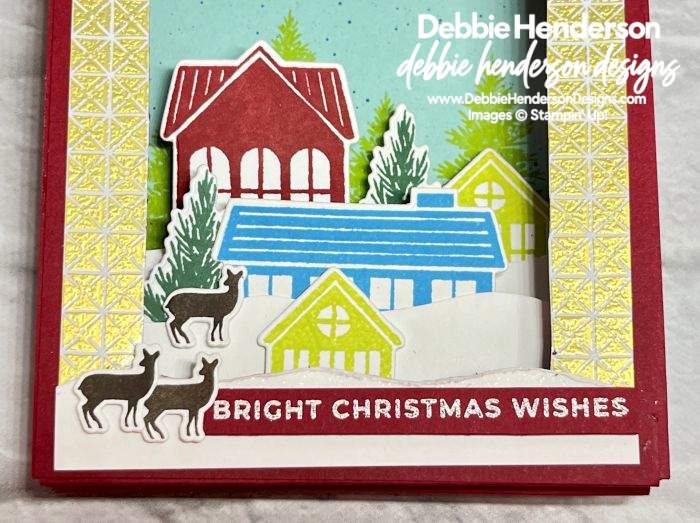
- Repeat with the 2nd snowbank and move up two more accordions from the 1st layer towards the front when gluing in place.
- Add Mini Stampin’ Dimensionals to one deer and the remaining smaller house and glue to the front of the smaller snowbank inside the box.
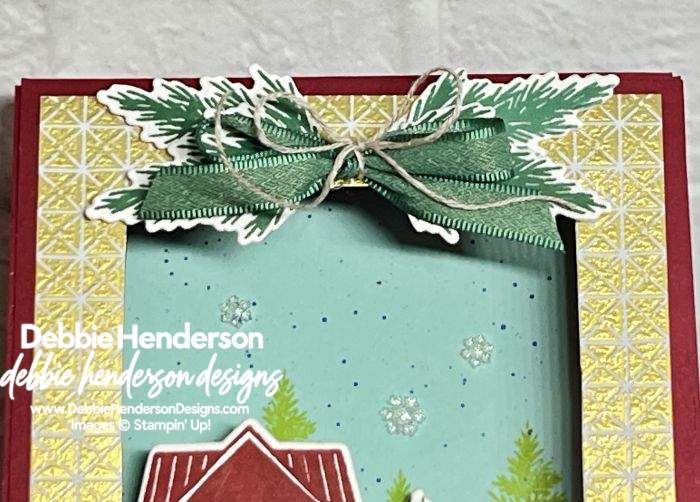
- Glue 4 bushes to the top of the book box with Mini Stampin’ Dimensionals.
- Tie a bow with Peaceful Pine Bordered Ribbon.
- Wrap Linen Thread around the ribbon knot and tie a bow.
- Glue bow over the bushes with Mini Glue Dots.
- Add another snowbank to the front bottom of the book box that measures 4-1/4 x 3/4. Trim the top curvy with Paper Snips. Glue to book box front bottom flat.
- Stamp the sentiment on Cherry Cobbler Cardstock 3 x 1/4 with VersaMark Ink. Sprinkle with White Embossing Powder and melt with the Heat tool. Glue to snowbank on the front at the right with Mini Stampin’ Dimensionals.
- Add Mini Stampin’ Dimensionals to the 2 remaining deer and glue to the left of the sentiment.
- Add Adhesive Backed Snowflakes to the inside of the book box on the Pool Party layer.
Here are a few more photos of the inside and side view of the Welcome Noel Shadow Box Book. Isn’t it gorgeous?
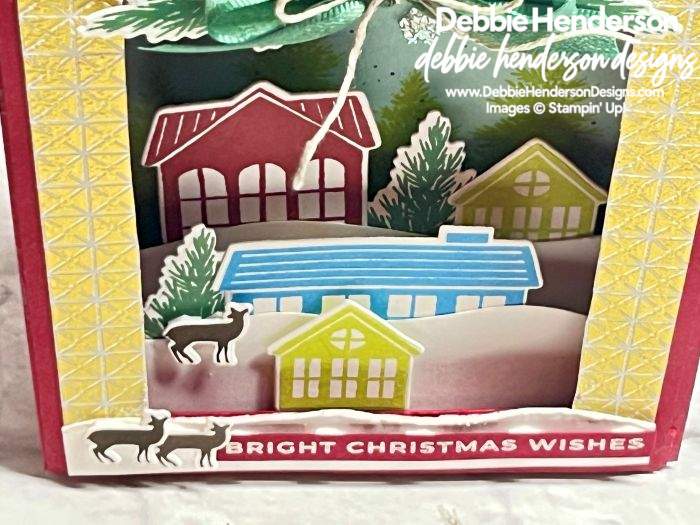
I hope you have enjoyed this project and please give it a try. I worked on another awesome card fold today coming soon so stay tuned!





Leave a Reply