Create 2 Cards With One Hot Foil Sheet!
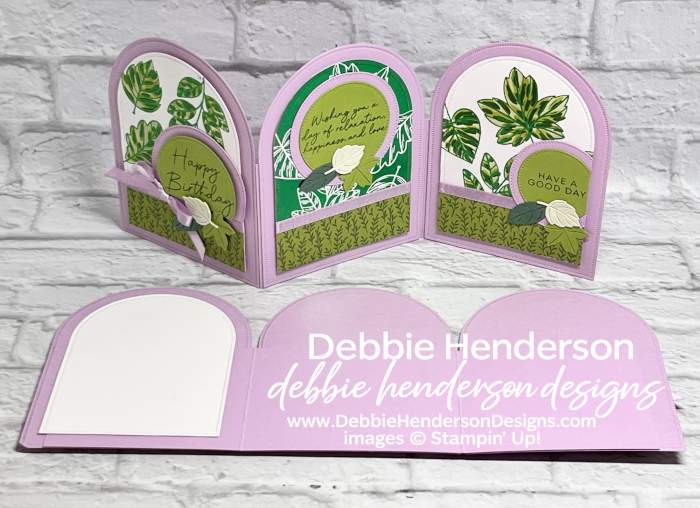
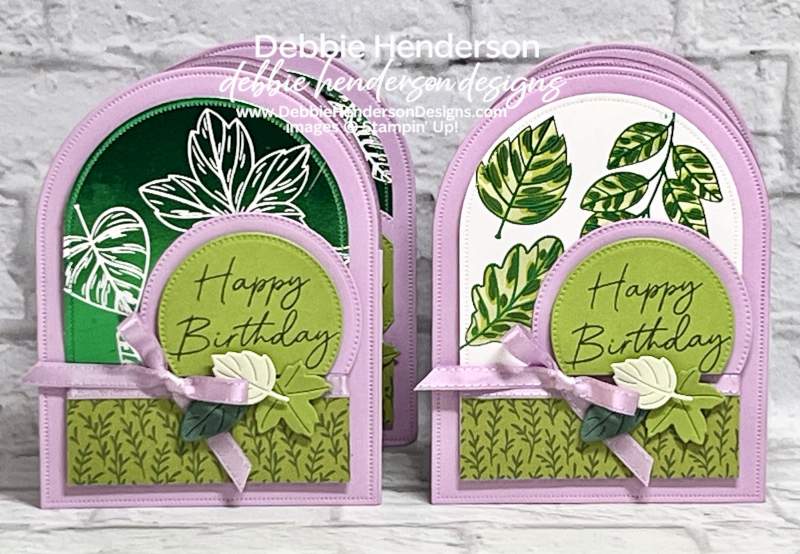
One of my favorite Stampin’ Up! products is the Everyday Arches Dies. I love that there are 10 arch dies in this set of dies and I wanted to try to create a trifold card fold with the dies. I love the way they turned out. But why do I have 2 cards?
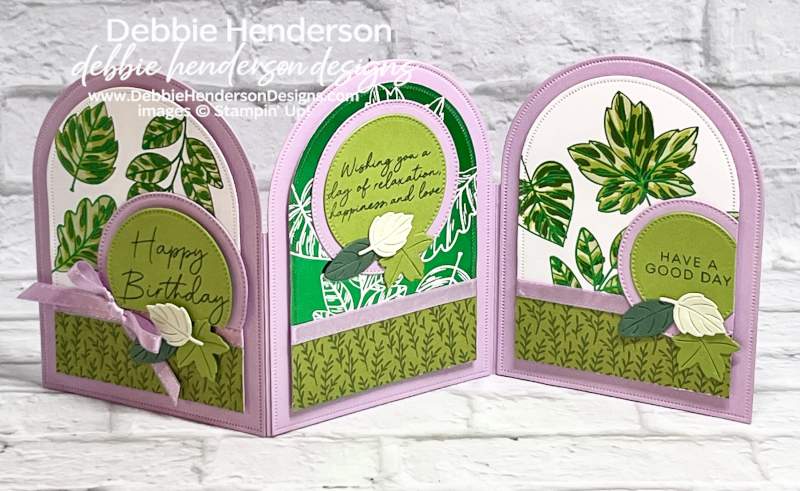
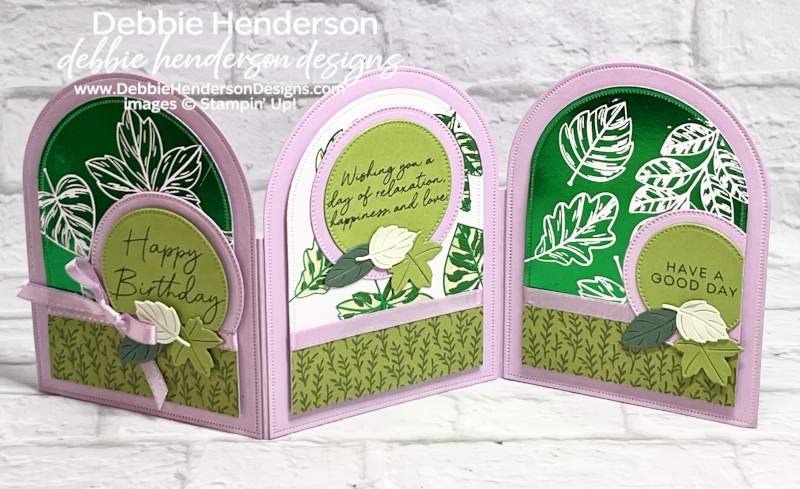
That’s because we have a new Hot Foil System Reverse Hot Foil Die. What the heck does that mean? It means that the Reverse Hot Foil Die is a flat die that you can use to create a second foiled image using the leftover foil sheet. Here’s a little bit more information:
- This solid die lets you create two designs from one piece of foil.
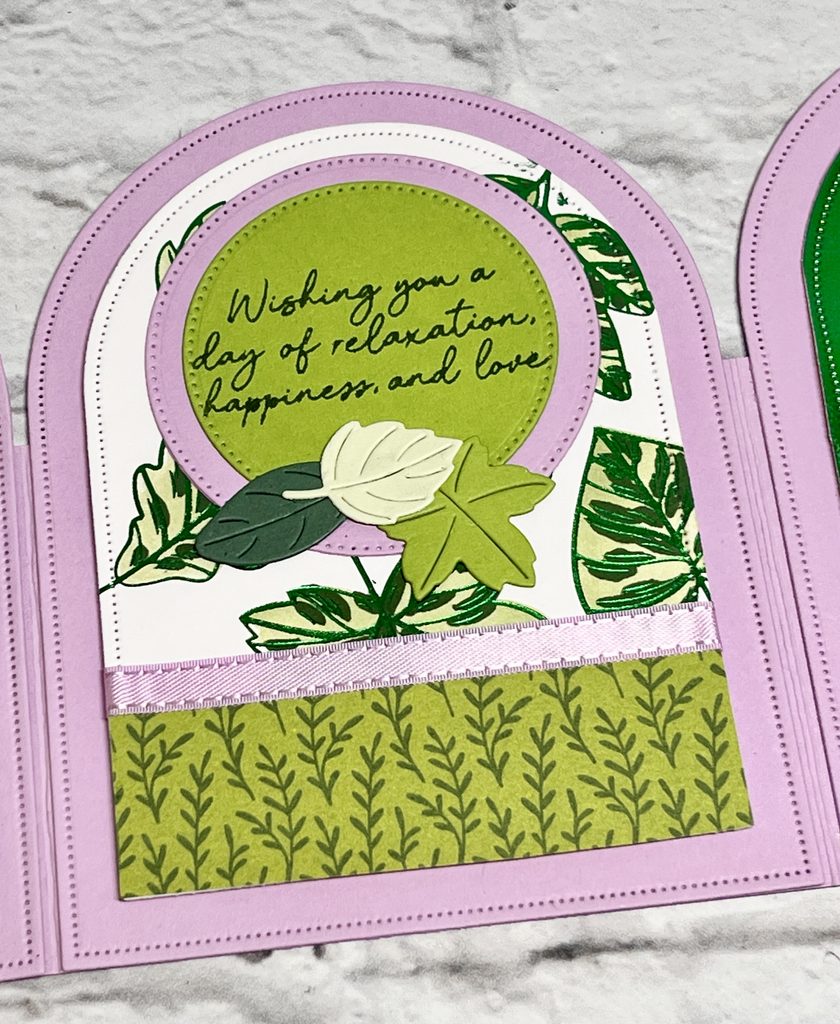
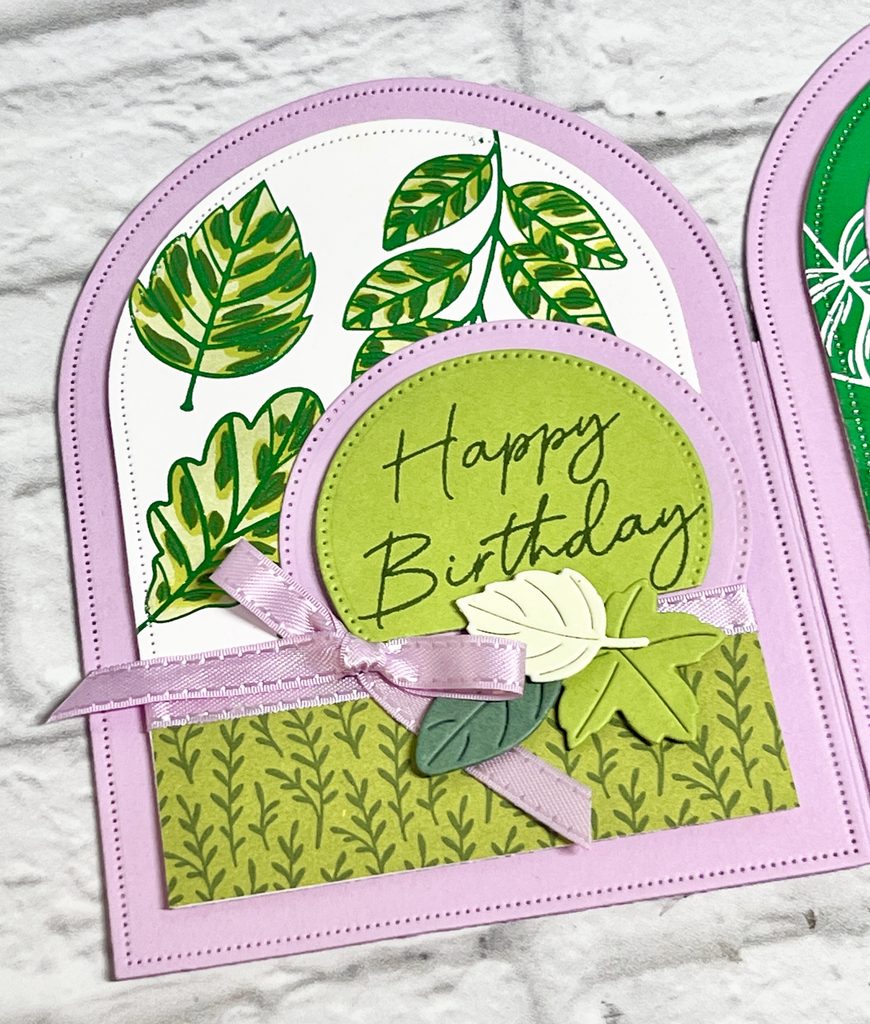
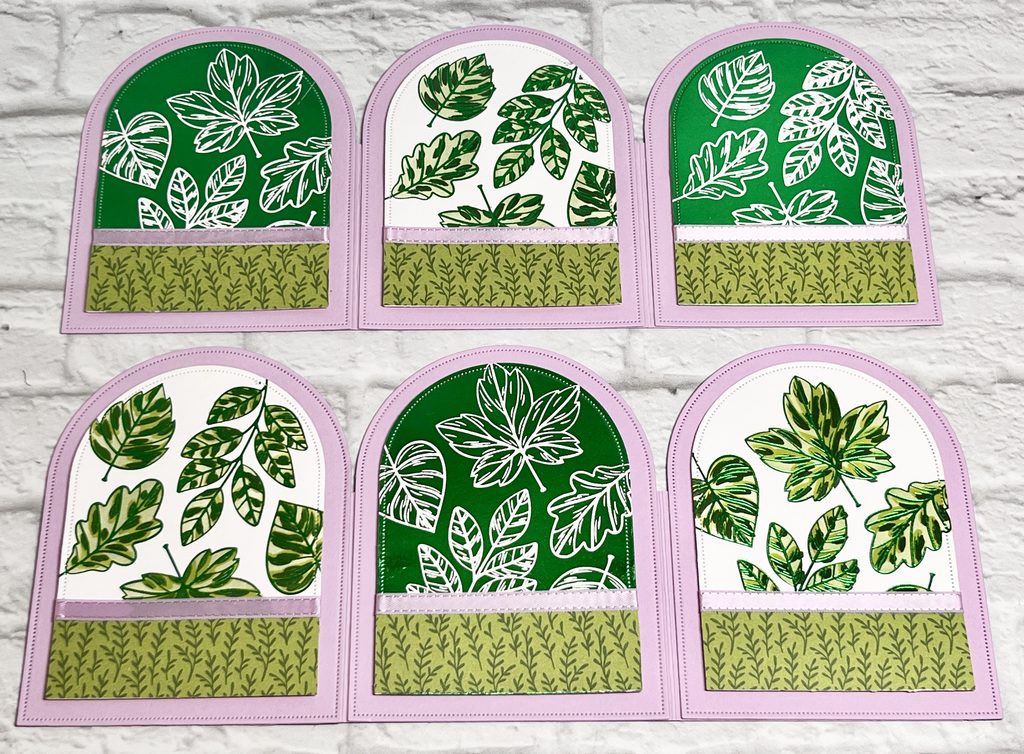
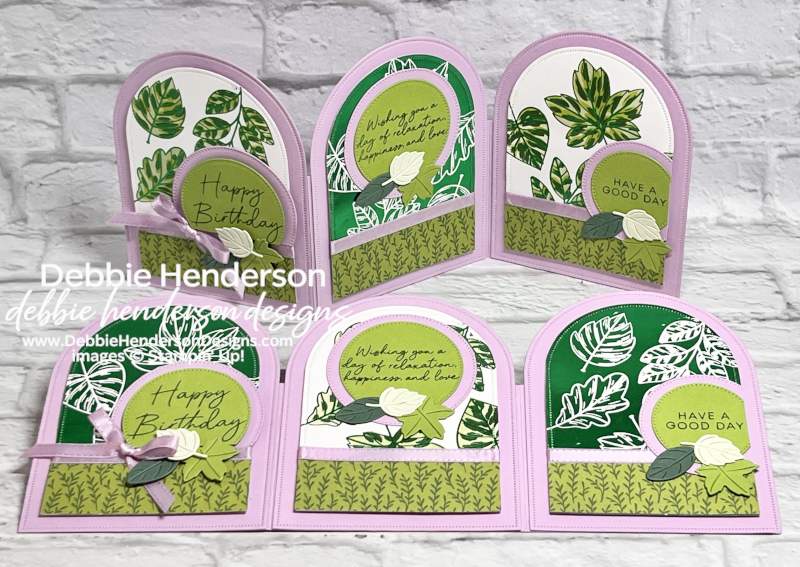
- The main design is used first and the negative image left on the foil is used next. You can see those on my white layers with green leaves.
- Simply apply the used foil following the usual foiling process for a shiny bonus design using the Reverse Hot Foil Die.
- The Reverse Hot Foil die measures 4-1/2″ x 6-5/16″
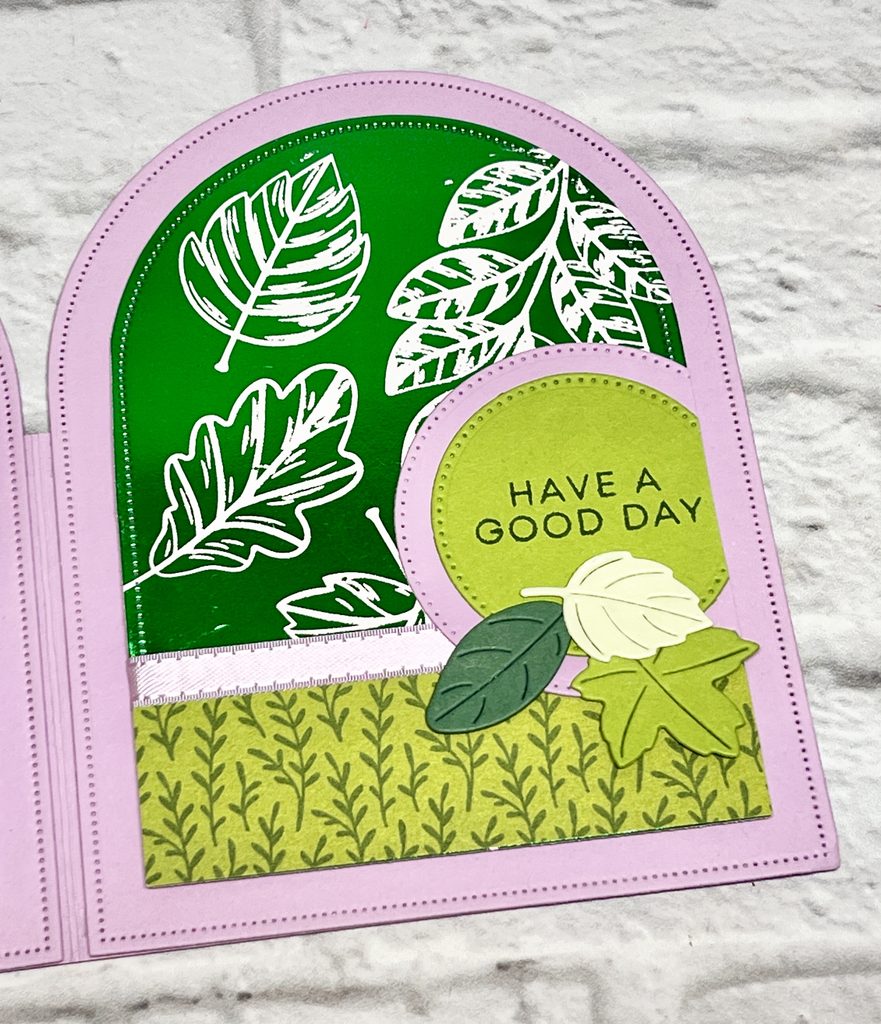
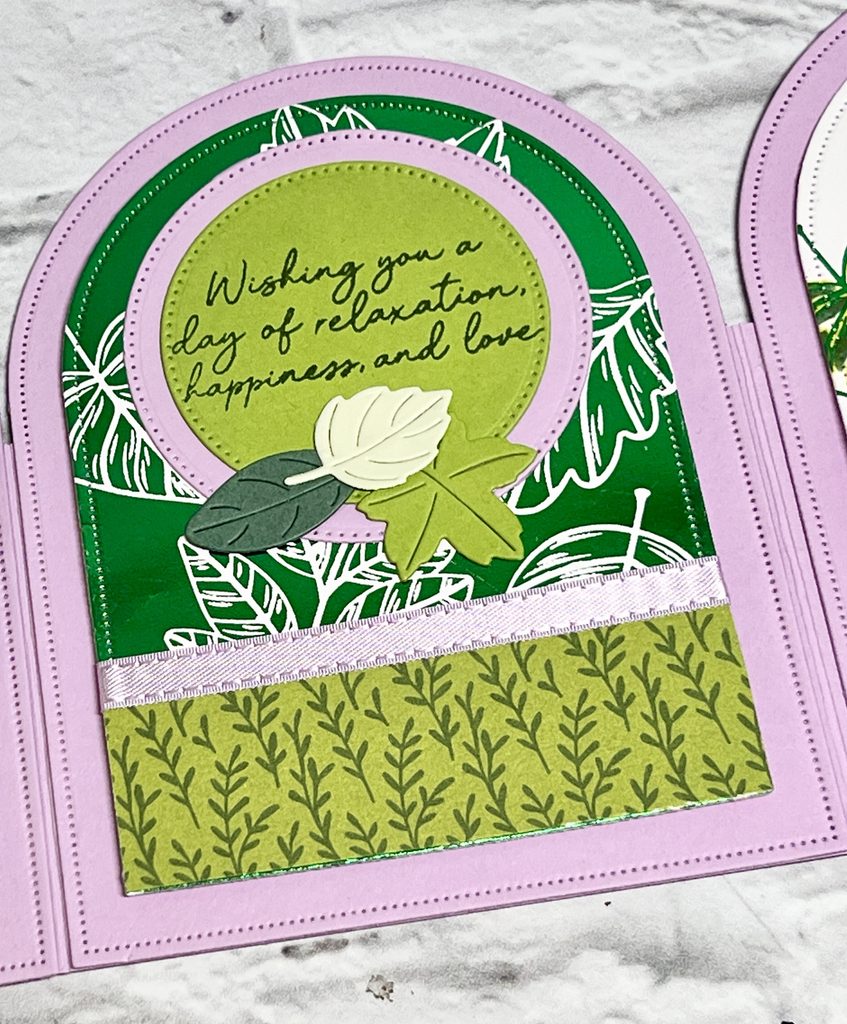
- This is a hot foil die; it adds metallic foil details for an elegant, eye-catching finish when used with Stampin’ Hot Foil Rolls and the Stampin’ Hot Foil System. You can see those on the green foiled background with white leaves.
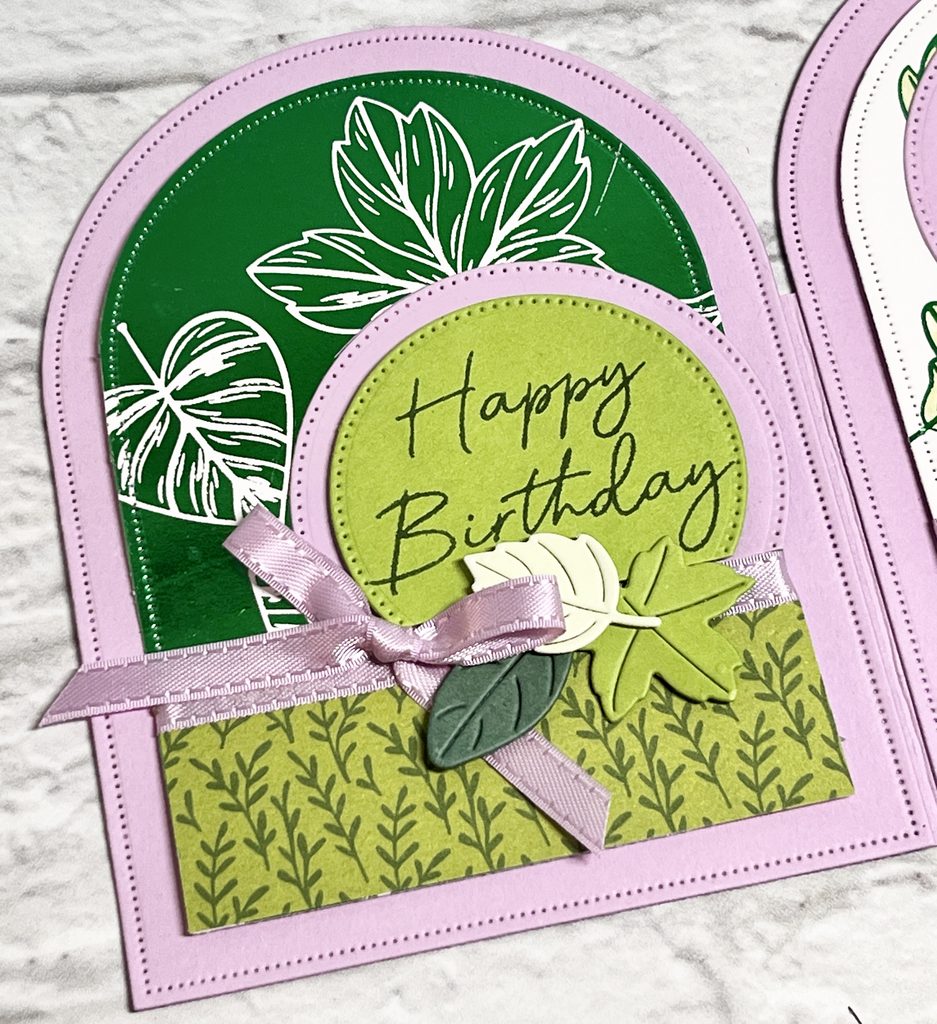
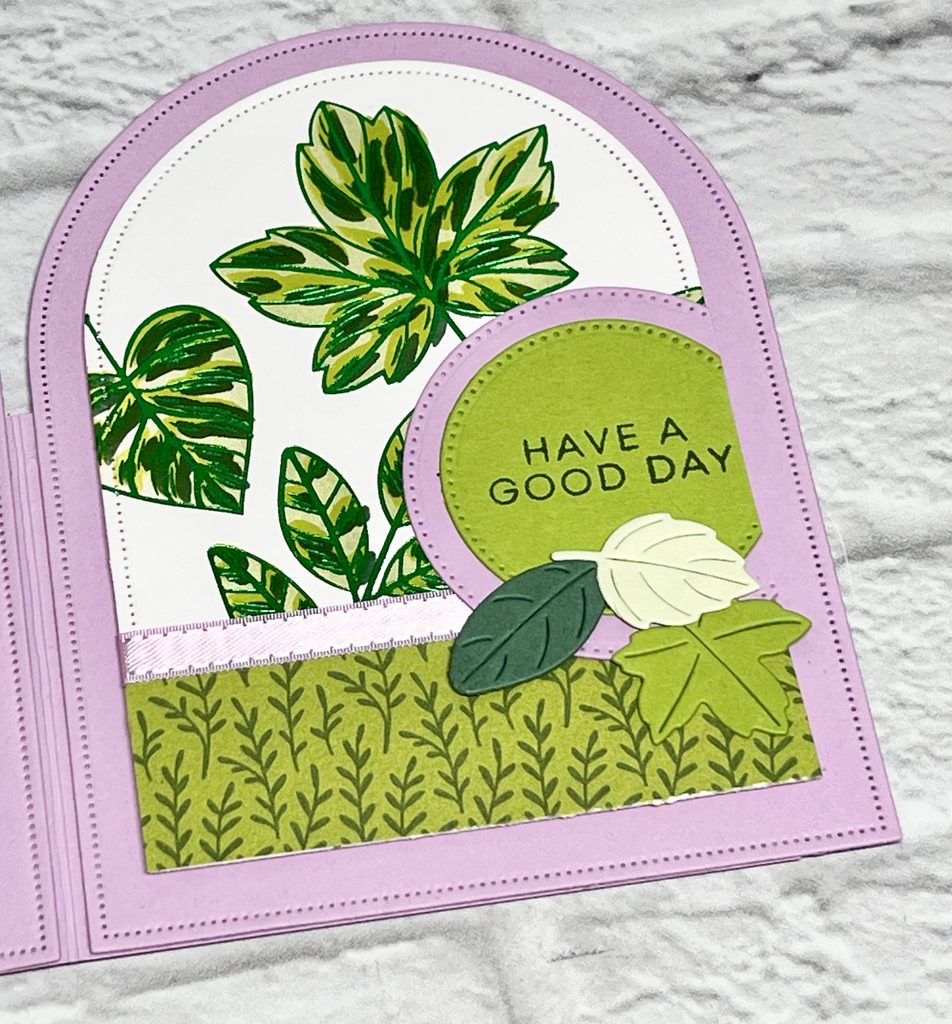
If you look at my photos below, I’ll explain what I did:
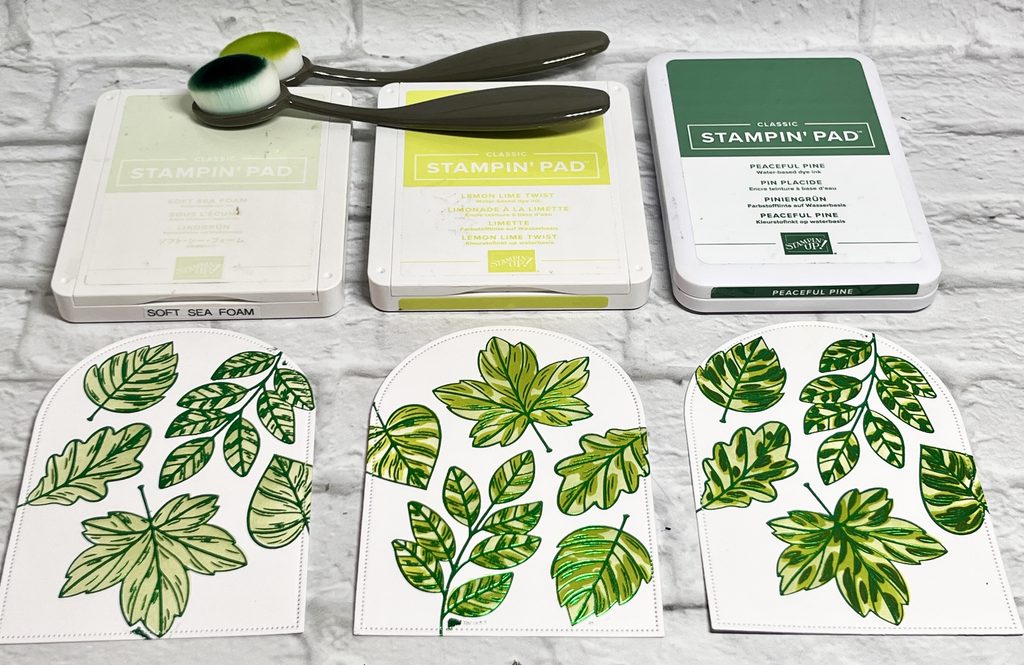
- First I used the Green Stampin’ Hot Foil Roll to foil on Basic White Cardstock. The hot foiled leaves are the green leaves over a white background.
- Once the foiling was completed on my white layers, I used the Lustrous Leaves Decorative Masks to add 3 ink colors with Blending Brushes. I started with Soft Sea Foam and then added Lemon Lime Twist and Peaceful Pine.
- If you look closely at image 3, you’ll see where I used the leftover foil pieces to add to more Basic White Cardstock layers using the Reverse Hot Foil Die. Those show up as the dark green foil with white leaves.
To assemble my cards, this is what I used:
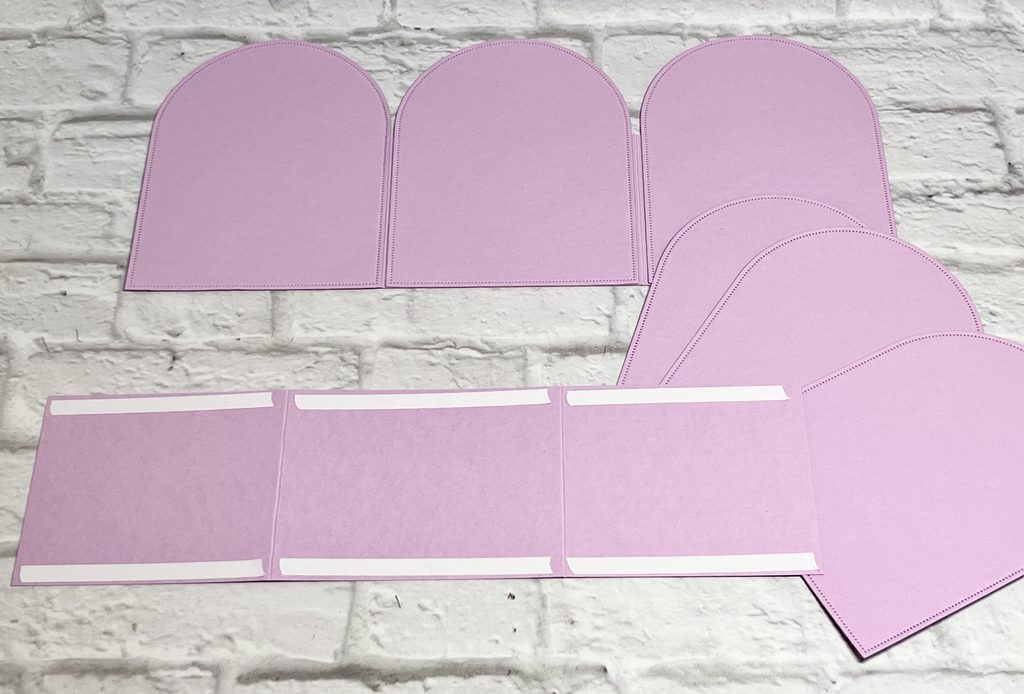
- Cut 6 Fresh Freesia Cardstock pieces with the 5-1/8″ tall Everyday Arches Dies.
- Cut 6 hot foiled leat layers with the 4-1/2″ tall Everyday Arches Dies.
- Cut 2 more Basic White Cardstock arches with the 4-1/2″ tall Everyday Arches Dies. I used those on one section on the back of the card for any writing or stamping.
- For the long section that you glue all of the arches to, I used Fresh Freesia Cardstock 11 x 3. Score at 3-1/2 & 7-1/2. Add Tear & Tape to the top and bottom of each section and glue the arches in place.
- For the white arches, I added a strip of designer paper on each bottom that measures 3-1/4 x 1 and added ribbon above the designer paper.
- The diecut leaves are from the same foiling bundle Lustrous Leaves Hot Foil Dies.
I hope you enjoyed my 2 trifold cards using the Everyday Arches Dies. If you have any questions about our new Stampin’ Hot Foil System, let me know. I would be happy to help you.



Leave a Reply