Casing Stampin’ Up! Product Of The Month Projects!
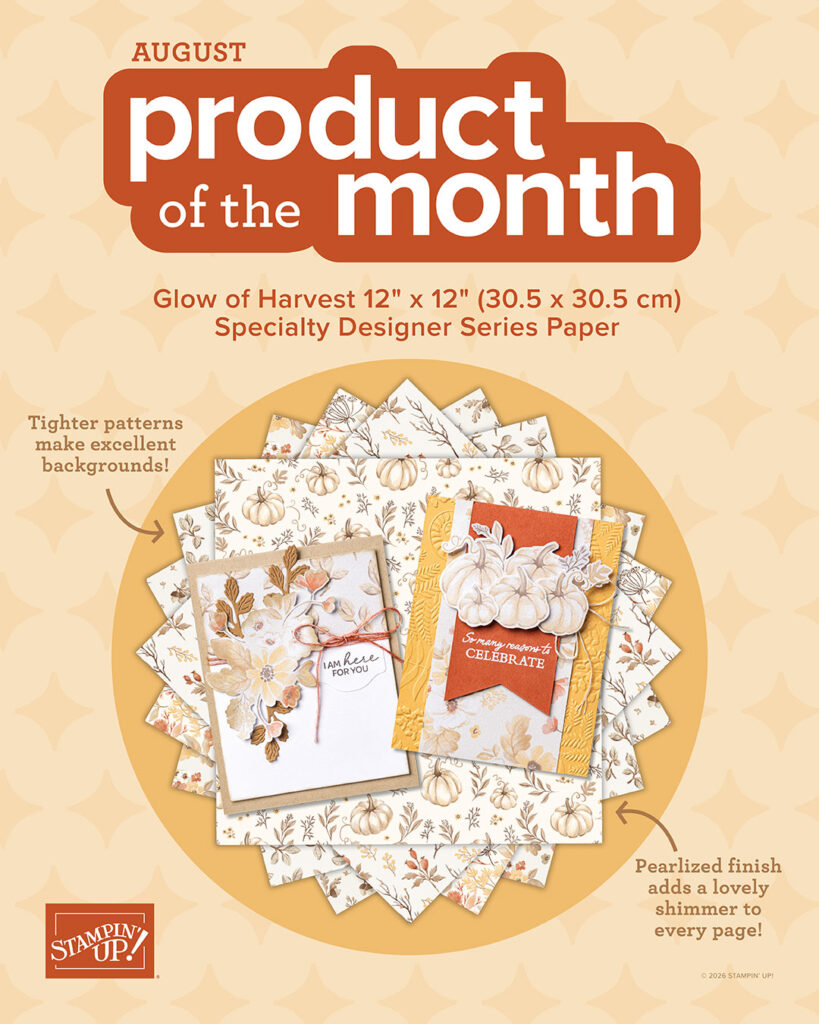
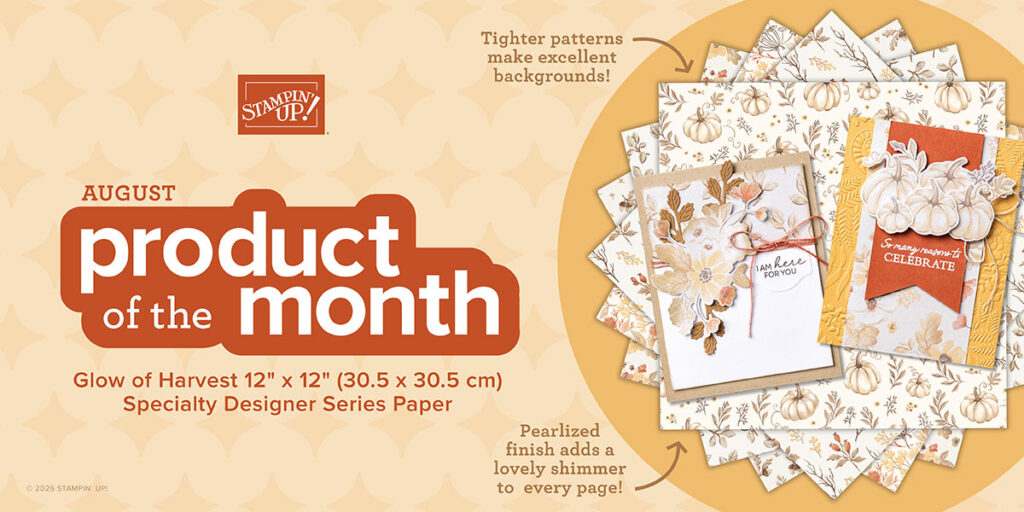
I promised you I would be back with 4 projects using our August Product Of The Month. Stampin’ Up! has 4 projects shown through the Online Store, that they created using the Glow Of Harvest Designer Paper and I fell in love with all 4 and decided to CASE them all for you! Let’s review the designer paper first.
Here is a close-up look at the paper patterns in these photos, plus project ideas:
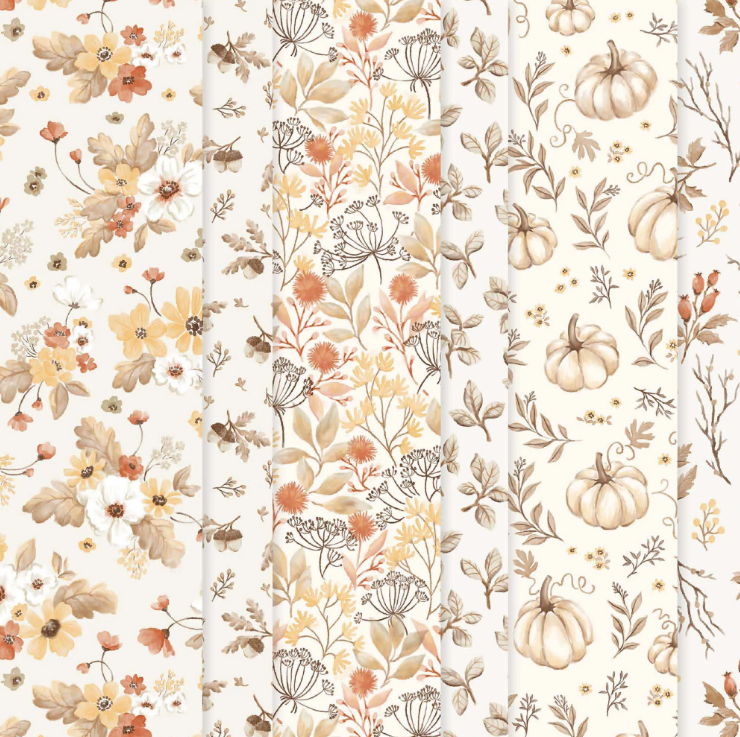
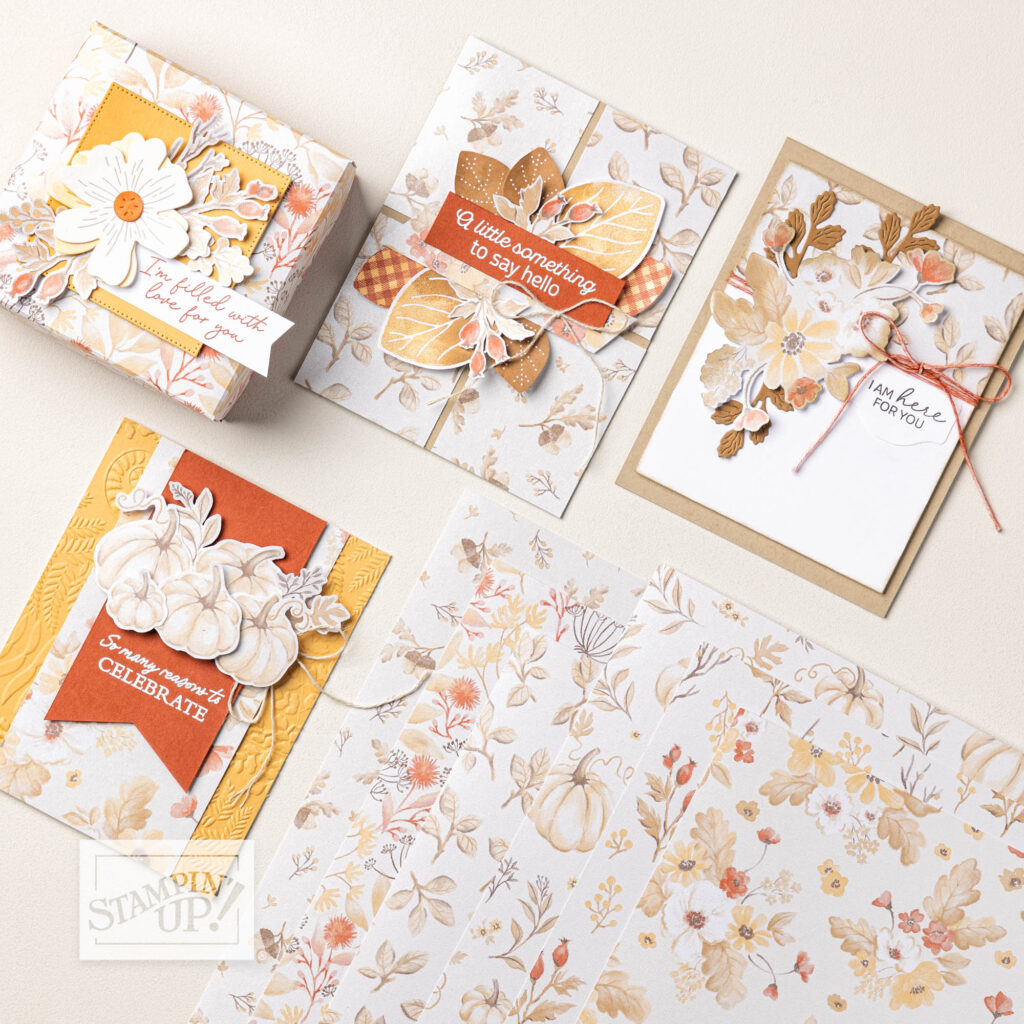
It’s hard to see in the photos above, but the sheets have a pearlized fine shimmer finish to them. It’s subtle but oh so pretty. The colors included on the prints are: Cajun Craze, Crumb Cake, Early Espresso, Golden Glow, Pecan Pie.
Now let’s talk about the 4 projects. Here are my end results of viewing photos and creating these as close to the originals:
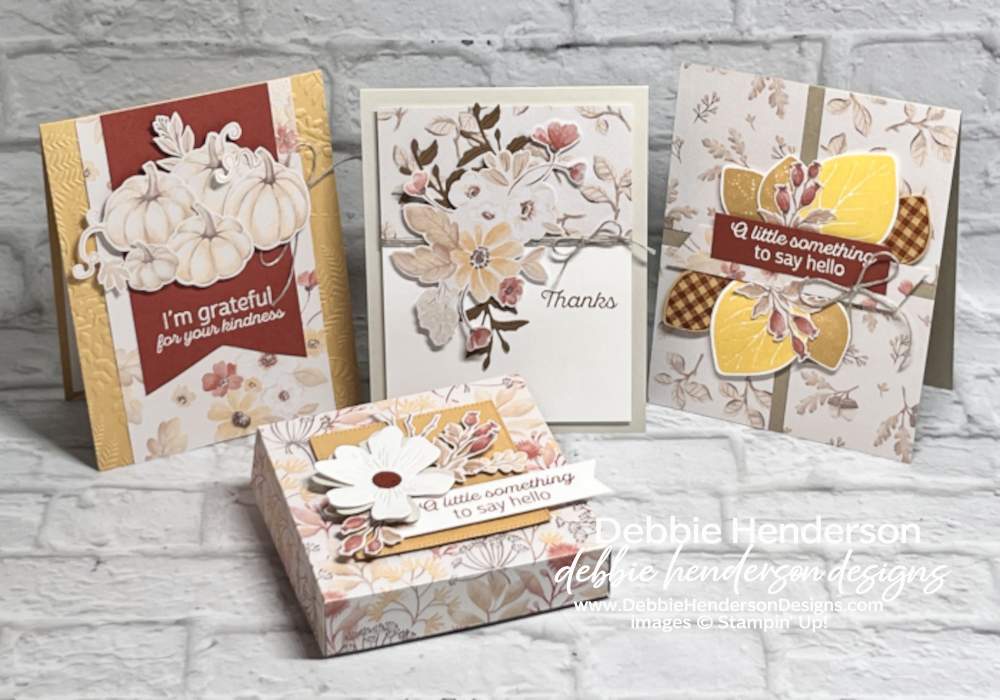
The first card uses dry embossing, designer paper and a cute banner:
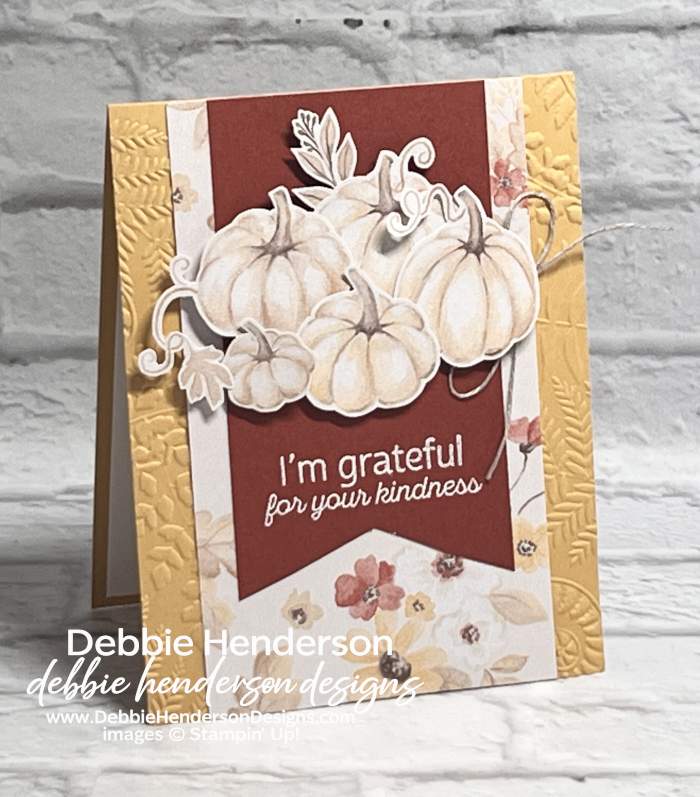
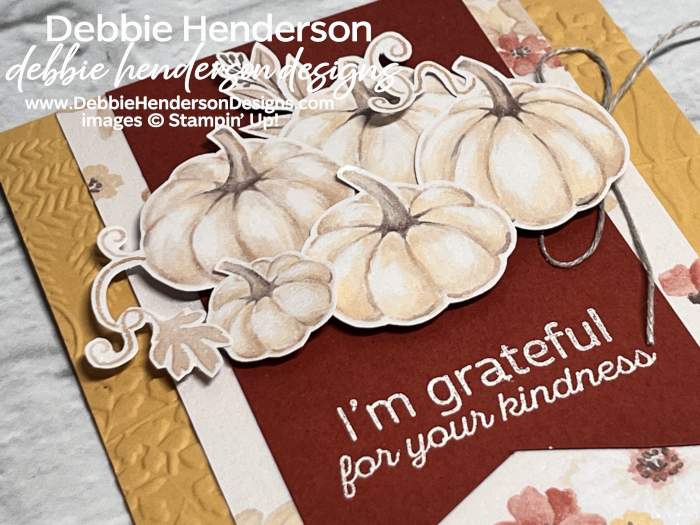
The pumpkin images are all fussy-cut with Paper Snips. It was actually pretty easy to hand-cut and glue them on the banner with Stampin’ Dimensionals. Here are the measurements:
- Card Base: Golden Glow Cardstock 11 x 4-1/4. Score and fold at 5-1/2. Emboss the front of the card base using the Fern & Flora 3D Embossing Folder.
- Layer 2: Glow Of Harvest Designer Paper 5-1/2 x 3-1/4. Glue to card front centered.
- Layer 3: Cajun Craze Cardstock 4-1/2 x 2-1/2. Cut the bottom into a banner shape with Paper Snips. Stamp the sentiment from the Simply Leaves stamp set with VersaMark Ink. Sprinkle with white embossing powder and melt with the Heat Tool. Glue to designer paper even at the top.
- Ribbon: Create a large bow with Linen Thread. Glue to the right of the banner with Mini Glue Dots.
- Pumpkins: Cut 4 large and 1 small pumpkin from the designer paper sheet with Paper Snips. Glue above the sentiment with Stampin’ Dimensionals.
Card 2 uses two layers of designer paper with one being fussy-cut:
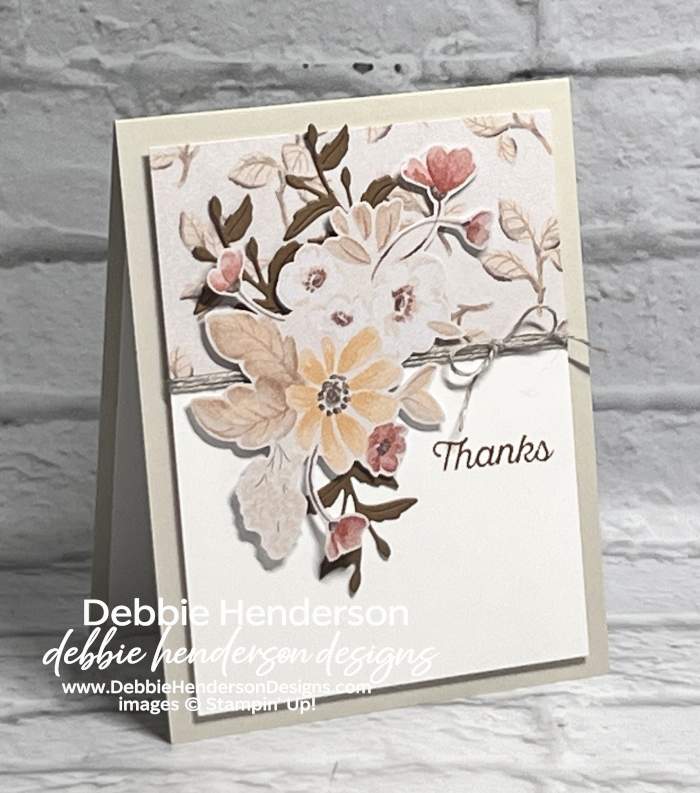
- Card Base: Basic Beige Cardstock 11 x 4-1/4. Score and fold at 5-1/2.
- Layer 2: Basic White Cardstock 5 x 3-3/4. Set aside.
- Layer 3: Glow Of Harvest Designer Paper 3-3/4 x 2. Glue even at the top to the white layer.
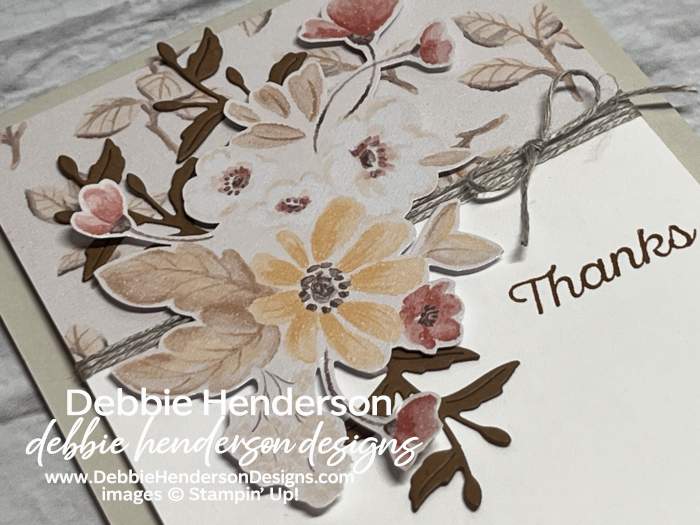
- Ribbon: Wrap LInen Thread below the designer paper 3 times and tie into a bow at the right.
- Flowers: Cut the large flower clusters from the designer paper with Paper Snips. Glue over the Linen Thread and to the left of the bow with Stampin’ Dimensionals.
- Branches: Cut 3 branches with the dies from Fern & Flora Dies. Tuck and glue around the flowers flat.
- Sentiment: Stamp the sentiment from the Simply Leaves stamp set with Pecan Pie Ink to the right of the flowers.
- Glue layer to card base with Stampin’ Dimensionals.
Card 3 I added layers with the Simply Leaves Bundle which includes the stamp set and coordinating punch:
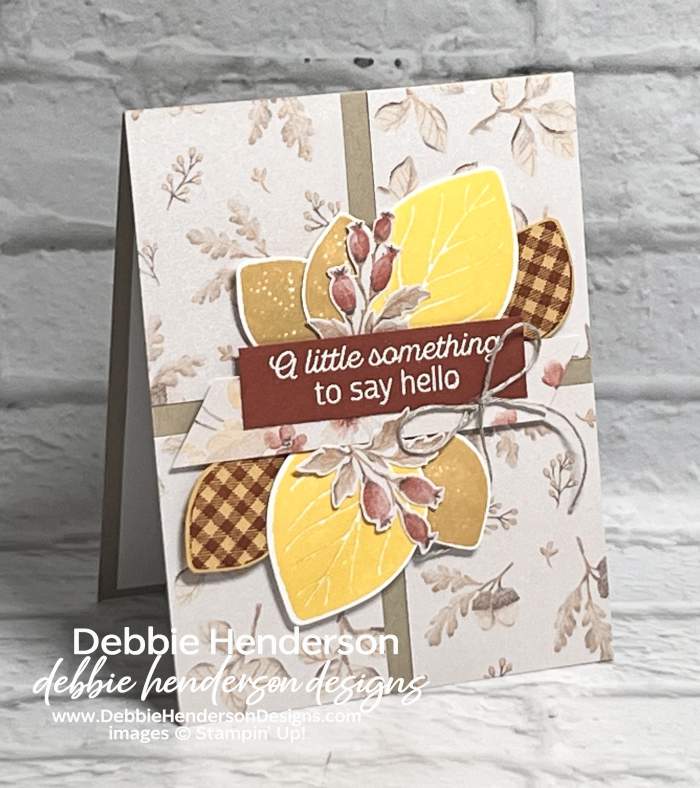
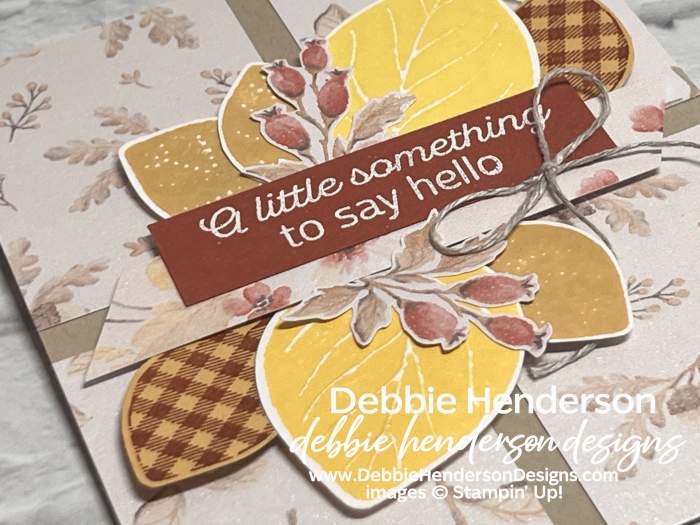
- Card Base: Crumb Cake Cardstock 11 x 4-1/4. Score and fold at 5-1/2.
- Layer 2: Cut 4 layers of Glow Of Harvest Designer Paper to measure 2-5/8 x 2. Glue each layer to all four corners of the card base.
- Layer 3: Glow Of Harvest Designer Paper 4 x 3/4. Cut the ends at an angle. Glue to the center of the card base with Stampin’ Dimensionals.
- Layer 4: Cajun Craze Cardstock 2-3/4 x 3/4. Stamp the sentiment with VersaMark Ink. Sprinkle with white embossing powder. Melt with the Heat Toold. Glue to the designer paper layer in the center flat and using Mini Stampin’ Dimensionals at the top of the cardstock layer.
- Leaves: Stamp, punch and add the following leaves:
- Large Leaf: Stamp 2 with Daffodil Delight Ink. Cut with the punch. Glue tuck under the sentiment/DSP layer with Stampin’ Dimensionals (cut the stem area flat if needed).
- Small Leaf: Stamp 3 small leaves with the vein with Golden Glow Ink. Handcut with Paper Snips. Tuck and glue under the sentiment with Stampin’ Dimensionals.
- Plaid Leaf: Stamp 2 plaid leaves with Cajun Craze Ink on Golden Glow Cardstock. Handcut with Paper Snips. Tuck and glue under the sentiment with Stampin’ Dimensionals.
- Flowers: Handcut 2 flower branches from the designer paper with Paper Snips. Tuck and glue under the sentiment/DSP layer flat.
- Ribbon: Create a bow with the Linen Thread. Glue to the bottom right of the sentiment with Mini Glue Dots.
3D Gift Box uses one 1/2 sheet of designer paper:
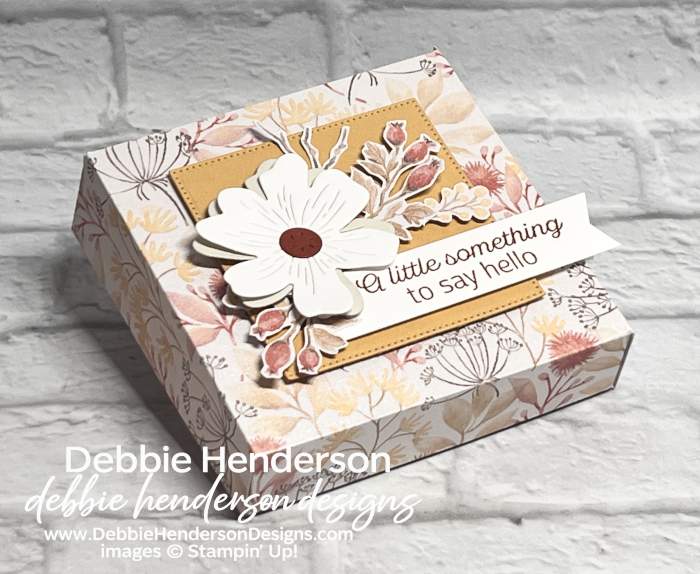
Follow these steps to create the box:
- Glow Of Harvest Designer Paper 11 x 6
- On the short side, score at 1″ & 5″
- On the long side, score at 1″, 5″, 6″ & 10″
- Fold on all score lines.
- On the long side, use Paper Snips to create 3 tabs on each side. Once the 6 tabs are created, cut both sides of each tab at an angle. This will make it easier to glue to the sides of the box later.
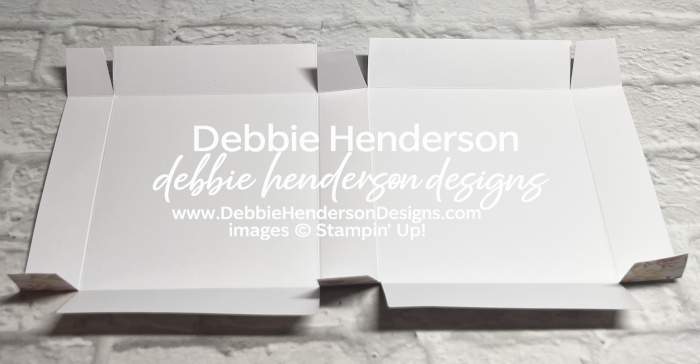
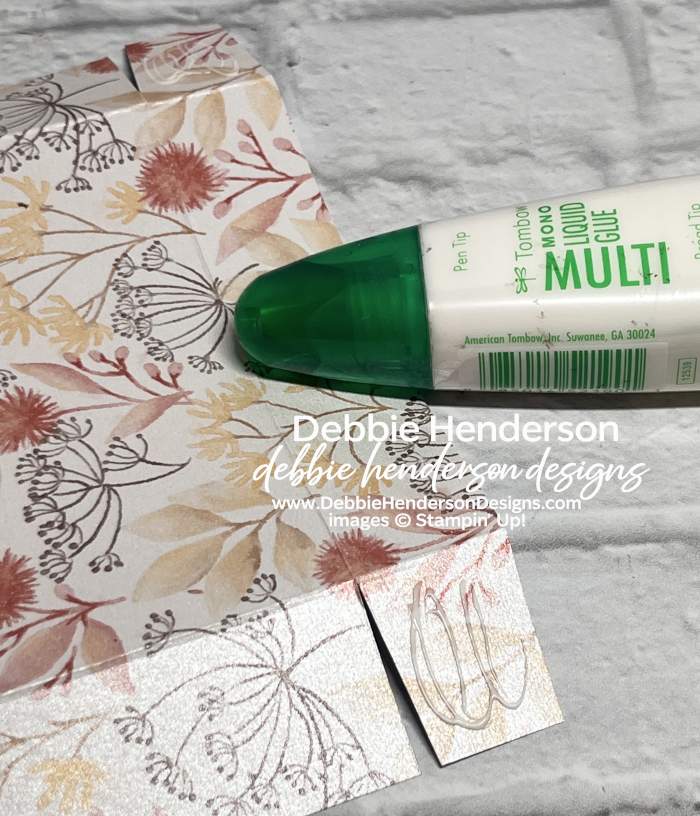
- Add adhesive to all 4 outside tabs on the printed side (don’t add adhesive to the 2 center tabs):
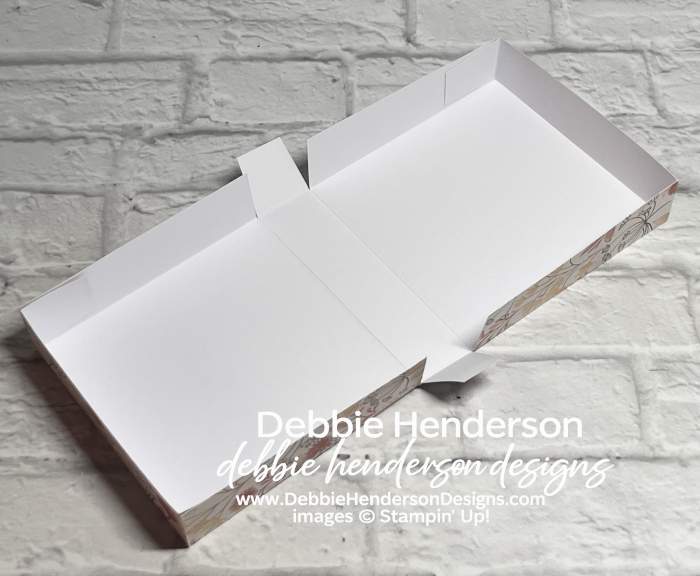
- Fold each side and glue the tabs to the inside to form a box that looks like the photo below:
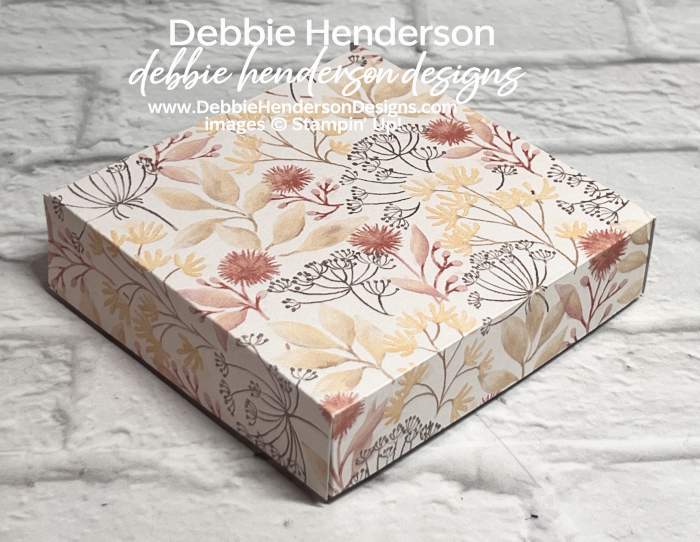
- Fold the box in half on the score lines and fit one side of the lids inside the other side to look like this photo.
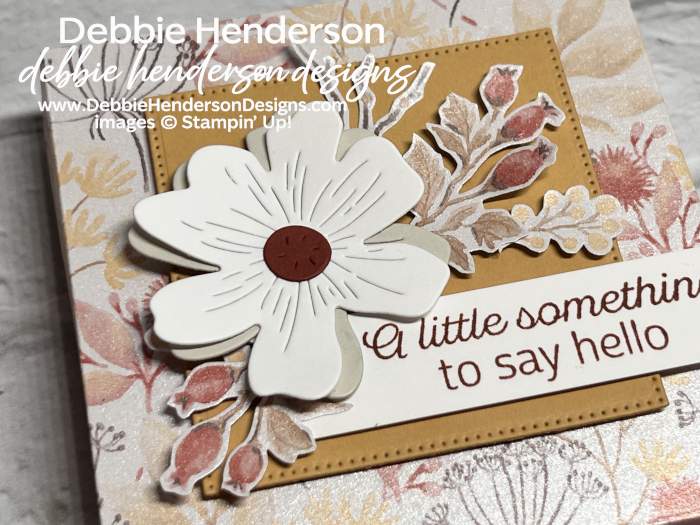
Decorative Box Layers:
- Golden Glow Cardstock cut with the 2-3/4″ square from the Stylish Shapes Dies. Glue to box top with Stampin’ Dimensionals.
- Sentiment: Basic White Cardstock 3-1/2 x 3/4. Cut the right end into a banner shape with Paper Snips. Stamp the sentiment from the Simply Leaves stamp set with Cajun Craze Ink. Glue to Golden Glow Cardstock layer with Stampin’ Dimensionals more towards the right.
- Flowers: Cut 1 flower of each in Basic Beige and Basic White Cardstock with the flower die from Heirloom Boutique Dies. Layer to each other offset so the beige peeks from under the white. Cut one flower center with Cajun Craze Cardstock from Heirloom Boutique Dies. Glue to center of flower. Glue the flower to the Golden Glow layer at the left with Stampin’ Dimensionals.
- Designer Paper: Cut the following with Paper Snips:
- 2 flower branches glued with Mini Stampin’ Dimensionals.
- 1 non-flowered branch glued flat.
- 1 small flower branch glued with Mini Stampin’ Dimensionals.
Remember, if you’ve now fallen in love with this designer paper, place your order soon before it’s sold out!




These are great. What is a good substitute for the linen thread. I’m new at this and on a tight budget unfortunately.
Hi Linda, glad you love the projects. Linen thread is similar to bakers twine. You could also use any thin type of ribbon in place.