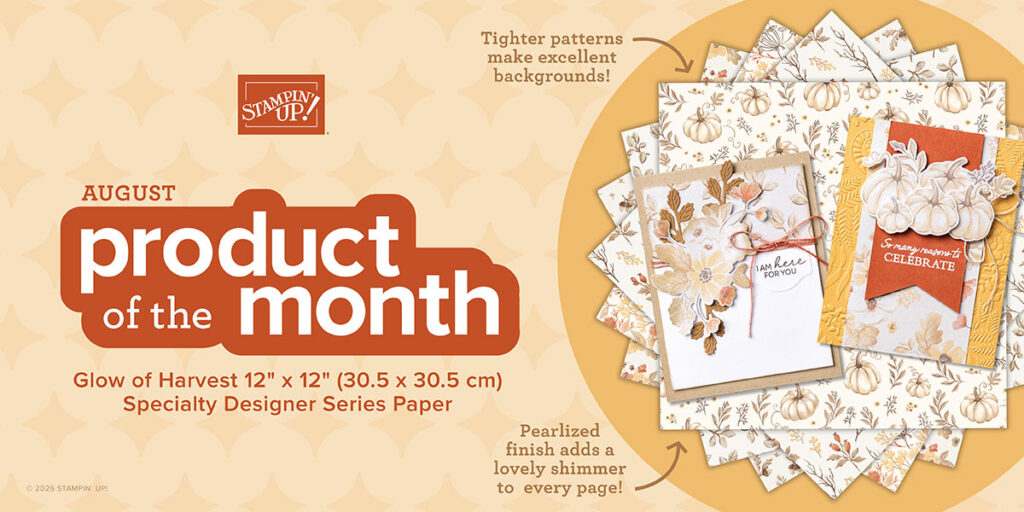
August Product Of The Month, Glow Of Harvest Designer Paper!
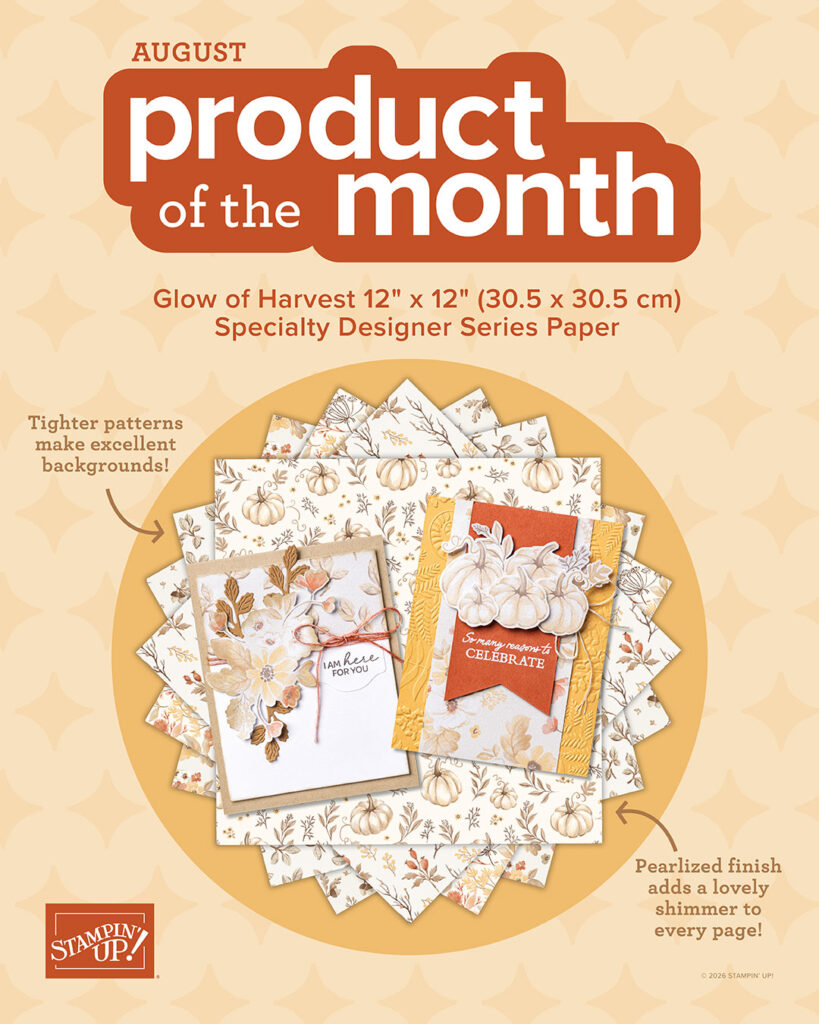
Our August 2026 Product Of The Month has been a huge hit and I’m thinking the paper pack will probably be sold out soon. Did you know quite a few months ago, Stampin’ Up! started offering a Product Of The Month (POM) and the products are always while supplies last? Some of the POM’s have sold out in the past so I always tell me customers not to wait.
The product of the month works this way:
- New Product Of The Month announced the first week of each month.
- Place a $75 order and pay only $5 for the Product Of The Month.
- Available while supplies last.
- If a Product Of The Month does not sell out, it will stay in the Online Store and carry over month-to-month.
- Limit one product of the month per customer account for the current Product Of The Month.
- You can qualify for a past Product Of The Month in the same month with another qualifying order.
Here is a close-up look at the paper patterns in these photos, plus project ideas. I plan on CASING these ideas so look for those soon!
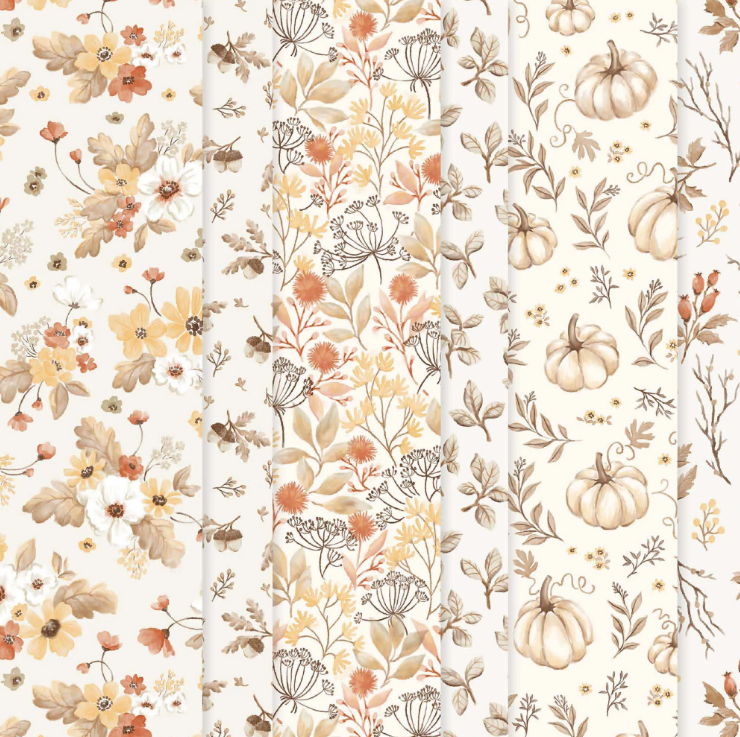
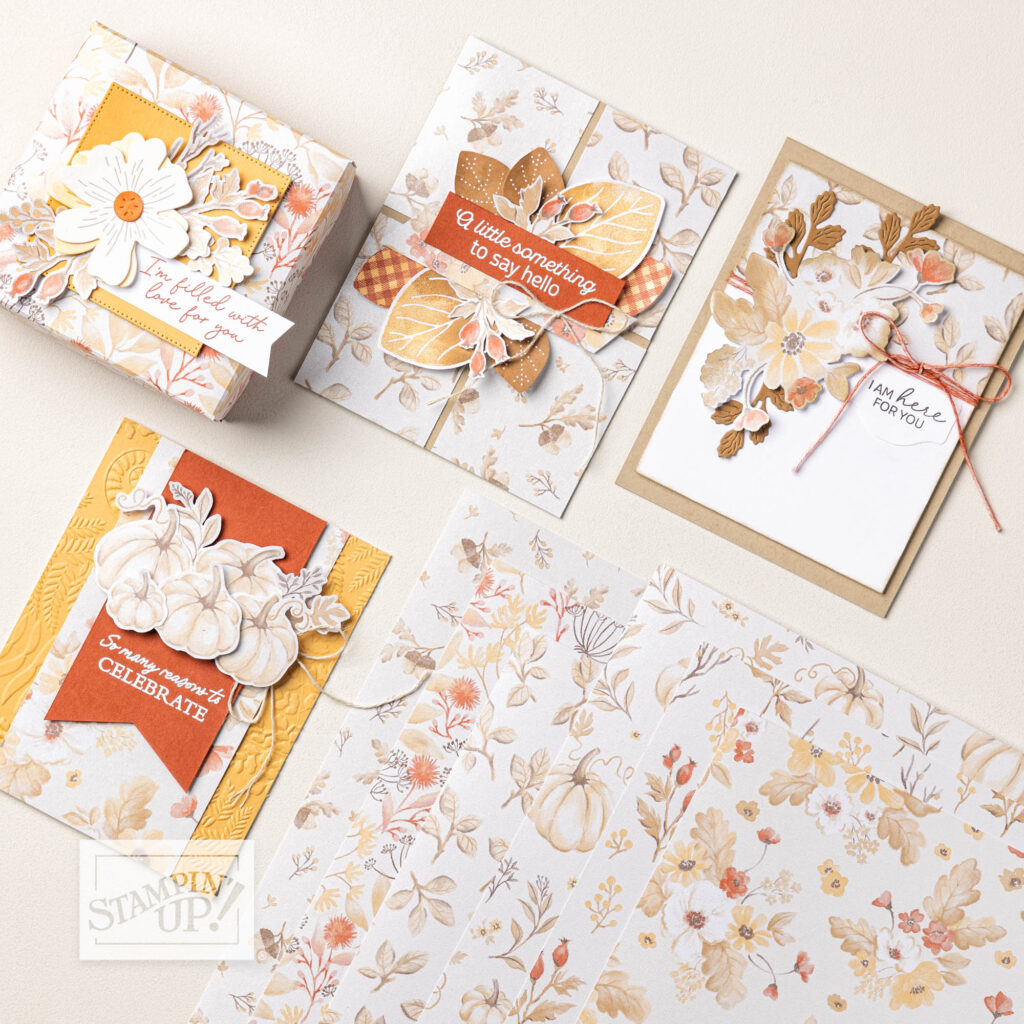
It’s hard to see in the photos above, but the sheets have a pearlized fine shimmer finish to them. It’s subtle but oh so pretty. The colors included on the prints are: Cajun Craze, Crumb Cake, Early Espresso, Golden Glow, Pecan Pie.
The first thing I decided to do to show off one of the sheets, is to use a ONE SHEET WONDER. If you’ve never heard that before, it means we use one 12 x 12 sheet cut in a certain way and try not to waste any of it. You’ll notice below that I was able to create 8 cards, all using the designer paper cuts I made, as a layer in some way and I’ll explain each card individually:
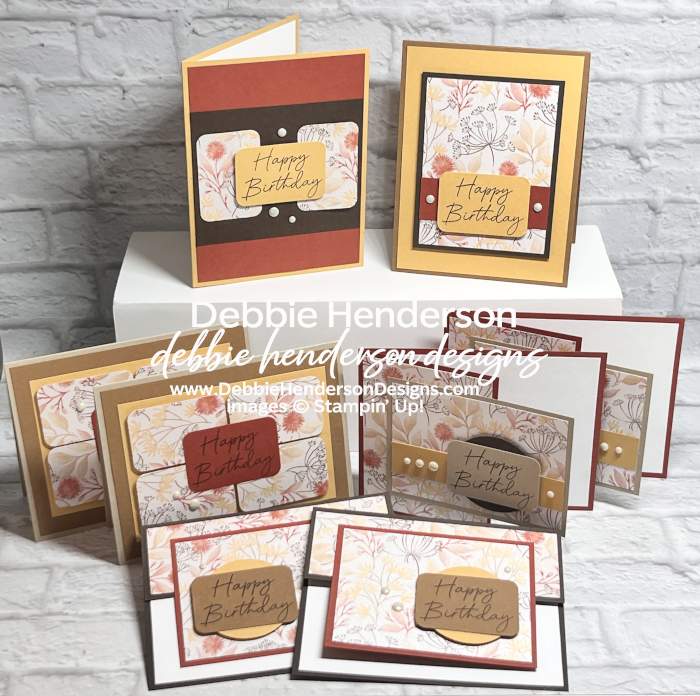
First let’s cut a 12 x 12 designer paper into layers. You can choose one sheet of 12 x 12 Designer Paper of your choice, and follow the four steps I have outlined below:
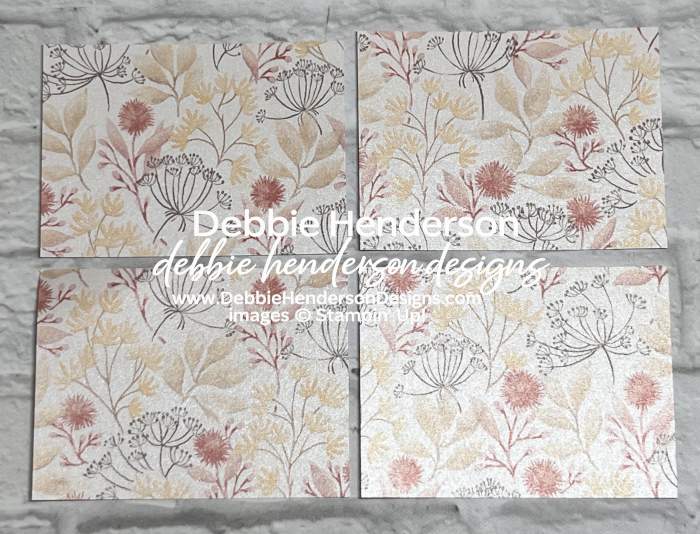
- First, start at the left of your 12 x 12 sheet and cut at 4″ vertically. Your cut strip should measure 4 x 12. Cut this strip into 4 pieces to measure 4 x 3 each.
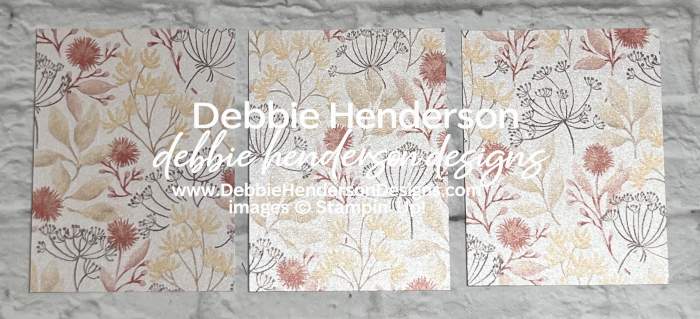
- Next, make a 2nd cut with the DSP sheet at 3″ vertically. Your cut strip should measure 3 x 12. Cut this strip into 3 pieces to measure 3 x 4 each.
Next, using the leftover DSP sheet, make one more cut:
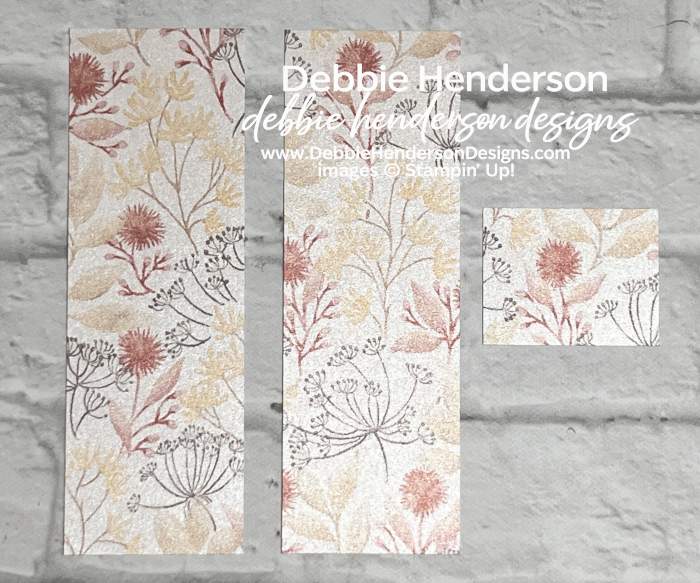
- 3. Make one last cut using the remainder of the DSP sheet at 1-3/4″ vertically. Your cut strip should measure 1-3/4 x 12. Cut this strip into 2 pieces measuring 1-3/4 x 5-1/4. You should have one tiny rectangular piece left over that we will not use.
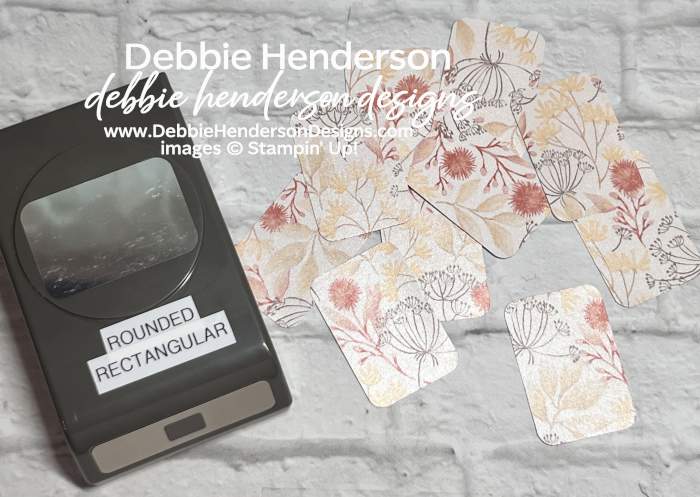
- 4. With the left-over last section of the DSP sheet, use the Rounded Rectangular Punch to cut 10 punched rectangular layers. I cut two rows of 5 on the long side. If you do not have this punch, the rectangles measure 2-1/8″ x 1-1/2″.
Now let’s create 8 cards: I needed birthday cards so all of my cards use the same sentiment and the additional products I used are:
- Stamps: Sentiment from Scalloped Blooms
- Cardstocks: Early Espresso, Golden Glow, Cajun Craze, Crumb Cake, Pecan Pie, Basic White
- Inks: Early Espresso
- Tools & Accessories: Rounded Rectangular Punch, 2″ Circle Punch, Antique Pearls, Stampin’ Dimensionals
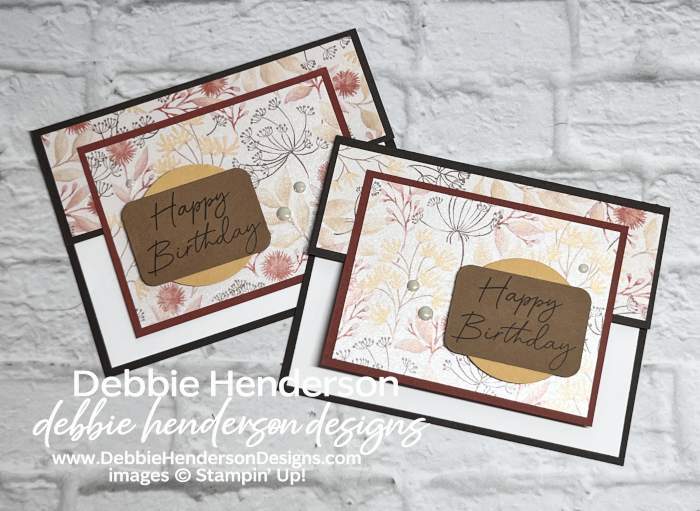
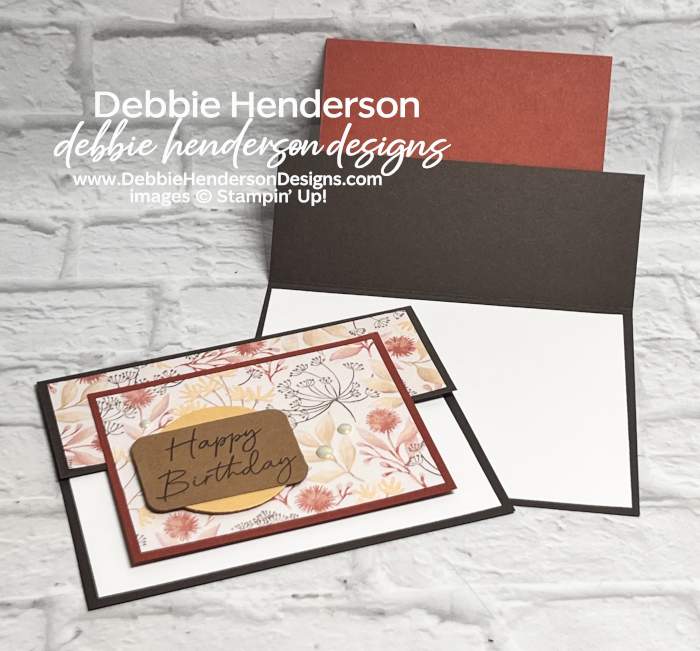
My first set of 2 cards are identical with the following layers:
- Set 1 Cards: Cut 2 of each:
- Card Base: Early Espresso Cardstock 6-1/4 x 5-1/2. Score at 4-1/4.
- Inside Layer: Basic White Cardstock 5-1/4 x 4. Glue to inside of card base.
- Front Flap Layer: Use the DSP that was cut to 5-1/4 x 1-3/4 for both cards and glue to the front flap.
- Layer 4: Cajun Craze Cardstock 4-1/4 x 3-1/4. Glue the top part to the front flap.
- Layer 5: Use the DSP that was cut to 4 x 3 on both cards.
- Layer 6: Golden Glow Cardstock cut with the 2″ Circle Punch. Glue with Stampin’ Dimensionals. I glued the circles at opposite ends for each card to make them different.
- Layer 7: Pecan Pie Cardstock cut with the Rounded Rectangular Punch. Stamp the sentiment with Early Espresso Ink. Glue over the circle flat.
- Bling: Add Antique Pearls to the DSP background.
Set 2 Cards:
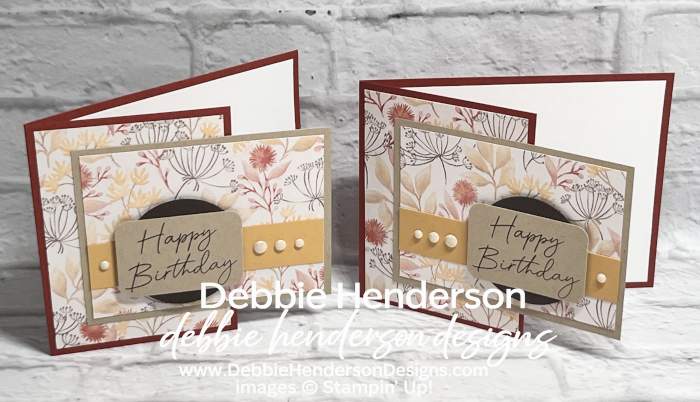
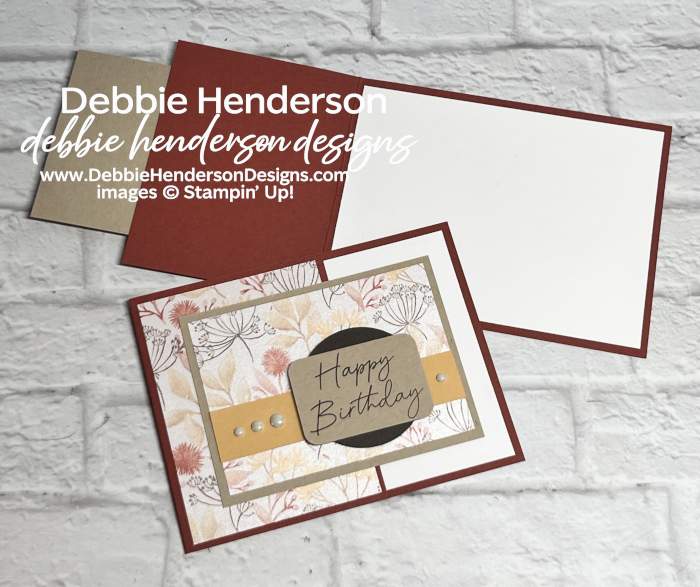
- Set 2 Cards: Cut 2 of each:
- Card Base: Cajun Craze Cardstock 8-3/4 x 4-1/4. Score at 5-1/2 and fold.
- Inside Layer: Basic White Cardstock 5-1/4 x 4. Glue to inside of card base.
- Layer 3: Use the DSP that was cut to 3″ x 4″. Glue to flap.
- Layer 4: Crumb Cake Cardstock 4-1/4 x 3-1/4. Glue half of the layer to the flap on the card base.
- Layer 5: Use the DSP that was cut to 4″ x 3″ to the Crumb Cake layer.
- Layer 6: Golden Glow Cardstock 4 x 1. Glue 1/2″ from the bottom of the DSP layer.
- Layer 7: Early Espresso Cardstock cut with the 2″ Circle Punch. Glue with Stampin’ Dimensionals over the Golden Glow Cardstock strip. I glued the circles at opposite ends for each card to make them different.
- Layer 7: Crumb Cake Cardstock cut with the Rounded Rectangular Punch. Stamp the sentiment with Early Espresso Ink. Glue over the circle flat.
- Bling: Add Antique Pearls to the Golden Glow Cardstock strip.
Set 3 Cards:
- Set 3 Cards: Cut 2 of each:
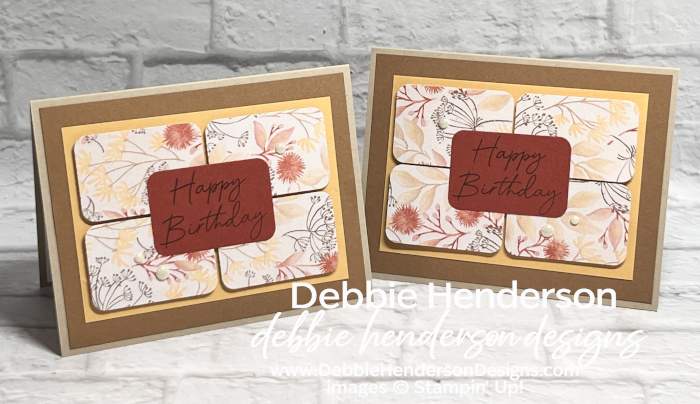
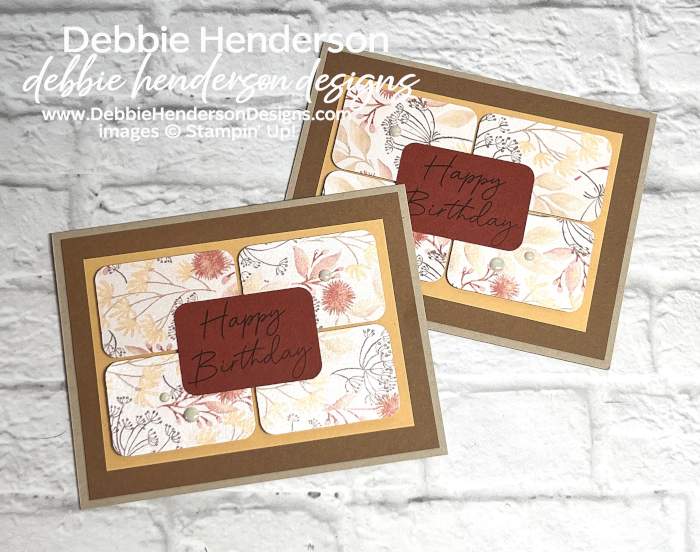
- Card Base: Crumb Cake Cardstock 8-1/2 x 5-1/2. Score and fold at 4-1/4.
- Laye 2: Pecan Pie Cardstock 5-1/4 x 4. Glue to card base.
- Layer 3: Golden Glow Cardstock 4-5/8 x 3-1/4. Glue to card front.
- Layer 4: Use (4) of the DSP that was cut with the Rounded Rectangular Punch and glue to Golden Glow layer with Stampin’ Dimensionals. Leave a small space between each rectangle.
- Layer 5: Cajun Craze Cardstock cut with the Rounded Rectangular Punch. Stamp the sentiment with Early Espresso Ink. Glue to the center of the 4 DSP layers flat.
- Bling: Add Antique Pearls to the DSP background.
Last 2: Individual Cards (not identical):
Card 1:
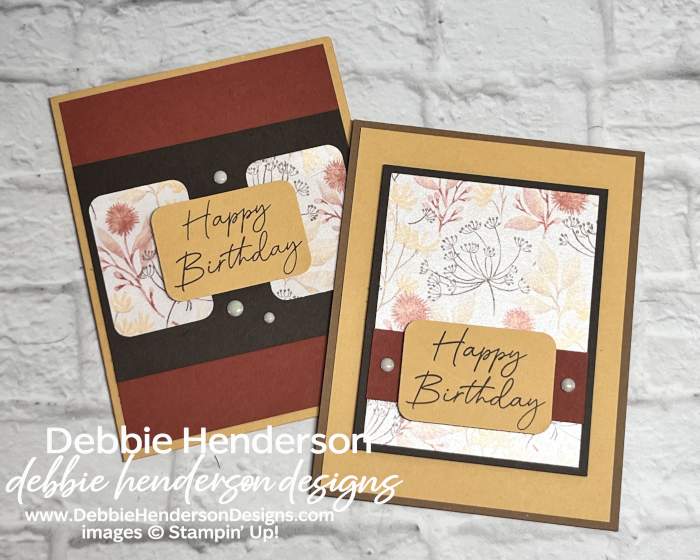
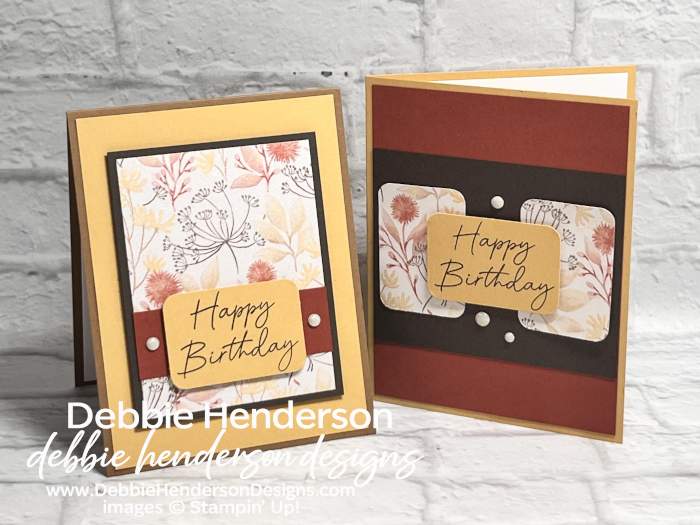
- Card Base: Golden Glow Cardstock 11 x 4-1/4. Score and fold at 5-1/2.
- Layer 2: Cajun Craze Cardstock 5-1/4 x 4. Glue to card base.
- Layer 3: Early Espresso Cardstock 4 x 3-1/4. Glue to card front centered.
- Layer 4: Use the remaining DSP layers that were cut with the Rounded Rectangular Punch. Glue to 1/8″from each side of the Early Espresso layer with Stampin’ Dimensionals.
- Layer 5: Golden Glow Cardstock cut with the Rounded Rectangular Punch. Stamp the sentiment with Early Espresso Ink. Glue to the center of the 2 DSP layers with Stampin’ Dimensionals.
- Bling: Add Antique Pearls to the Early Espresso Cardstock background.
Card 2:
- Card Base: Pecan Pie Cardstock 11 x 4-1/4. Score and fold at 5-1/2.
- Layer 2: Golden Glow Cardstock 5-1/4 x 4. Glue to card base.
- Layer 3: Early Espresso Cardstock 4-1/4 x 3-1/4. Glue to card front centered.
- Layer 4: Use the DSP that was cut to 3 x 4 and glue to Early Espresso Cardstock layer flat.
- Layer 5: Cajun Craze Cardstock 3 x 1. Glue 3/4″ from the bottom of the DSP layer flat.
- Layer 5: Golden Glow Cardstock cut with the Rounded Rectangular Punch. Stamp the sentiment with Early Espresso Ink. Glue to the center of the Cajun Craze Carstock strip with Stampin’ Dimensionals.
- Bling: Add Antique Pearls to the to each side of the sentiment layer.
I hope you enjoyed my 8 cards and stay tuned in a few days, I should have the projects done using the samples in the graphic above for you and I’ll make sure to add measurements too!





one sheet wonder..cut my paper to do cards..will be working on and off on this..thanks for sharing
So glad you are trying these Linda! Have fun!