Pretty Patterned Paper & Lily Of The Valley Bundle!
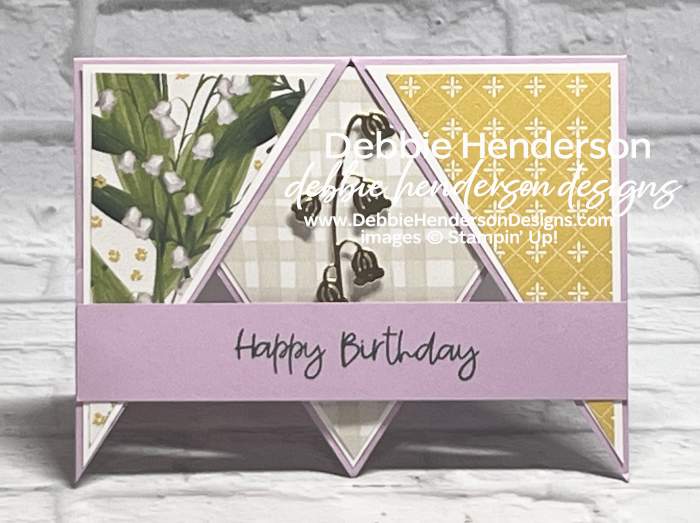
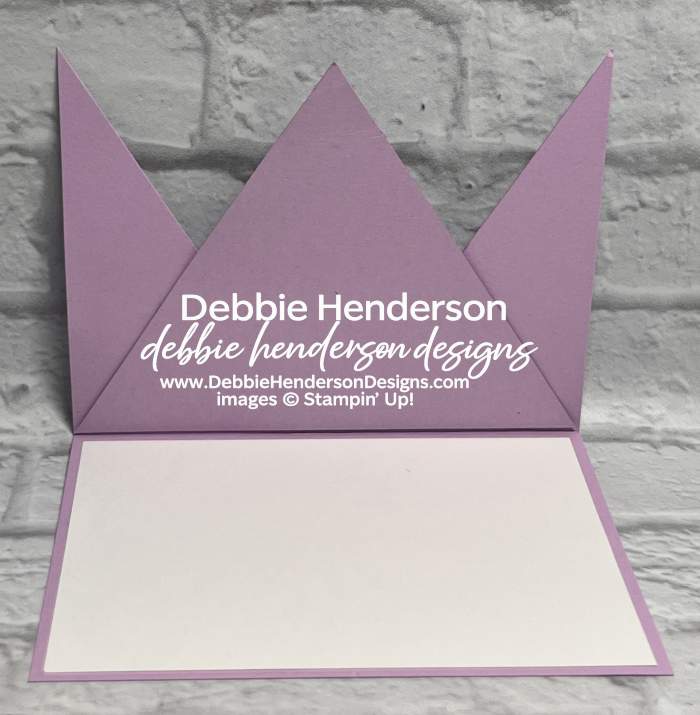
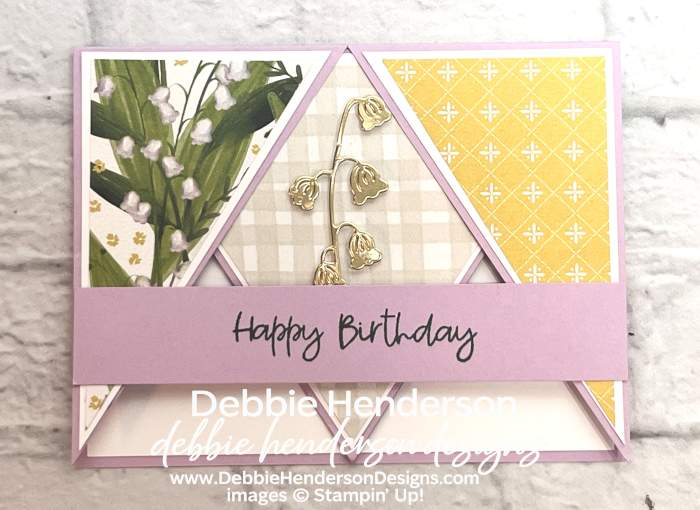
I have a really neat fancy fold for you today. What is neat is that the center triangle that is cut off from the card base, is actually flipped and used again so there’s no wasted cardstock! I’ll show you how in the steps below:
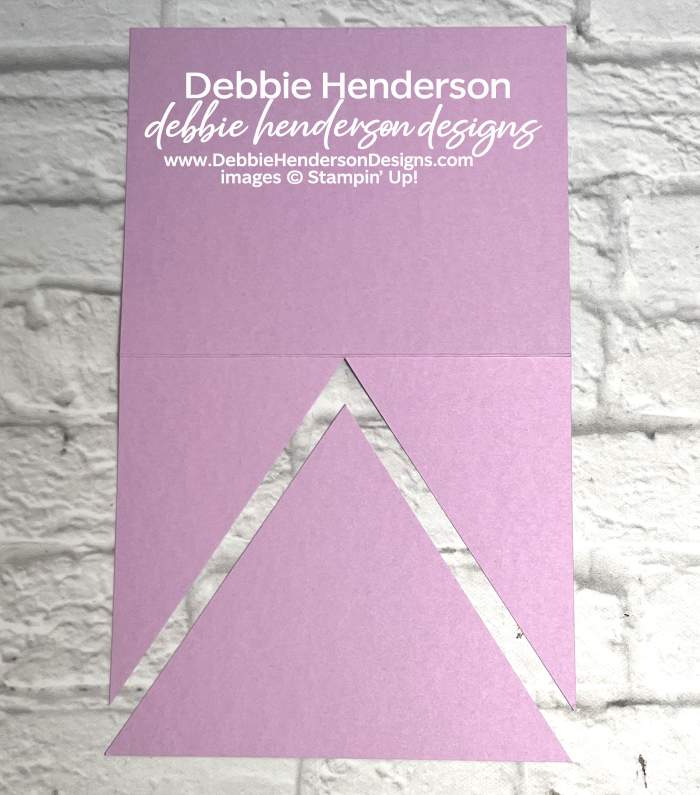
- Start with a cardstock piece 8-1/2 x 5-1/2. I used Fresh Freesia Cardstock
- Score in the center at 4-1/4.
- Measure and add a pencil mark at the top on the score line at 2-3/4″.
- Using a Paper Trimmer, cut 2 diagonal cuts starting at each bottom corner of the card base to the pencil mark.
- You should end up with a triangle that is cut off. Set aside for now.
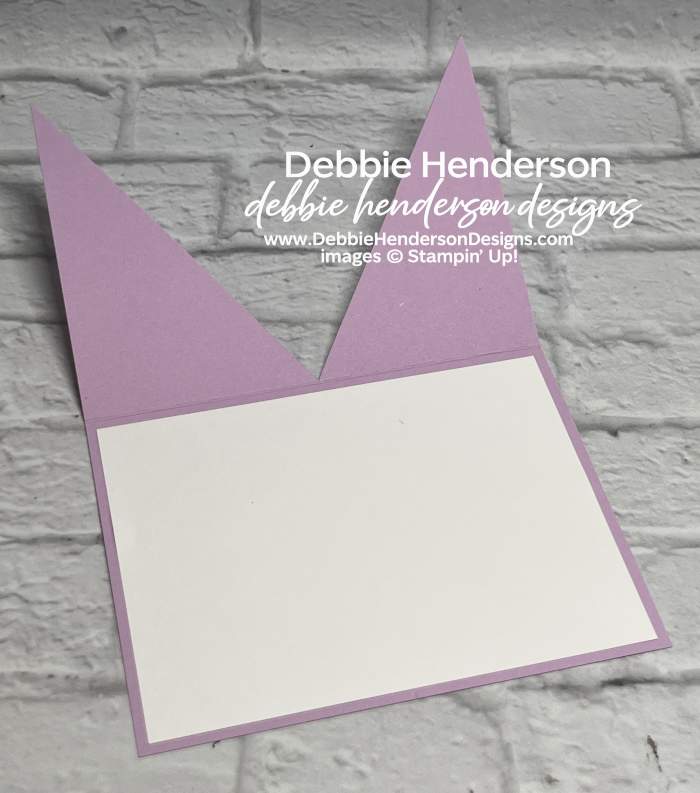
- Glue Basic White Cardstock to the inside of the card base measuring 5-1/4 x 4.
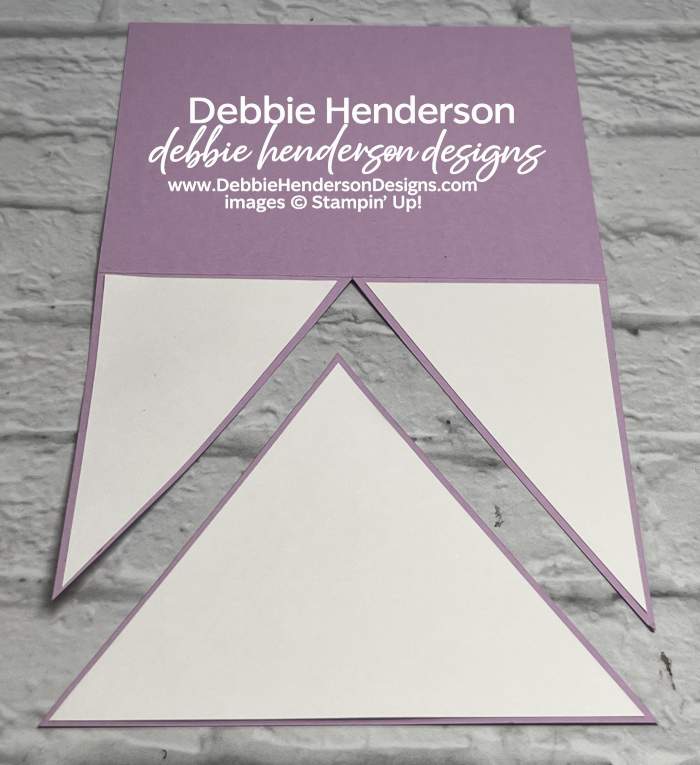
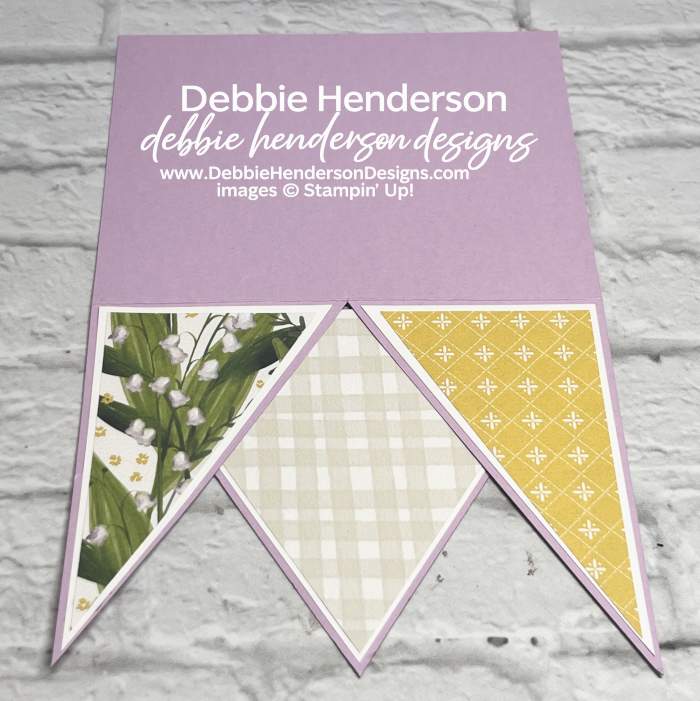
- Flip the card base over to the front to add layers to each triangle as follows:
- Basic White Cardstock 4 x 2-1/2.
- Cut diagonally to get 2 pieces.
- Flip one triangle over to the opposite side.
- Glue to each triangle on the card base front.
- Basic White Cardstock 5-1/4 x 4. Add a pencil mark in the center of the 5-1/4″ side.
- Cut from each corner to the pencil mark to create a triangle.
- Glue white layer to triangle that was cut off from the card base.
- Basic White Cardstock 4 x 2-1/2.
Now let’s decorate the card front:
- Valley In Bloom Designer Paper 5 x 3-7/8.
- Add a pencil mark in the center of the 5″ side.
- Cut from each corner to the pencil mark to create a triangle.
- Glue over the white layer on the triangle.
- Open the card base and glue the triangle to the inside of the front layer.
- Valley In Bloom Designer Paper 3-3/4 x 2-1/4.
- Cut diagonally to get 2 pieces.
- Flip one layer over to the opposite print.
- Glue both layers to the outside triangles of the card front.
- Sentiment Layer: 5-1/2 x 1: Stamp the sentiment on the front and glue over the three triangles about 3/4″ from the bottom.
- Gold Foil Sheets: Use the lily die to cut 1. Trim the end to fit in the center, tucked under the sentiment with Mini Stampin’ Dimensionals.





Leave a Reply