Framed Violets & Violet Dreams!
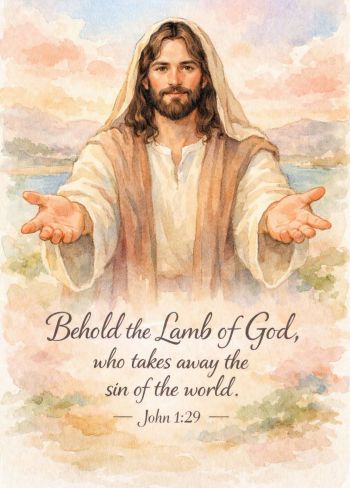
Welcome to a new month of Inspiration Monday challenges at Create With Stamping Friends. This week’s inspiration challenge uses this image:
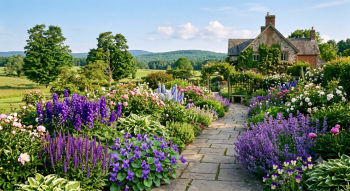
Such pretty colors and imagery on this photo and it inspired me to add lots of blues, purples and flowers to my project this week:
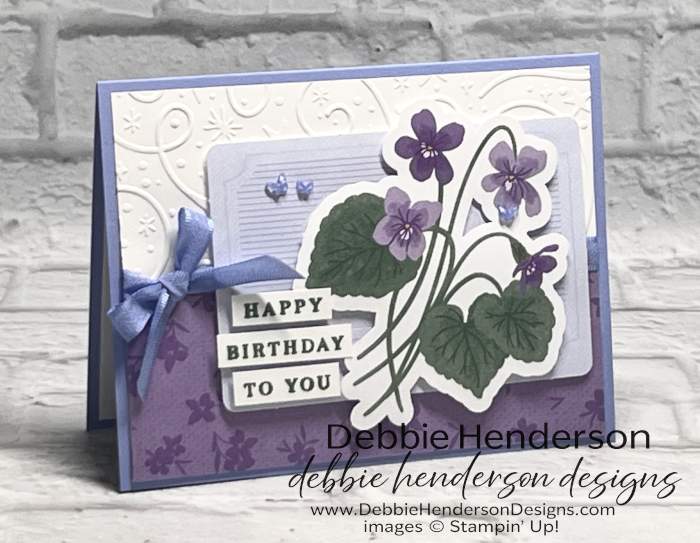
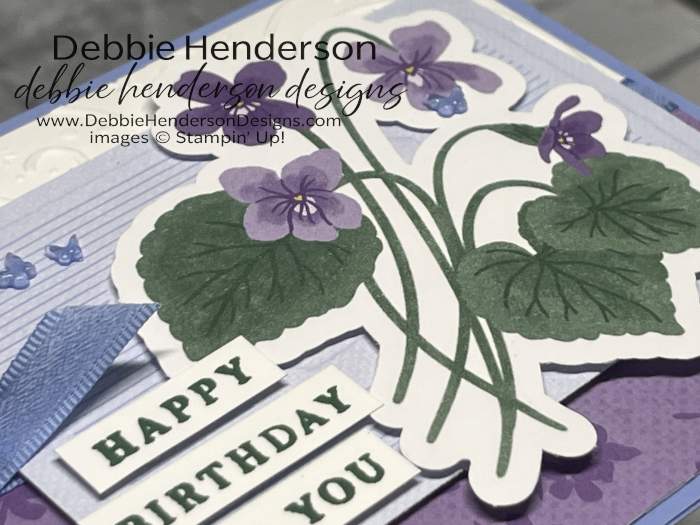
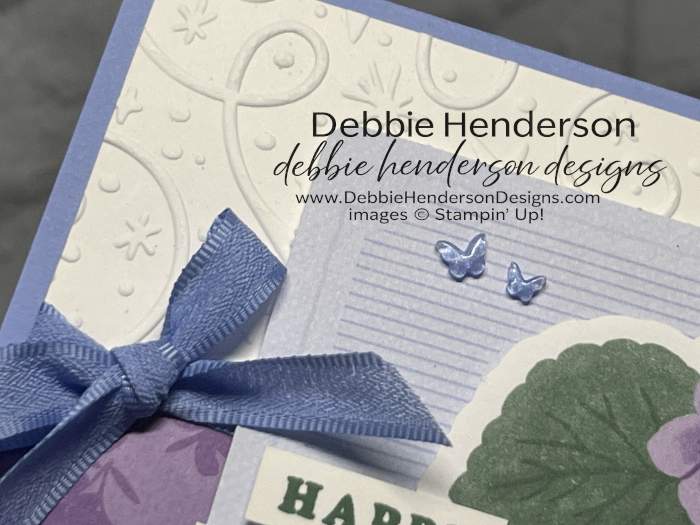
I let the Violet Dreams Designer Paper do most of the work for me. The designer paper pack includes preprinted diecuts so I used the violet flowers for one of my layers. All I had to do was remove it from the diecut sheet and glue it on over another diecut layer I added to the card base:
Stampin’ Up! Products Used:
- Stamps: Framed Violets
- Inks: Peaceful Pine
- Cardstock: Hydrangea Hue, Basic White
- Designer Paper: Violet Dreams
- Tools & Accessories: Hydrangea Hue Bordered Ribbon, Swirls Of Magic Embossing Folder, In Color Butterflies
Card Recipe:
- Card Base: Hydrangea Hue Cardstock 8-1/2 x 5-1/2. Score and fold at 4-1/4.
- Layer 2: Basic White Cardstock 5-1/4 x 4. Emboss with the Swirls Of Magic Embossing Folder. Set aside.
- Layer 3: Violet Dreams Designer Paper 5-1/4 x 2. Glue over the white layer even at the bottom. Set aside.
- Ribbon: Wrap the ribbon around the white layer where the designer paper ends and tie into a bow at the left. Glue layer to card base.
- Diecut: Remove the blue rectangular diecut from the designer paper sheet. Glue over the ribbon with Stampin’ Dimensionals.
- Flowers: Remove the flowers from the designer paper sheet. Glue over the blue layer to the right with Stampin’ Dimensionals.
- Sentiment: Stamp the sentiment on Basic White Cardstock. Cut close to the wording and into 3 words. Gleu to the left of the flower layer with Stampin’ Dimensionals.
- Bling: Add In Color Butterflies to the blue background layer.
Make sure you visit Create With Stamping Friends to see what Connie created for our team this week and see our newest tutorial Collection too:



Leave a Reply