Color Challenge Week With The Delicate Pines Bundle!

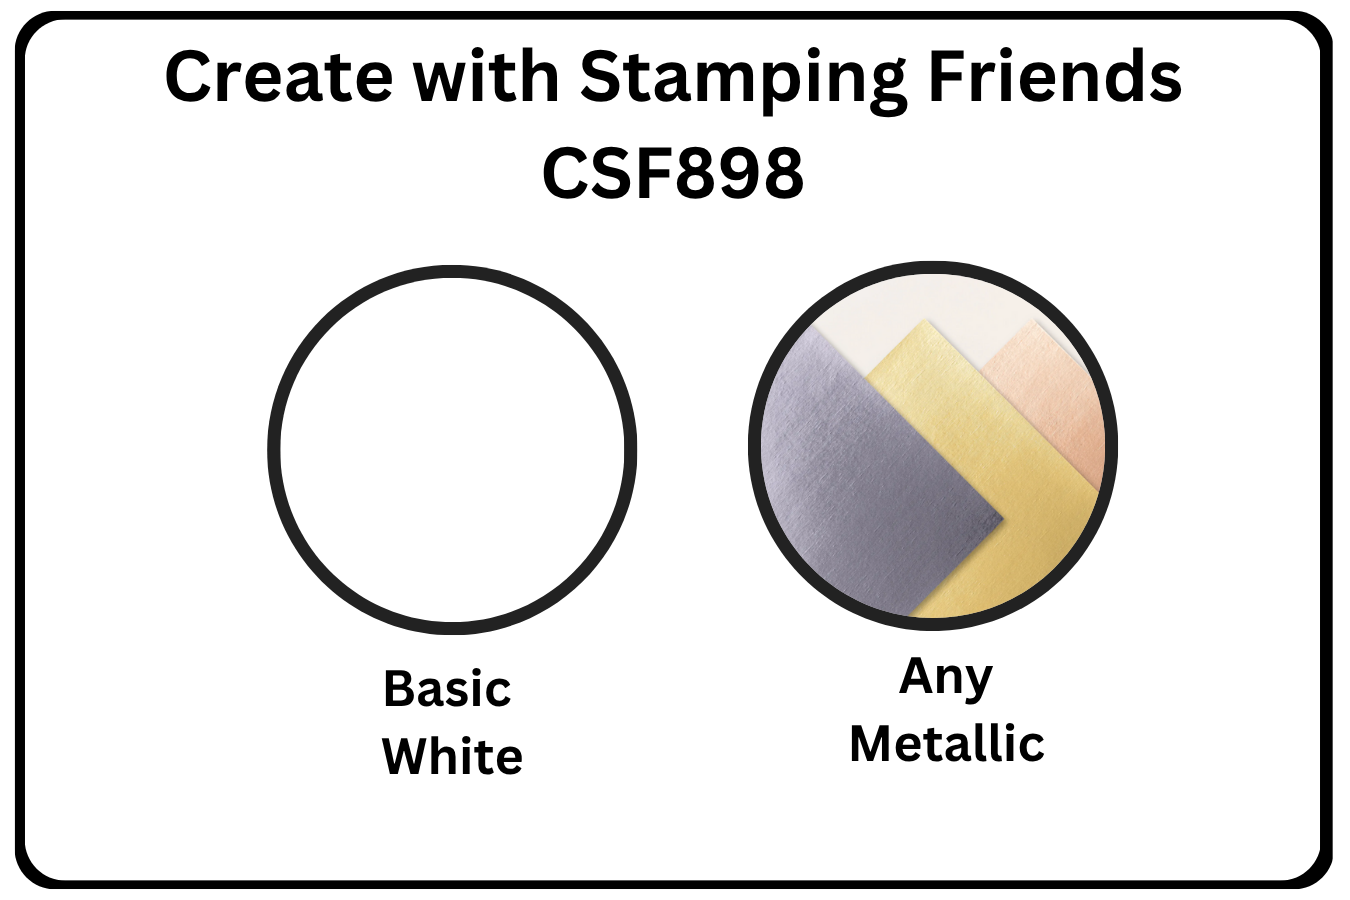
It’s Thursday Challenge time at Create With Stamping Friends . Our Color Challenge this time is a little different than the norm. We are all using Basic White Cardstock and added in any metallic. Metallics can be our foil sheets, metallic embossing powders, bling and more!
I decided to use the pretty purple-ish metallic sheet from the Textured Metallic Specialty Paper. It’s hard to capture the shiny color but you’ll see close-ups below that will show how pretty this paper is:
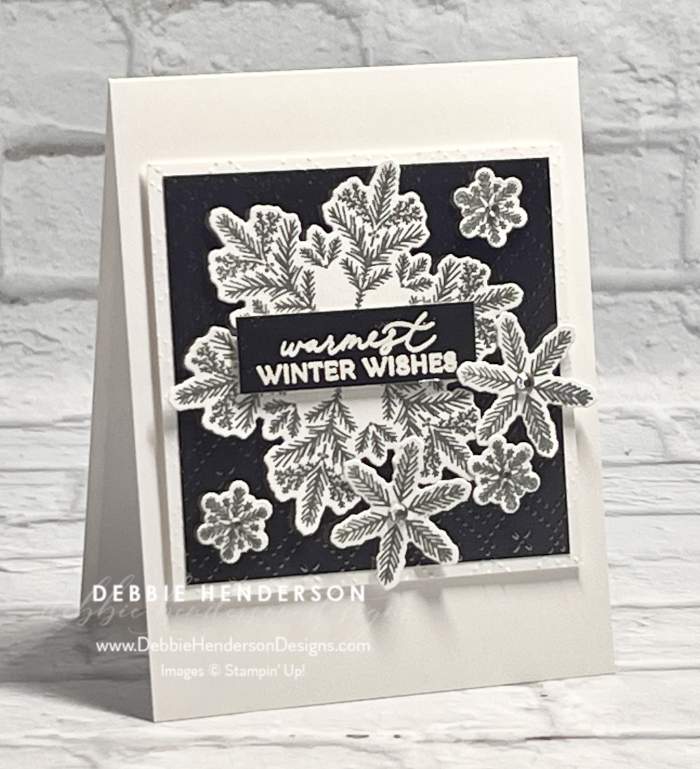
I ended up adding dry embossing to the metallic sheet with the Beautiful Pattern Embossing Folder and all of my snowflakes are heat embossed with Silver Embossing Powder:


Stampin’ Up! Products Used:
- Stamps: Delicate Pines
- Cardstock: Thick Basic White, Basic White, Textured Metallic Specialty Paper
- Inks: VersaMark
- Tools & Accessories: Delicate Pines Dies, Beautiful Pattern Embossing Folder, Heat Tool, Metallics Embossing Powder, Rhinestone Basic Jewels, Stampin’ Dimensionals
Card Recipe:
- Card Base: Thick Basic White Cardstock 11 x 4-1/4. Score and fold at 5-1/2.
- Layer 2: Basic White Cardstock 3-3/4 x 3-3/4. Set aside.
- Layer 3: Textured Metallic Specialty Paper 3-1/2 x 3-1/2. Glue to the white layer. Emboss both layers with the Beautiful Pattern Embossing Folder. Glue to card base with Stampin’ Dimensionals.
- Large Snowflake: Stamp the largest snowflake on Basic White Cardstock with VersaMark Ink. Sprinkle with silver embossing powder and melt with the Heat Tool. Cut with the die. Glue to specialty paper layer with Stampin’ Dimensionals at the left.
- Smaller Snowflakes: Stamp the two smaller snowflake images on Basic White Cardstock with VersaMark Ink. Sprinkle with silver embossing powder and melt with the Heat Tool. Cut with the dies. Glue to specialty paper layer around the large snowflake with Stampin’ Dimensionals
- Sentiment: Stamp the sentiment with VersaMark Ink on Textured Metallic Specialty Paper 2-1/8 x 5/8. Sprinkle with white embossing powder and melt with the Heat Tool. Glue to the center of the large snowflake with Stampin’ Dimensionals.
- Bling: Add Basic Rhinestone Jewels to the center of each snowflake.
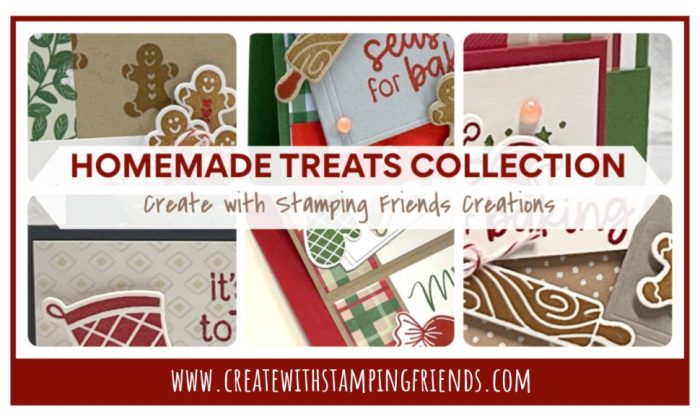
Check out what the rest of our team is up to this week by visiting Create With Stamping Friends and while visiting, check out our newest tutorial Collection:


Beautiful!!!