Christmas Magic Theme!
Welcome to Create With Stamping Friends Creatively Simple! Connie and I create simple cards with a theme each week and for this month, this is our theme:

I went a little crazy with my layers as I created my card and was like “oops, this was supposed to be a simple card”. It’s still quite easy to replicate though:
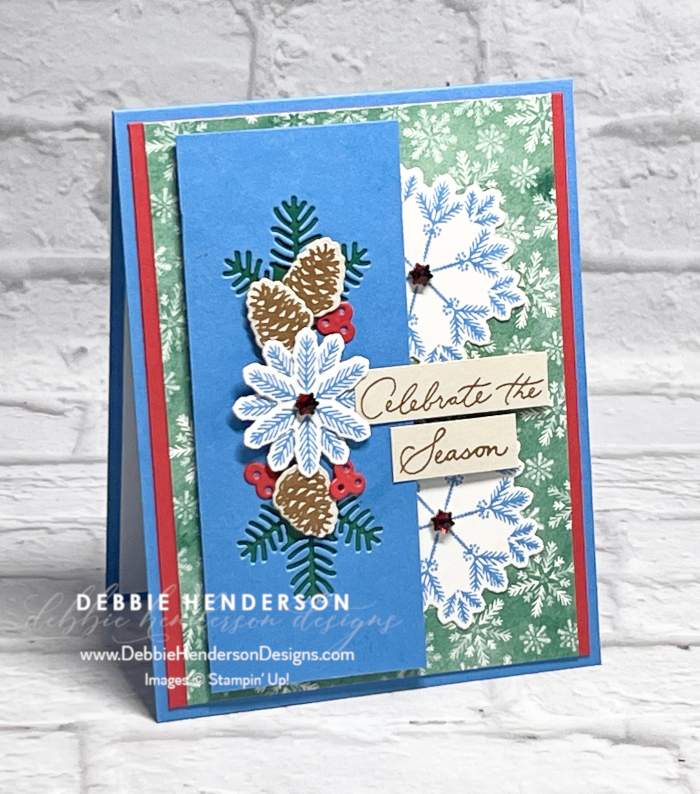
I ended up using a pop of Poppy Parade Cardstock to bring out the other colors:

Stampin’ Up! Products Used:
- Stamps: Delicate Pine Snowflakes
- Inks: Azure Afternoon, Pecan Pie
- Cardstock: Azure Afternoon, Poppy Parade, Crumb Cake, Basic White, Shaded Spruce
- Designer Paper: Elegant Pine Snowflakes
- Tools & Accessories: Delicate Snowflakes Dies, Faceted Snowflakes, Stampin’ Dimensionals
Card Recipe:
- Card Base: Azure Afternoon Cardstock 11 x 4-1/4. Score and fold at 5-1/2.
- Layer 2: Poppy Parade Cardstock 5-1/4 x 4. Glue to card base.
- Layer 3: Elegant Pines Snowflakes Designer Paper 5-1/4 x 3-3/4. Glue to card front.
- Layer 4: Azure Afternoon Cardstock 5 x 2. Use the pine needles die to cut in the center. Set aside.
- Layer 5: Shaded Spruce Cardstock 4 x 1-1/2. Glue to the back of the spruce diecut so the color peeks through on the Azure Afternoon layer. Glue to card front at the left with Stampin’ Dimensionals.
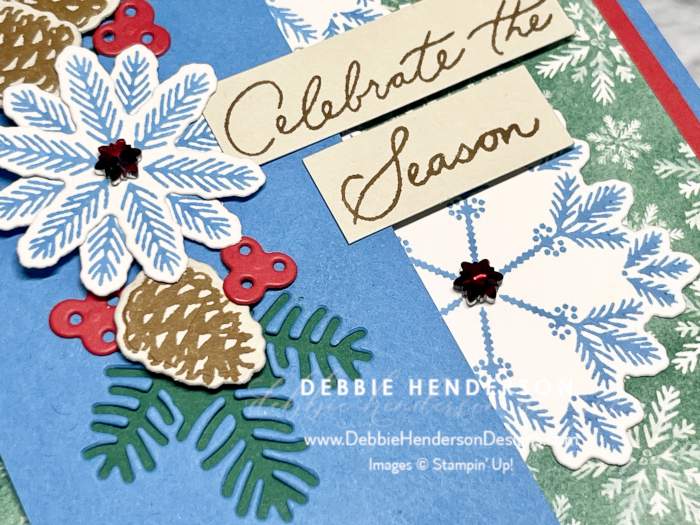
- Large Snowflakes: Stamp 2 large snowflakes on Basic White Cardstock with Azure Afternoon Ink. Cut with the die. Tuck and glue under the Azure Afternoon layer (trim if needed to tuck).
- Small Snowflakes: Stamp 2 small snowflakes on Basic White Cardstock with Azure Afternoon Ink. Cut with the die. Layer on top of each other. Glue to the center of the diecut pine needles with Stampin’ Dimensionals.
- Pinecones: Stamp 3 pinecones on Crumb Cake Cardstock with Pecan Pie Ink. Cut with the die. Glue around the small snowflake with Stampin’ Dimensionals.
- Berries: Cut 3 berries with the die and Poppy Parade Cardstock. Glue around the snowflake and pinecones flat.
- Sentiment: Stamp the sentiment on Crumb Cake Cardstock 3-1/8 x 1/2 with Pecan Pie Ink. Cut into two lines of text. Glue to the right of the small snowflake with Stampin’ Dimensionals.
- Bling: Add Faceted Snowflakes (red) to each snowflake.
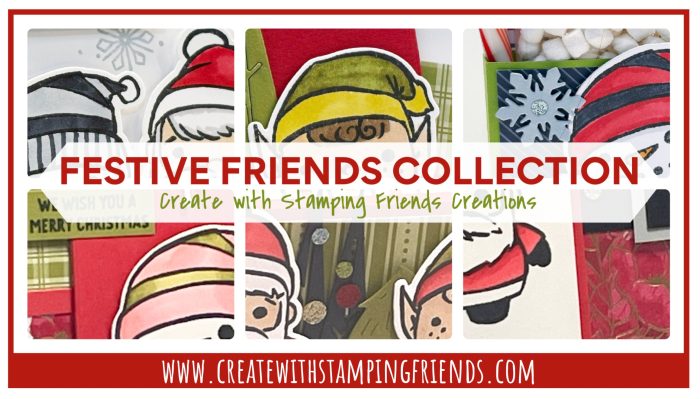
Make sure you visit Create With Stamping Friends to see what Connie created for our team this week and visit our tutorial page to see our newest Collection:


Leave a Reply