It’s Never Too Early To Start Christmas Gifts!

I messed around with a new Christmas bundle called Jolly Holly recently. I created a box to hold chocolates which includes a tab on the front to keep it closed with a Velcro dot. Here are some more photos to show you the whole project:


And I’ll even show you how to create one! Follow my steps below:
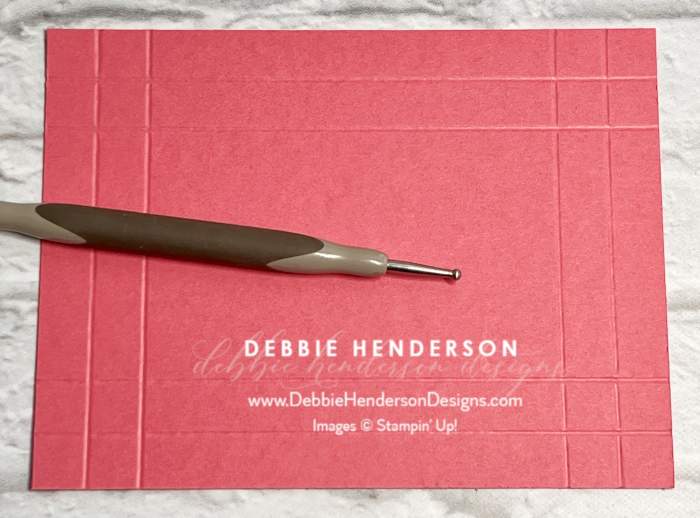

First let’s start out with the inside box portion:
- Colored Cardstock (I used Strawberry Slush) 6 x 4-1/2.
- Score on all 4 sides at 1/2″ and 1″. You should have two scored lines on each side.
- Use Paper Snips to cut each corner as shown and to create a small tab.
- Fold on all score lines.


- Add Tear & Tape to the 4 outside sections.
- Flip the cardstock layer over and add liquid glue to the small tabs.
- Remove the backing from the Tear & Tape and fold on all scored lines to create the box sides. When folding one side at a time, fold the shorter ends first to create the sides. Press the small tabs to the inside of the longer sides. The longer tabs should cover the small tabs on each side when you fold them over.
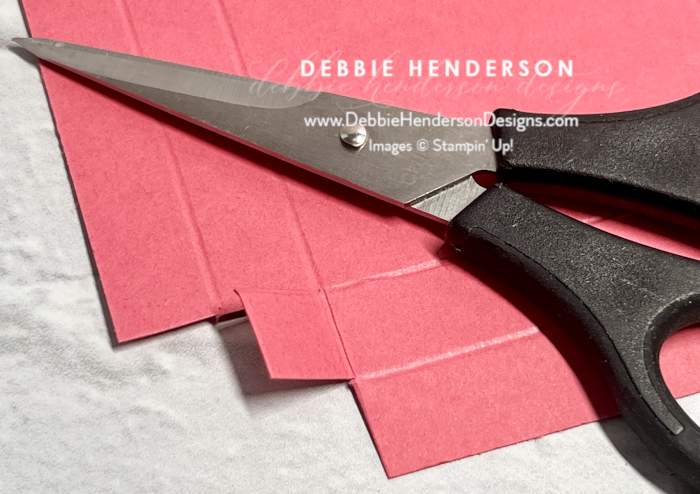
Next up is the scoring and cutting for the outside layer:

- Colored Cardstock (I used Strawberry Slush) 8-1/4 x 4-1/4. Score at 2-5/8, 3-1/8, 5-3/4 and 6-1/4
- On the 2″ end, add a pencil mark on the outside edge in the center. Measure 3/4″ from the pencil mark to each side to create a 1-1/2″ area. Cut on each side to create the tab up to the 2nd score line (see photo). Remove the sections on each side by cutting across on the scored line.
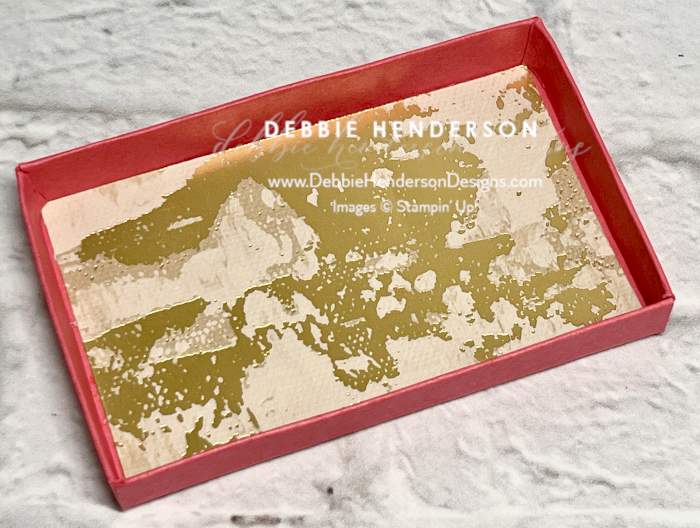
- Prepare the inside of the box by adding a piece of designer paper 3-7/8 x 2-3/8. Glue to the inside of the box. (I used Season Of Elegance Designer Paper)
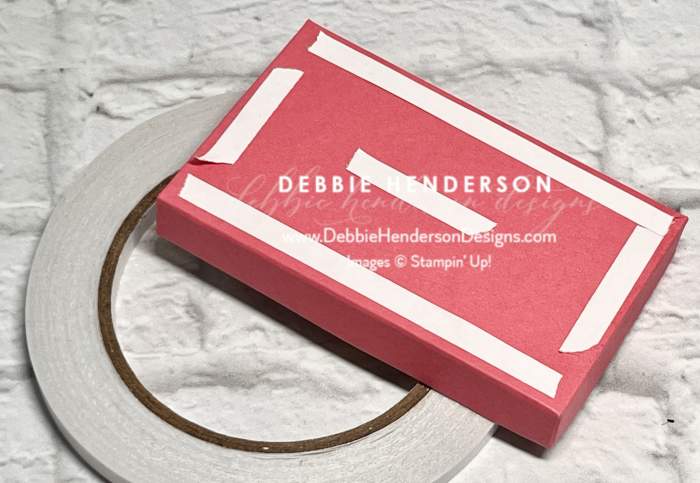
- Flip the box over and add Tear & Tape to the bottom.
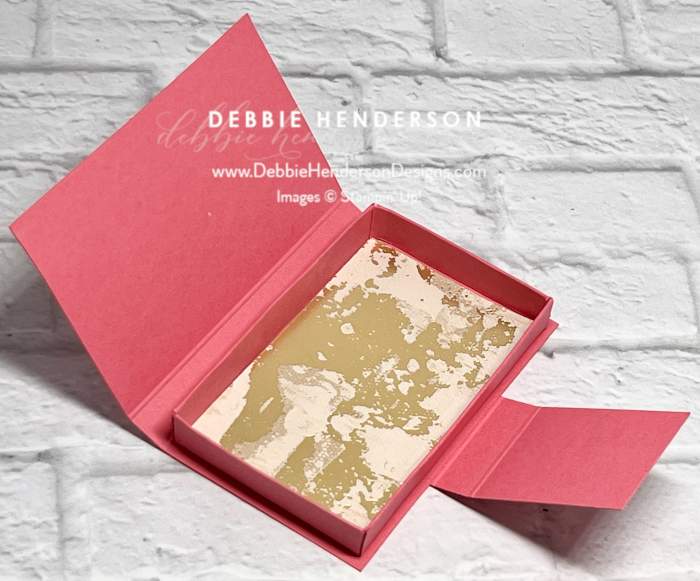
- Remove backing from Tear & Tape and glue the box to the inside of the outer layer as shown above.
Decorate the box to your liking or follow my steps below:
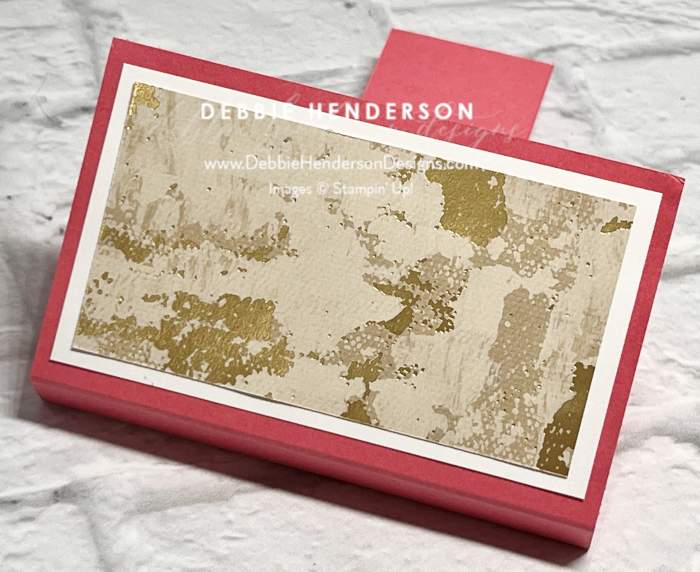


- Top of box layers:
- Basic White Cardstock 4 x 2-1/4. Glue to front cover.
- Designer Paper 3-3/4 x 2. Glue over the white layer.
- Small tab layers:
- Basic White Cardstock 1-3/4 x 1-1/4. Glue to small tab.
- Designer Paper 1-1/2 x 1. Glue to white layer.
- Add a Velcro Dot to the underside of the small tab and to the box to keep the tab closed on the box.
Now to decorate the Hershey Chocolate Bars (these bars are 3-1/2″ long)

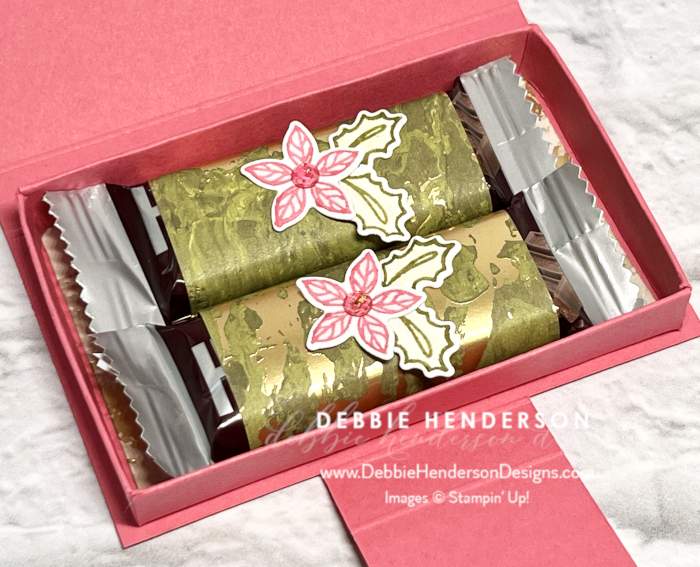
- Designer Paper 3 x 2-1/4. Add Tear & Tape to the 3″ sides.
- Remove the backing from the Tear & Tape and wrap around the chocolate bars (the 2-1/4″ side is positioned on the length of the chocolate bar. The 3″ side wraps around and the ends overlap each other when pressed in place.
- Stamp 3 holly leaves with Old Olive Ink and 3 flowers with Strawberry Slush Ink. Use a Blender Pen to color with the inked lines. Color the berries with Strawberry Slush Ink.
- Cut all images with the dies and glue one of each to the chocolate bars flat. Save the other 2 for the front of the box.
- Add bling to each flower. I used Strawberry Slush & Pretty In Pink Gems.


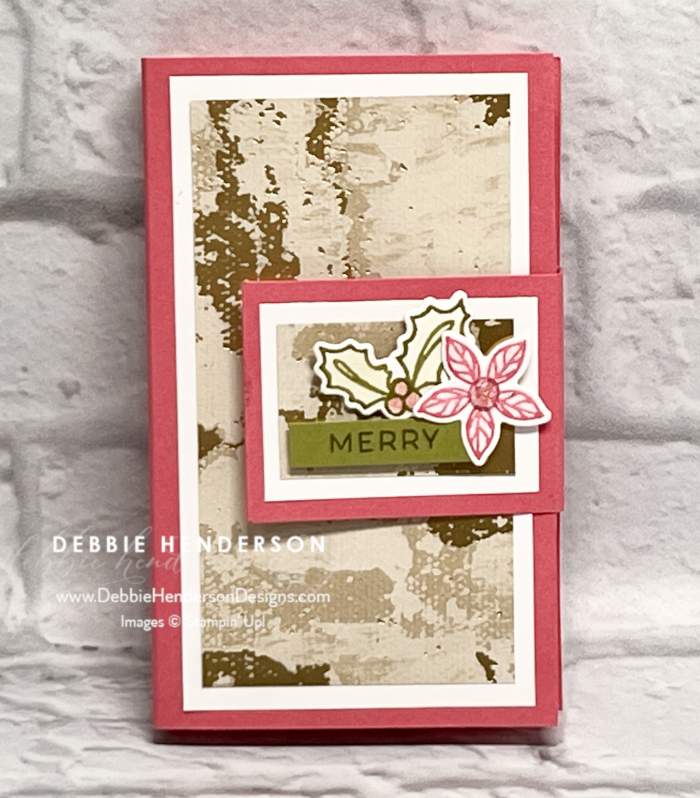
- Stamp the sentiment on Old Olive Cardstock 1-1/4 x 1/4 with Old Olive Ink. Glue to small tab with Mini Stampin’ Dimensionals.
- Glue the holly leaves and flower with Mini Stampin’ Dimensionals around the sentiment layer.
- Add bling to the flower.
I would love to see what you create! Enjoy!


Leave a Reply